6. The Features of Plone#
Now we create a Plone instance and take a look at all the features you can use as an integrator. Developers get a glimpse on the features that can be modified easily.
6.1. Starting and stopping Zope#
We control Plone with make. Start your Zope instance with:
$ make start
The Zope instance starts up with Ready to handle requests.
Later on the instance can be stopped by ctrl c.
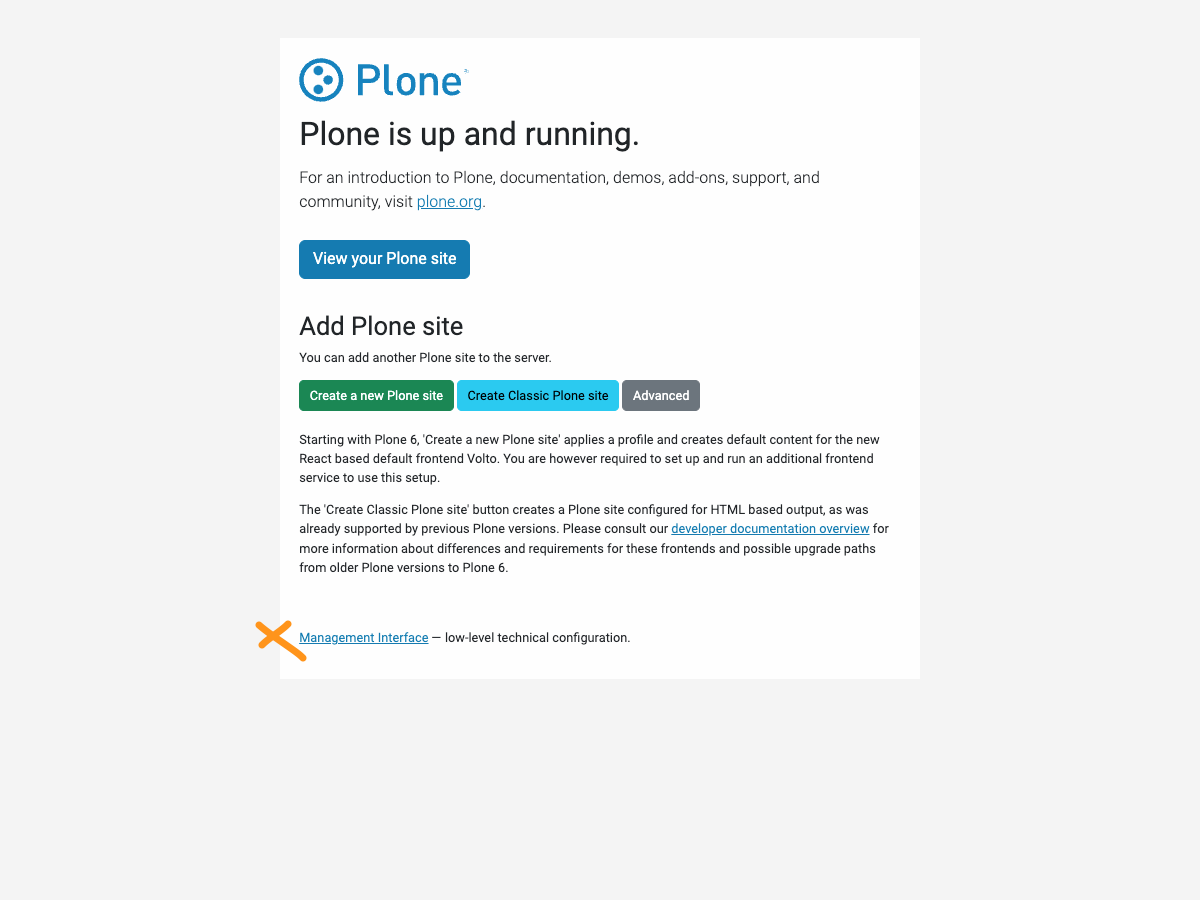
A standard installation listens on port 8080, so lets have a look at http://localhost:8080
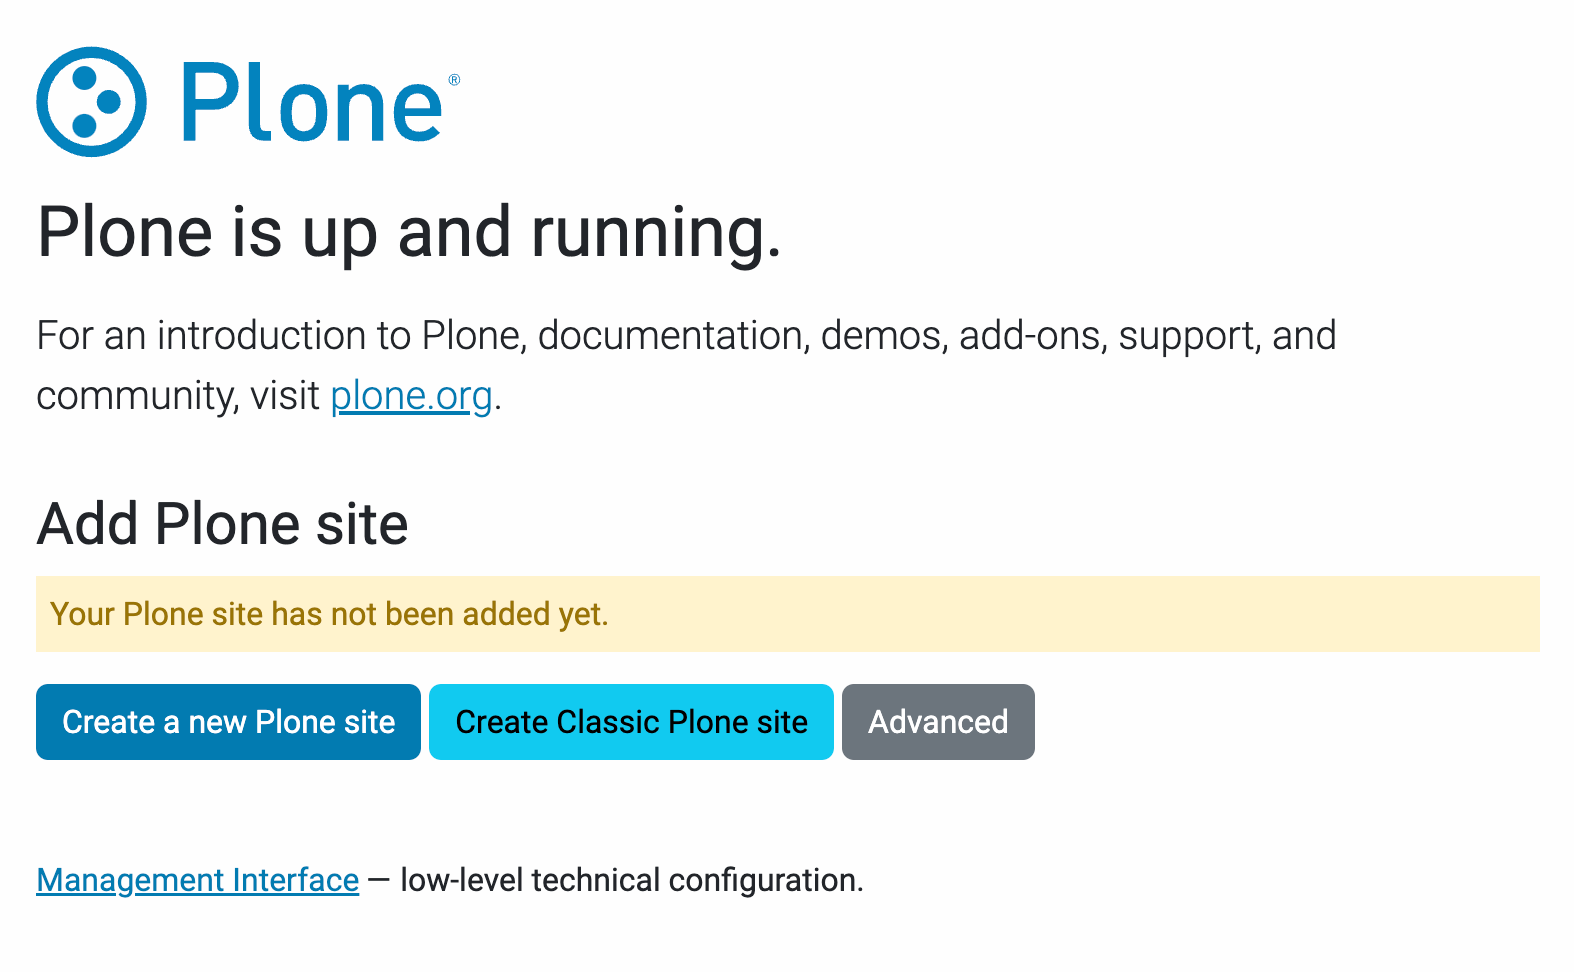
Zope instance is up and running, ready to create a Plone instance.#
6.2. Creating a Plone site#
We now have a running Zope with a database, but no content.
Push the button Create a new Plone site.
Log in with admin and password secret.
The initial login is defined in file instance.yaml.
You should change your password in production sites via http://localhost:8080/acl_users/users/manage_users.
If you ever have the need to create an emergency user, create one with:
venv/bin/addzopeuser masterofdesaster VXT+zif -c ./instance/etc/zope.conf
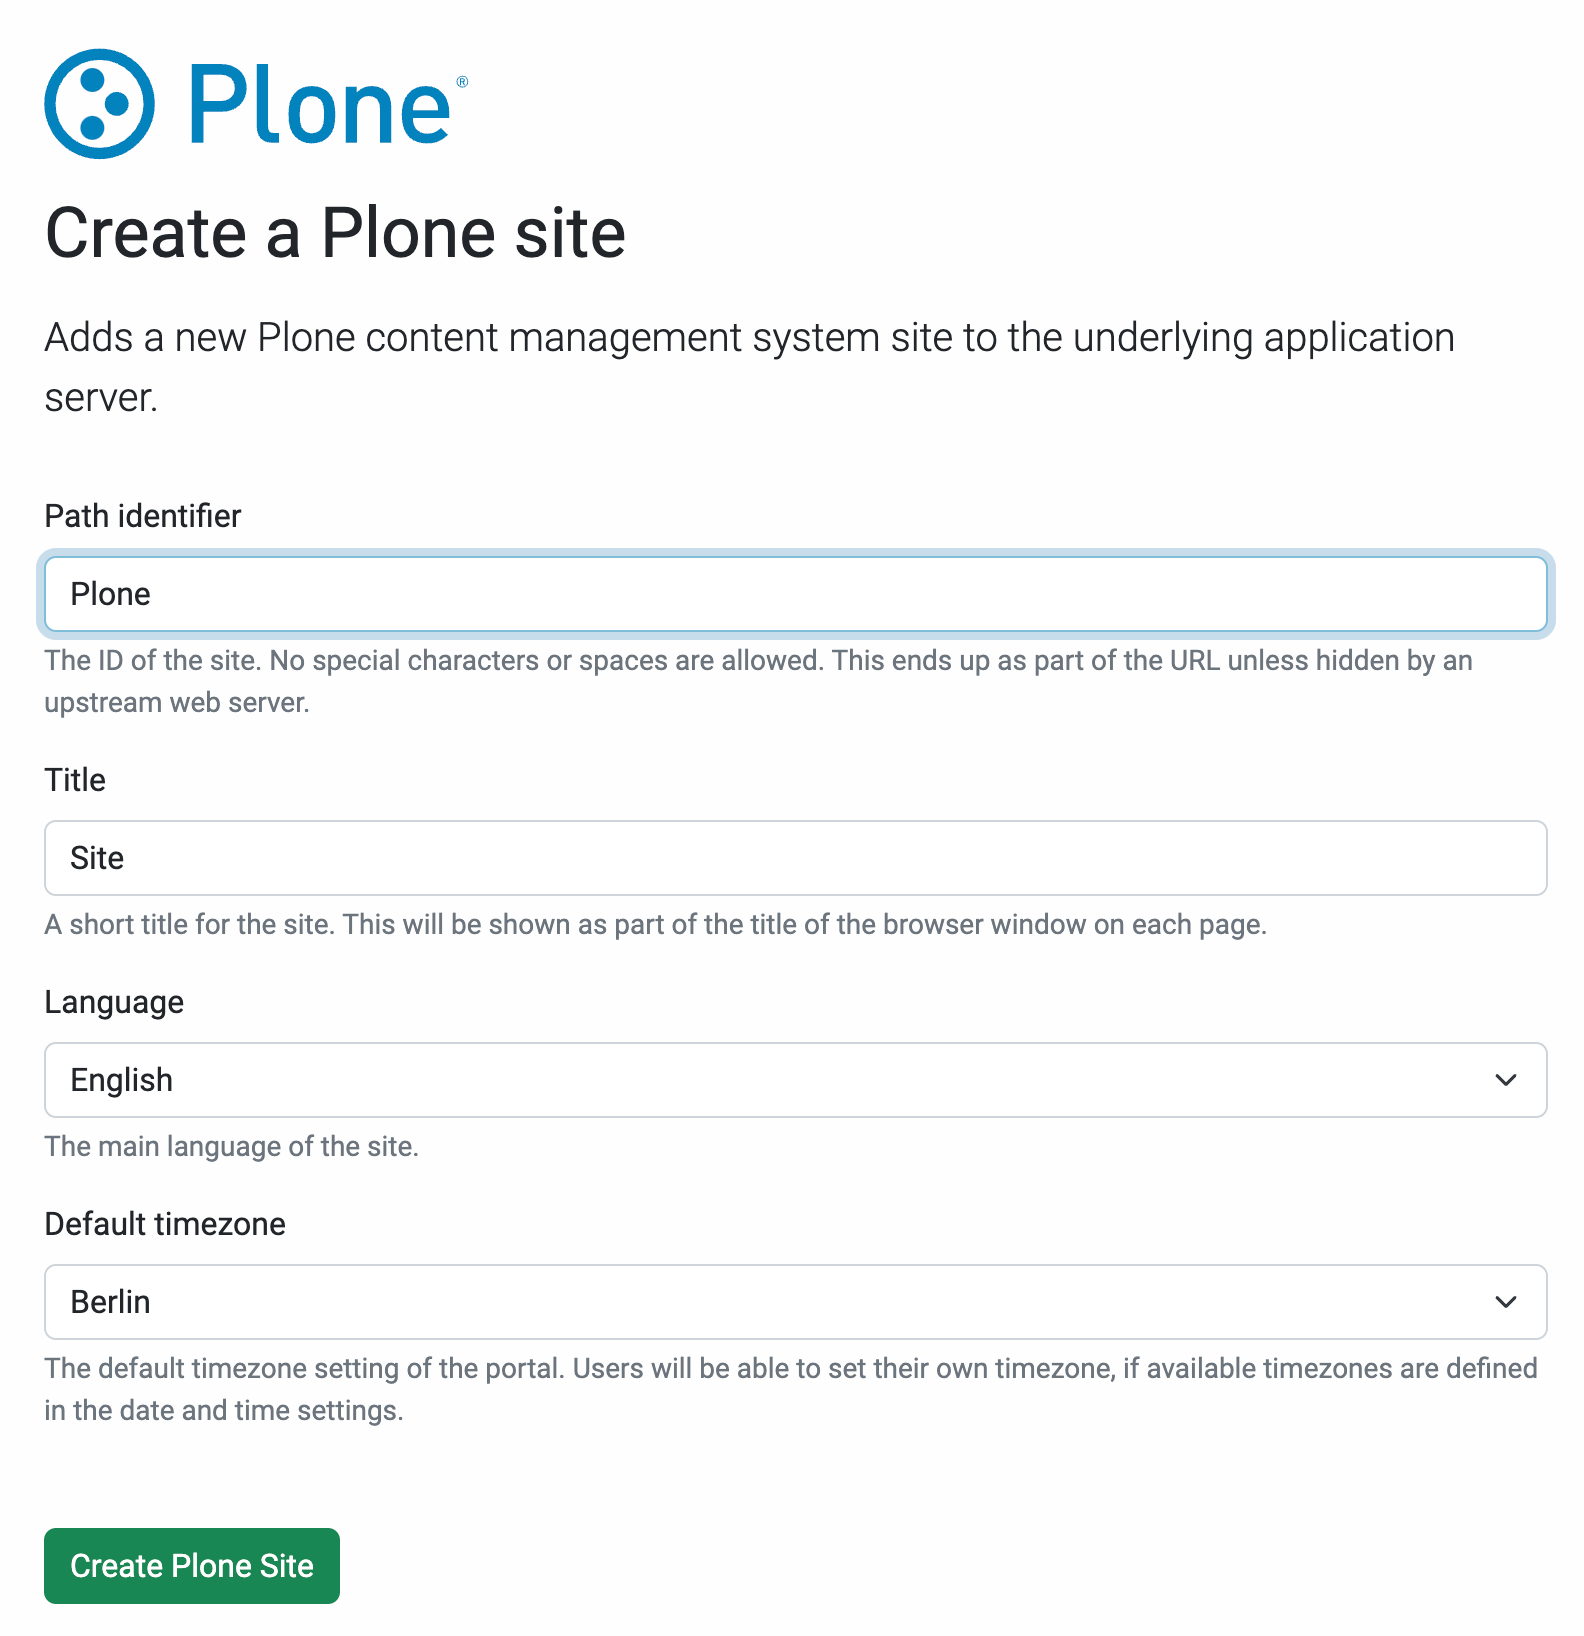
Create a Plone site#
You will be automatically redirected to the new site.
This is how the front page should look like:
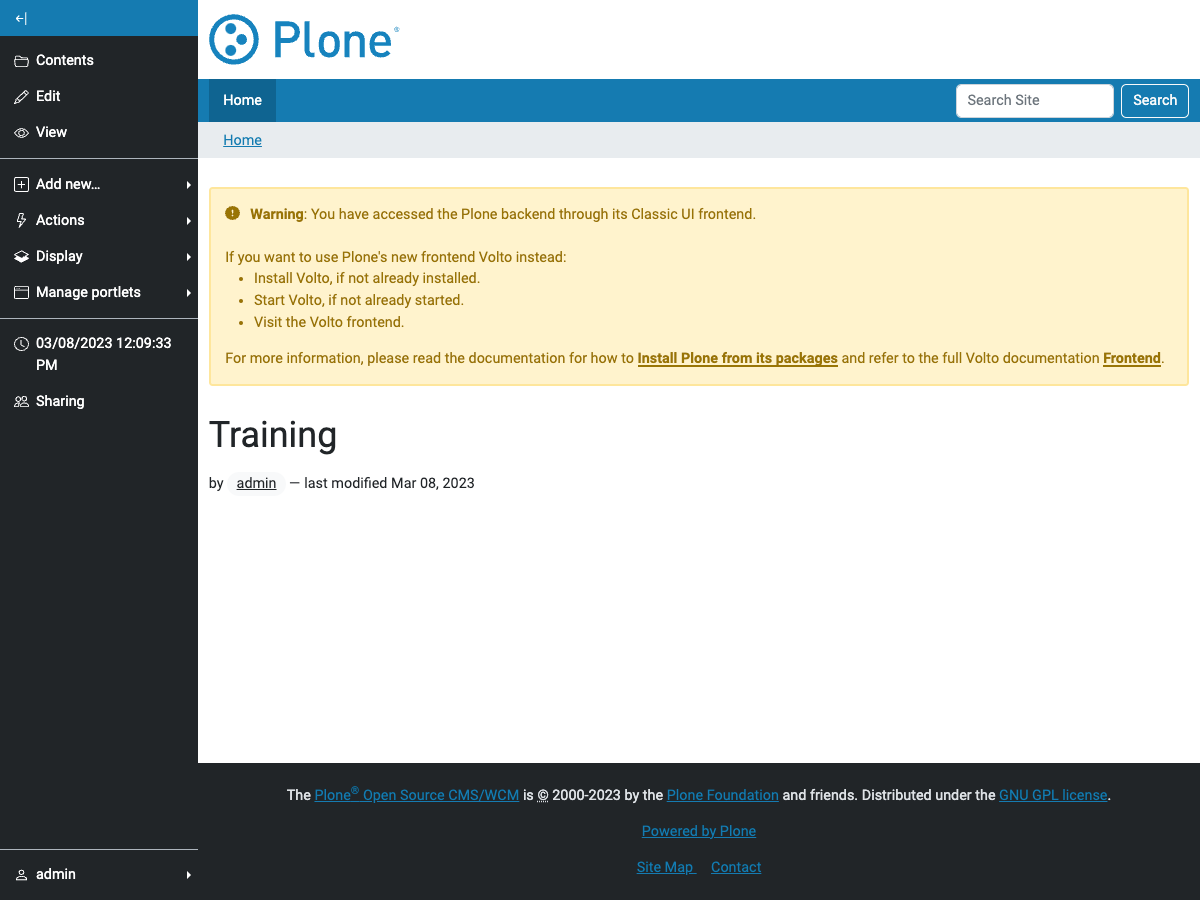
The front page of your site#
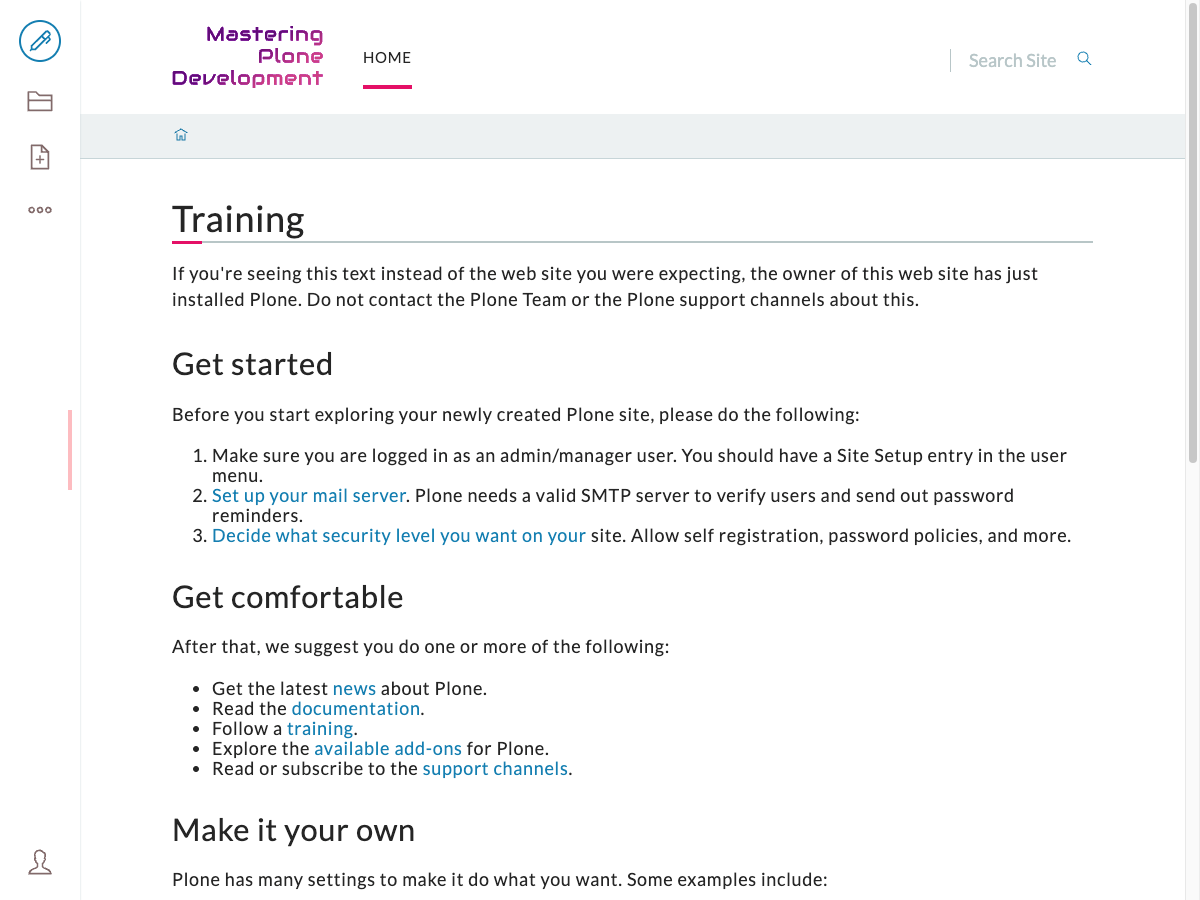
6.3. Starting and stopping the frontend#
Start the frontend of your new Plone site by switching to directory frontend and enter:
yarn start
Opening http://localhost:3000, you are facing the front page of your Plone site.
You can stop the frontend any time using ctrl c.
While developing it is not necessary to restart the frontend unless you are adding a new file.
Change ports#
backend#
Now let's say you want Plone to listen on port 9080 instead of the default 8080.
Open the file backend/instance.yml in your favorite editor.
How could you do this?
wsgi_listen: localhost:9080
Change the address to localhost:9080 and restart your instance.
You will also have to tell the frontend that the backend is now running on a different port!
You need to change the environment variable RAZZLE_DEV_PROXY_API_PATH to the base url of the backend:
RAZZLE_DEV_PROXY_API_PATH=http://localhost:9080/Plone yarn start
When your Plone instance is not called Plone you can use the same approach:
RAZZLE_DEV_PROXY_API_PATH=http://localhost:8080/mysite yarn start
frontend#
Change the port of the frontend to 1234
By default the frontend will start on port 3000. You can change the port and/or hostname for the frontend by specifying the environment variables PORT and/or HOST:
HOST=localhost PORT=1234 yarn start
6.4. Walkthrough of the UI#
Let's see what is there...
header:
logo: with a link to the front page
searchbox: search
navigation: The global navigation
footer: site actions, and colophon
toolbar: a vertical bar on the left side of the browser window with editing options for the content
On the toolbar, we find options affecting the current context...
edit
folder contents
add
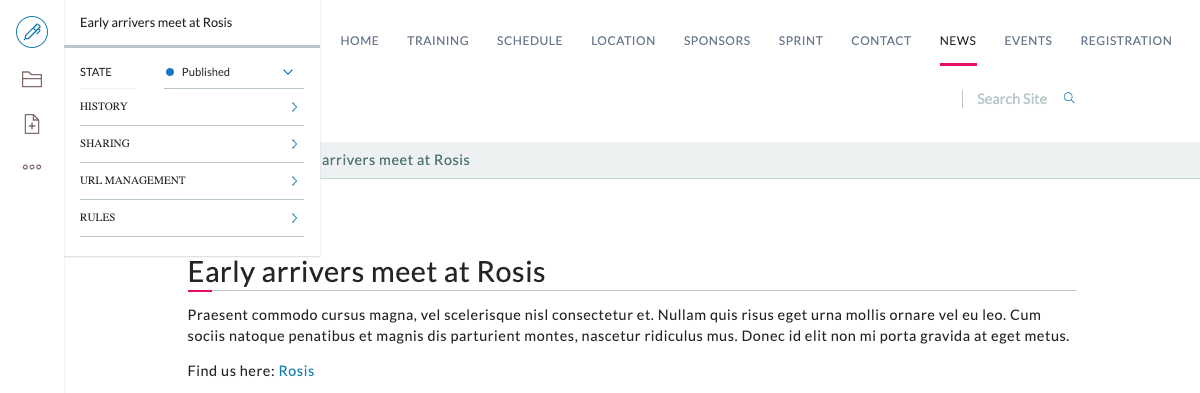
There is a context menu with three dots that holds additional options:
review state
history
sharing
url management
At the bottom of the toolbar is a silhouette-icon that holds a menu with the following links:
logout
profile
preferences
site setup
Some toolbar options only show when appropriate. For example, edit is only shown if the current user has the permission to edit.
6.5. Configure a Mailserver#
For production level deployments you have to configure a mailserver. Later in the training we will create some content rules that send emails when new content is put on our site.
For the training you don't have to configure a working mailserver since the Plone add-on Products.PrintingMailHost is installed which will redirect all emails to the console.
Server:
localhostUsername: leave blank
Password: leave blank
Site 'From' name: Your name
Site 'From' address: Your email address
Click on Save and send test e-mail. You will see the mail content in the console output of your instance. Plone will not
actually send the email to the receivers address unless your remove or deactivate Products.PrintingMailHost.
6.6. The site structure#
We are creating the following structure:
Root (front page)
├── Training
├── Schedule
├── Location
├── Sponsors
├── Sprint
└── Contact
Below we'll add appropriate content.
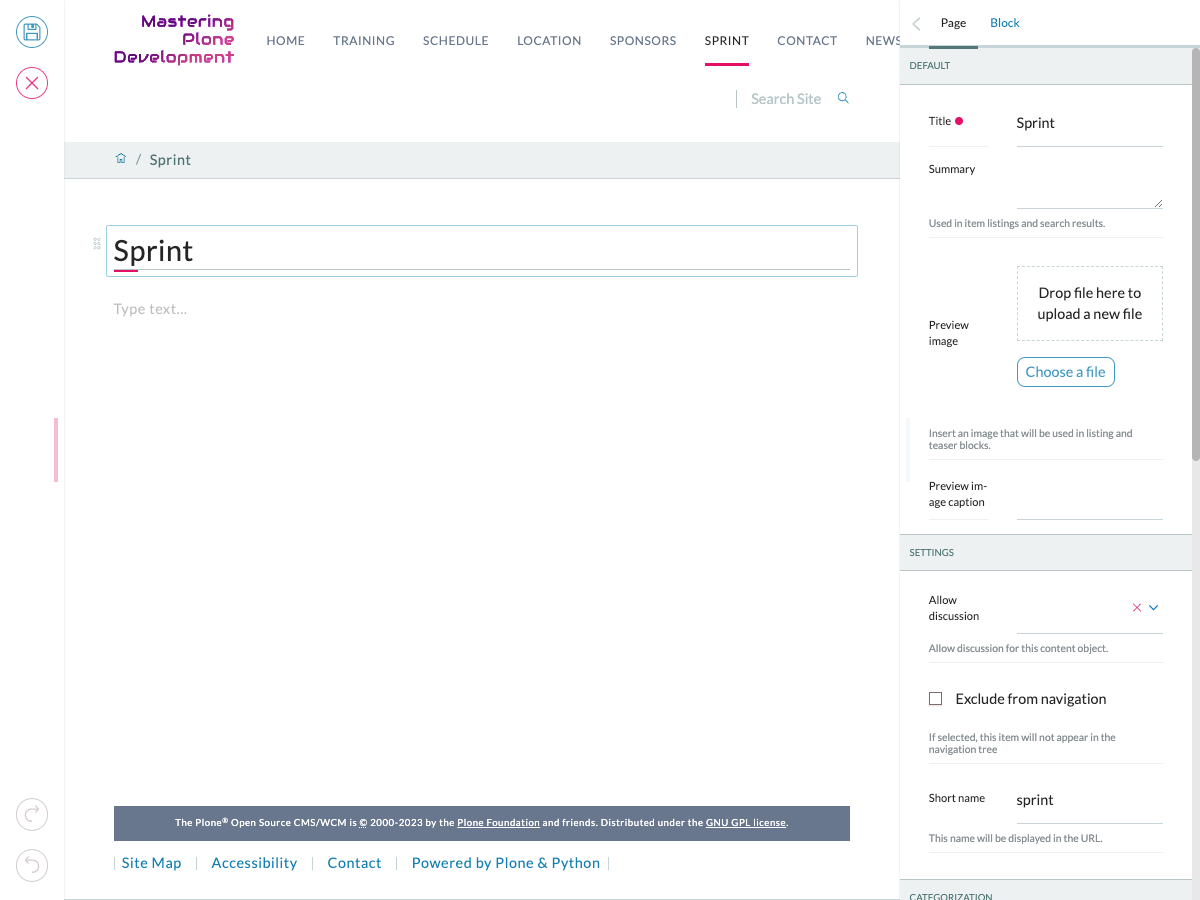
Edit the front page:
Change the title to
Plone Conference 2050, Solis Lacus, Mars.Remove the text blocks below the title by selecting all and deleting them.
Add some dummy text.
Click somewhere in the text, press return and see the block being splitted.
Save the page.
If there is existing content in your instance, you might consider removing it.
Navigate to /contents by clicking the folder icon in the toolbar.
Select all objects and delete them.
Create a site structure:
Add a Page "Training"
Add a Page "Schedule"
Add a Page "Location"
Add a Page "Sponsors"
Add a Page "Sprint"
Add a Page "Contact"
The view of the newly created site structure#
Additional to these conference pages we also want some news and events. We want a registration page and a protected section for the conference team.
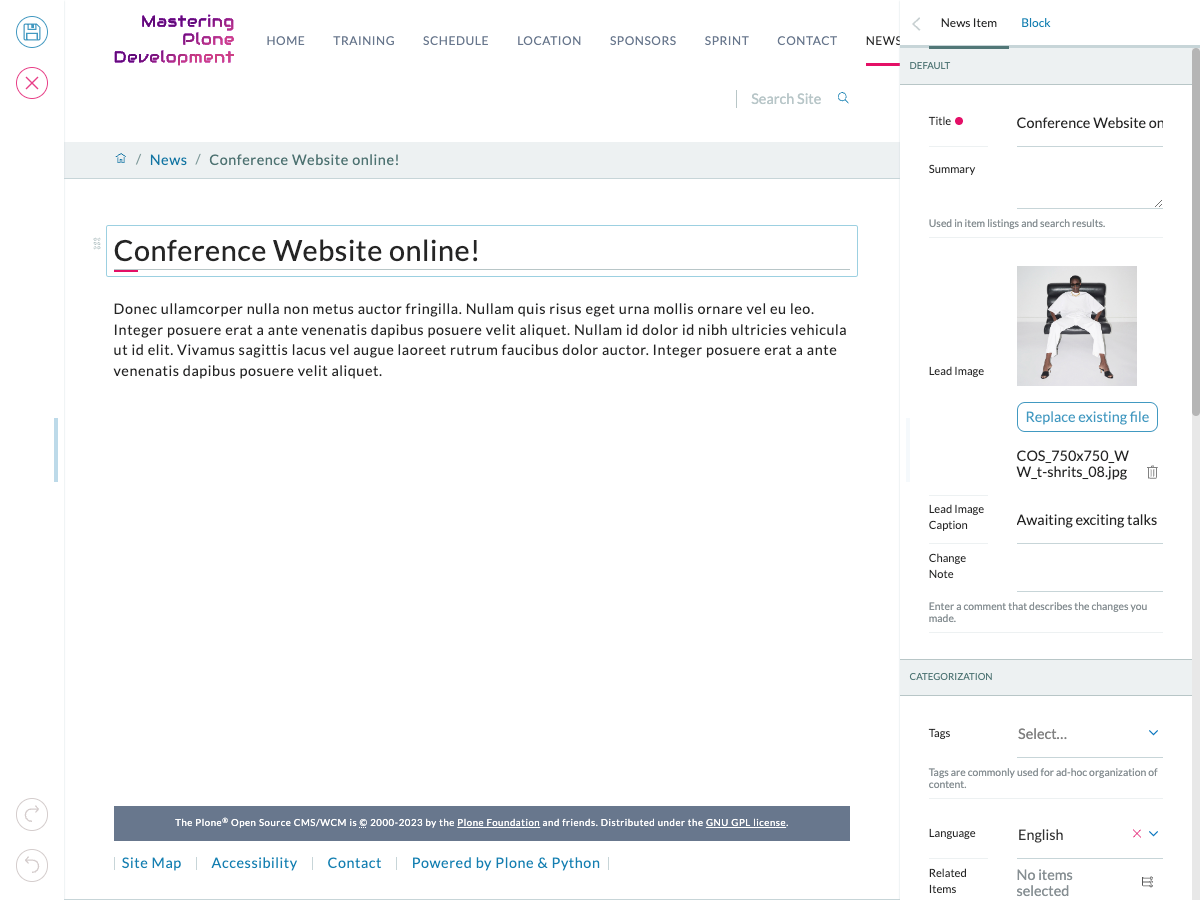
Add a page "News"
In
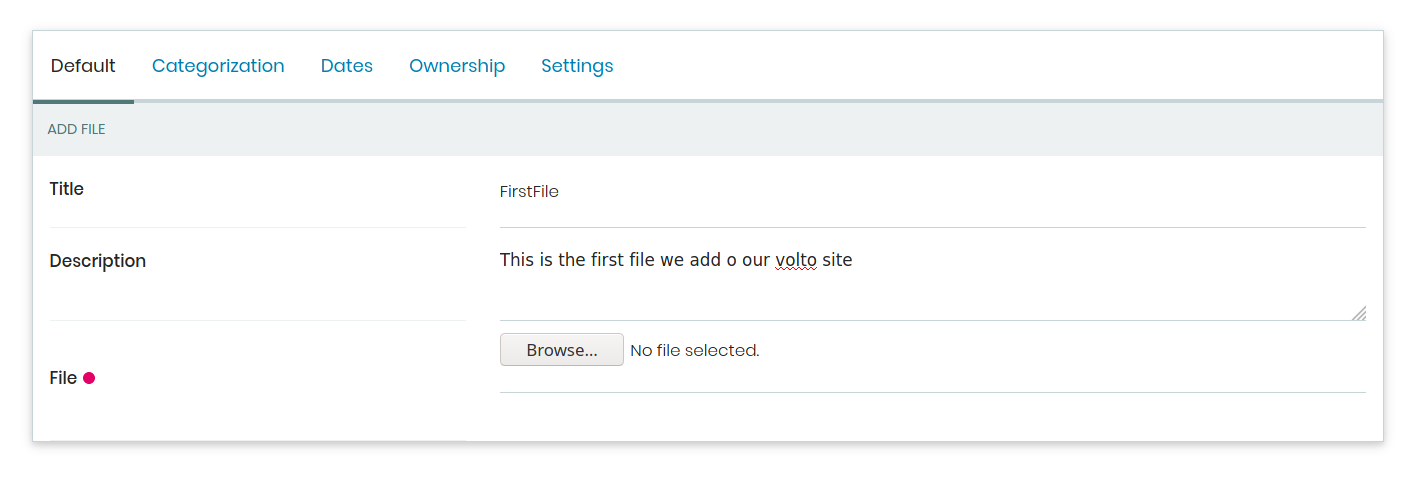
/news: Add a News Item "Conference Website online!" with some imageIn
/news: Add a News Item "Submit your talks!"Add a page "Events"
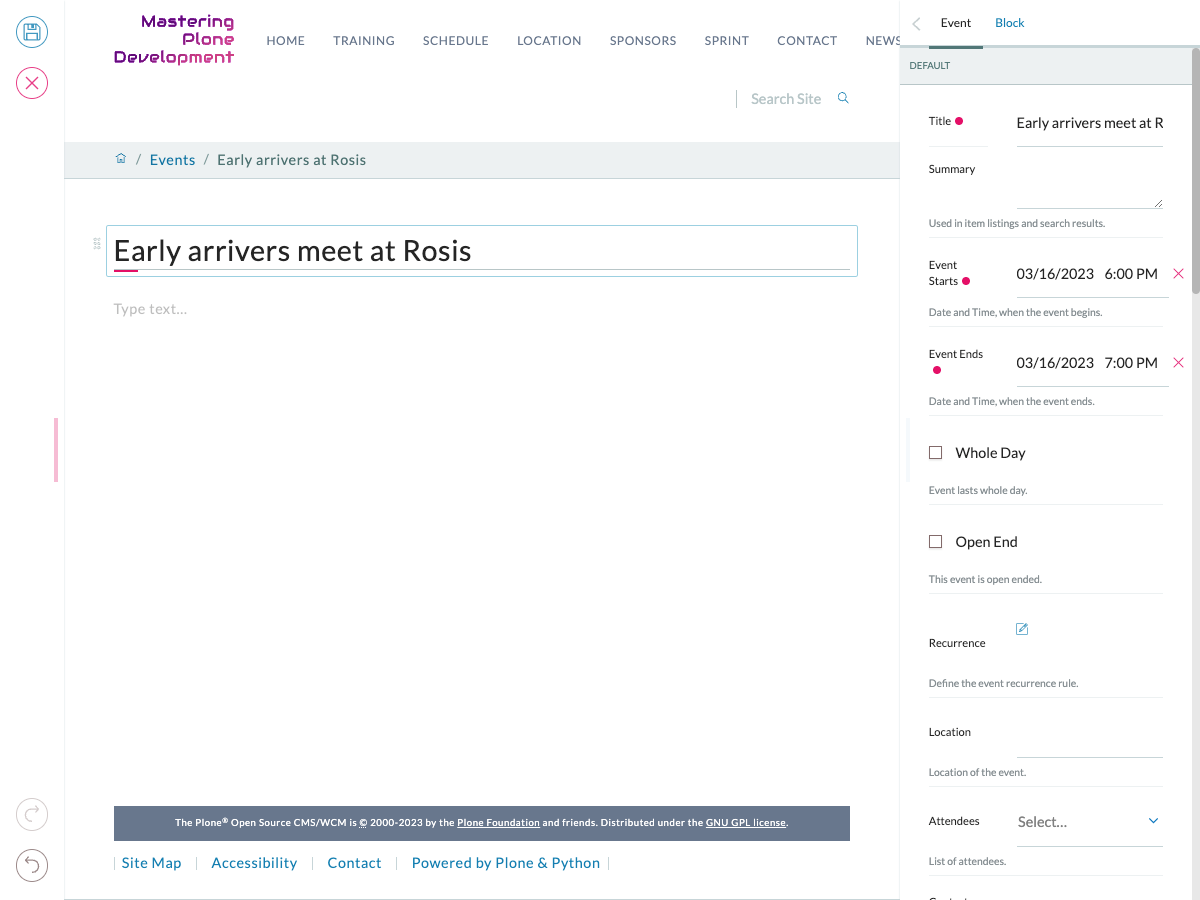
In
/events: Add an Event "Deadline for talk submission" Date: 2025/08/10Add a page "Registration"
Add a page "Intranet"

The view of the extended navigation bar.#
6.7. Default content types#
The default Plone content types are:
- Page
A Page is the most flexible content type. You can use the editor to create, edit and arrange blocks on a page. You can choose from blocks for Text, Image, Video, List of existing content and many more. Pages are folderish, they can contain other content. This means you can use them to structure your site.
- News Item
Basically a page with an image and an image caption to be used for press releases and such.
- Event
These are basically pages with start and end dates and some additional fields for whole day or recurring events.
- Image
Like file but png, jpeg or other image types. The Image content type has an image field. Values of the image field are saved in multiple scales to be accessible easily when rendering.

- File
A file like a pdf, video or Word document.
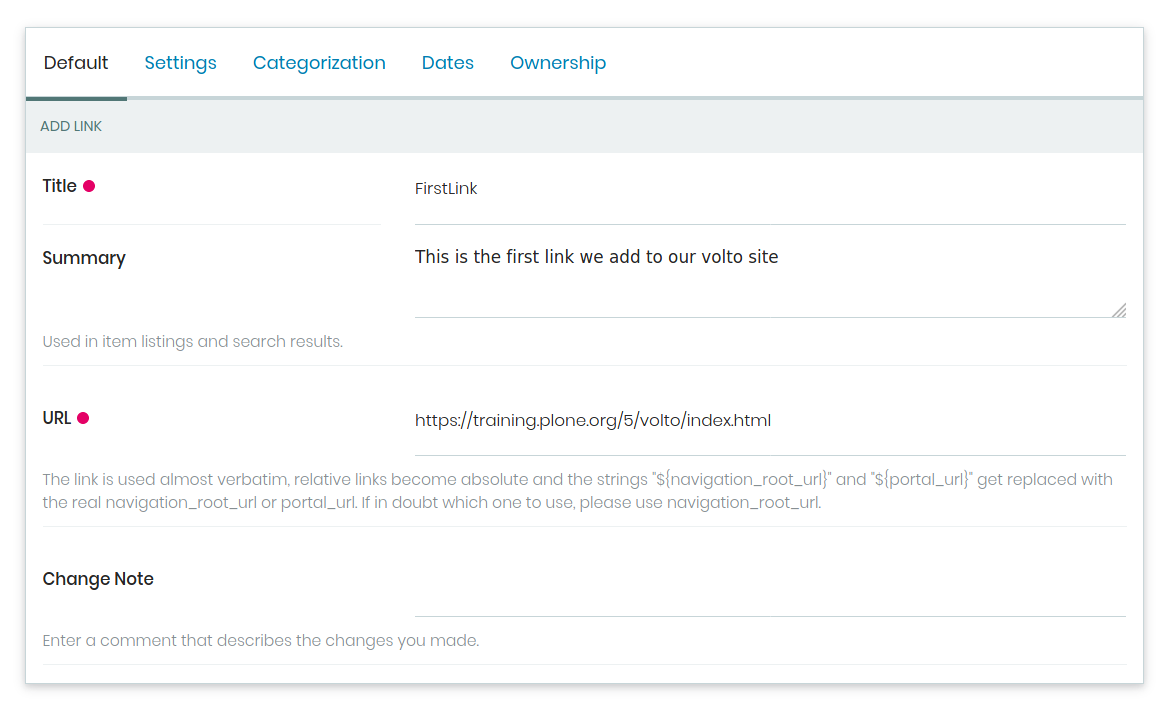
- Link
A link to an internal or external target.
6.8. Folderish content#
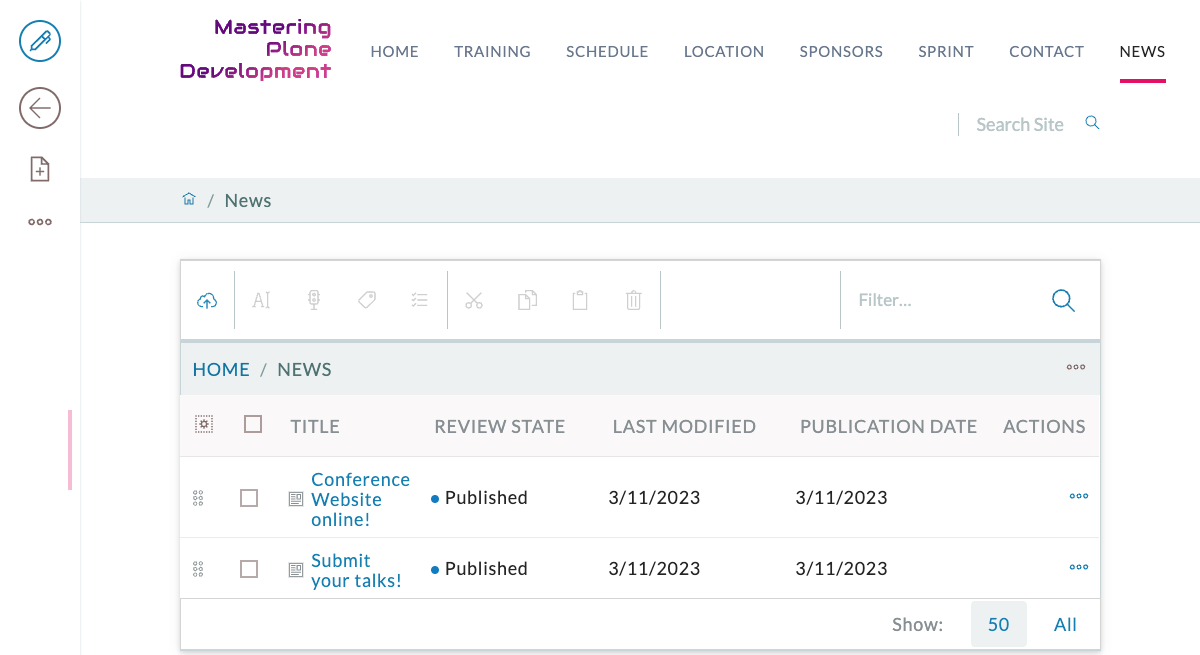
Go to "News".
Earlier we created this page with its title "News".
Therfore this page has the id "news" which we can see as part of its url http://localhost:3000/news.
A page is folderish. To see its contained items, we change to '/contents' by clicking the folder icon.
We can change the order of the two contained items by dragging and dropping.
We can modify their title and id, publish them, etc.. in one step by selecting them and applying a bulk action.
/contents#
A page has per default the view displaying the blocks of the page. As for all content types, you as a developer can provide multiple views or replace the default view. This is useful for adding components that should be shown independent of how an editor assembles a page with blocks.
Per default the page does not show its contained items but just the title and the blocks an editor creates. The contained items can be shown by creating a listing block. A listing block without any criterias lists the contained items.
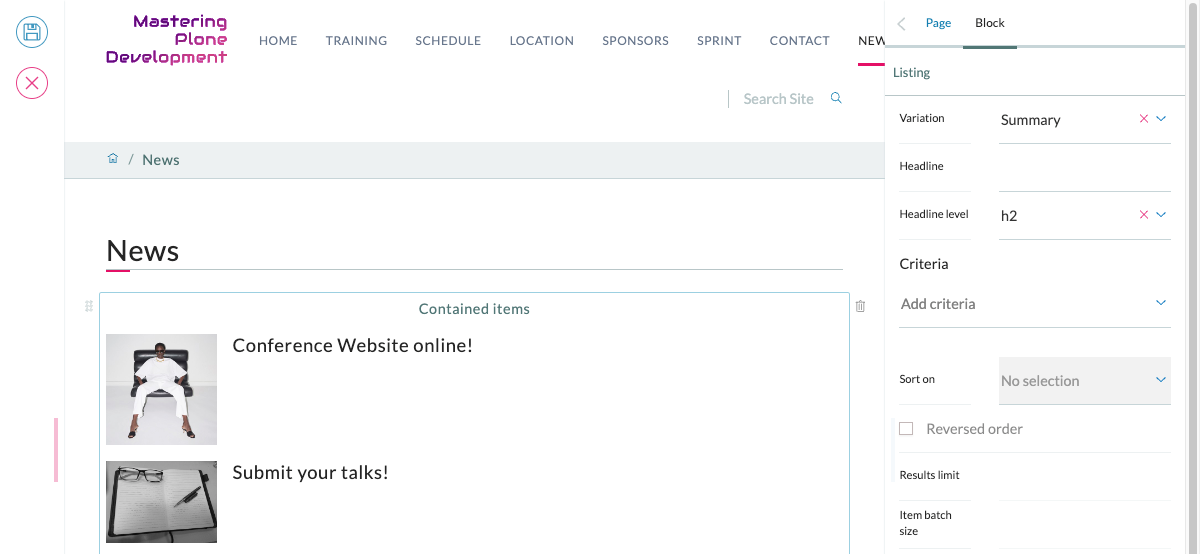
listing contained content items with a listing block#
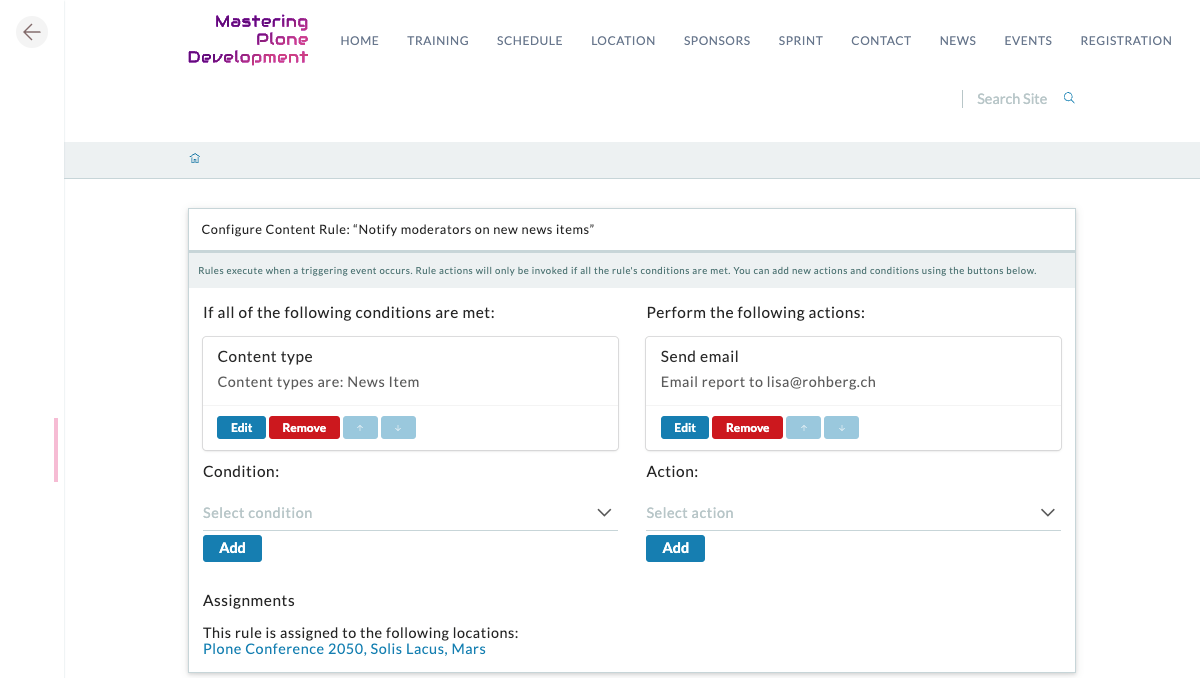
6.9. Content Rules#
Content rules allow to subscribe actions to events. We can access the UI by switching to the site setup. Select the menu in the left bottom of your page. In the site setup we select the content rules panel.
Each content rule created here is a contract on the site as a whole or just a section to apply an event subscriber to. The content rule therefore defines an action that subscribes to an event.
Exercise#
Create a new rule "Notify moderators on new news items". Apply this rule to content type "News Item". Apply this rule globally by switching to your site root and following context menu item "rules".
Verify that your rule works by creating a new news item. See your backend log or your mail for a notification. Did you receive a notification?

Create a new content rule for an event.#
Configure the content rule with conditions and actions.#
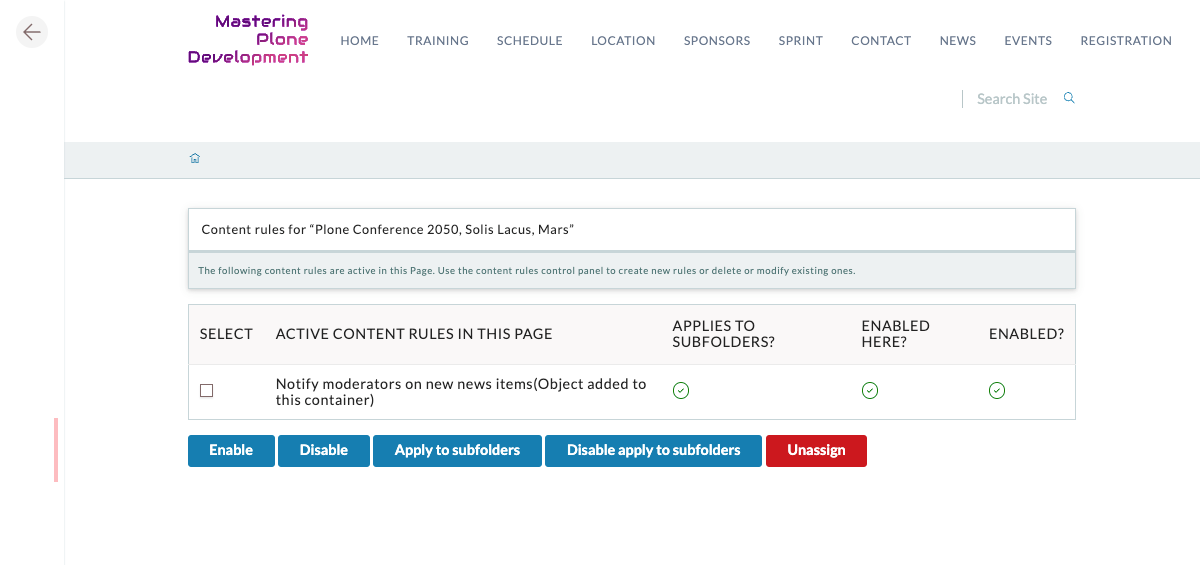
Assign your rule to a page (with or without sub pages) or globally.#
6.10. History#
The history not only lists who edited and published an item, but allows users with the appropriate permission to inspect and even revert changes.
Access history.#

View history.#
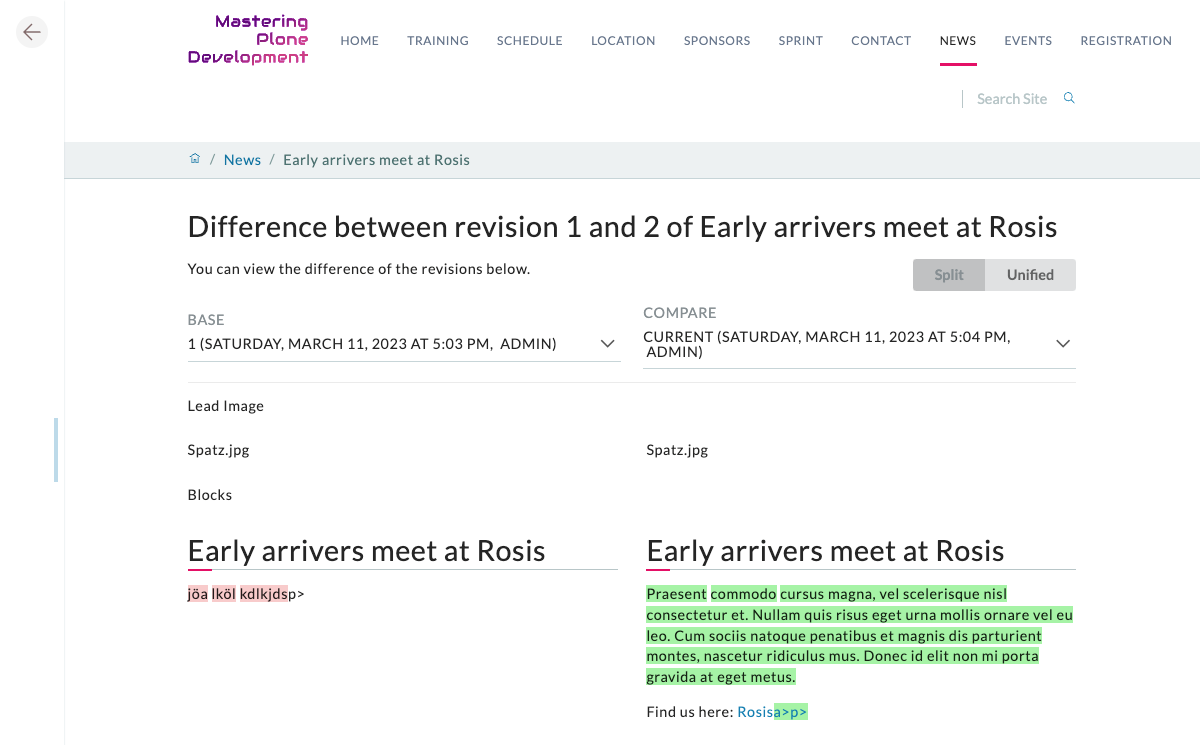
Inspect history.#
6.11. Users and groups#
In short, a user who wants to modify a Plone site needs to be registered and be given the appropriate permissions.
The Plone security is based on roles and permissions. Every transaction (create page, publish page, … ) is protected by a permission. A permission is assigned to roles.
Users can be assigned a role directly or by joining a group with the respective role.
Excursion#
We are facing our site as an administrator. Administrators are users assigned the role "Manager" which is assigned all permissions.
The current user "admin" is not listed in the user control panel as it is not a Plone user, but a Zope user. This user is registered in the Zope instance, a level above our dedicated Plone site. Our dedicated Plone site emerges as http://localhost:3000/ but indeed is one Plone site of multiple Plone sites in a Zope instance.
For a deeper insight, visit the backend via the "management interface".
Link to ZMI Zope management interface at http://localhost:8080/#
Exercise#
Create a user "Urs Herbst" who can add and edit content, even review (publish content), but has no administrator rights.
The roles should not be assigned directly to the user, but via a group "editors".
Add a group "Jury", create and add user "Lisa Sommer" to it.
Groups and users#
It is recommended to assign roles to users via group memberships. Inspect group memberships at its control panel.
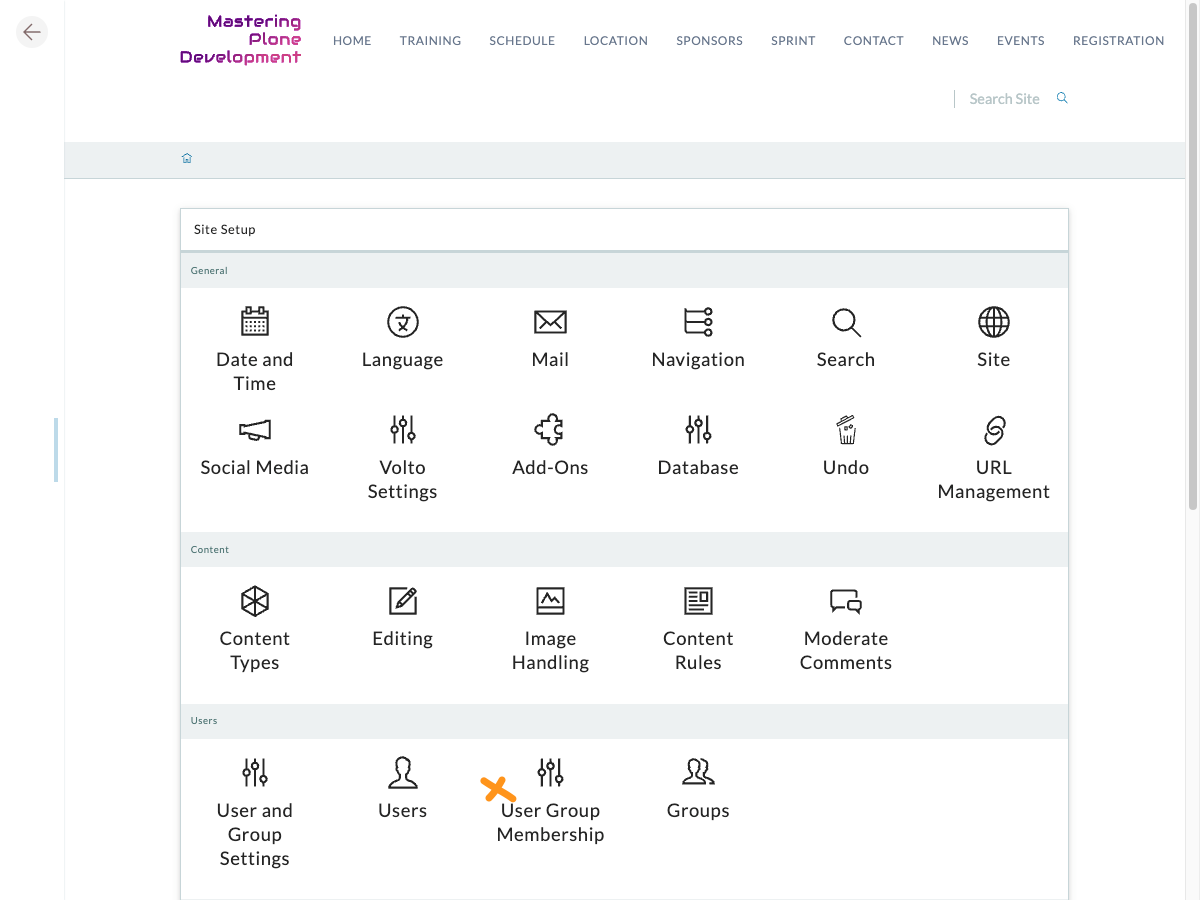
Group memberships#
6.12. Workflows#
A workflow is a set of states and transactions. Each content type is assigned a workflow. A content type instance like a page is in a state, for example published. The state can be changed. Which workflow states a content type instance can be switched to is determined by the workflow transactions.
Have look at one of the news items we created earlier. The state is "private" and can be changed to "published" by selecting the "publish" transaction.
The state of a content type instance determines if a user can view, edit or is allowed to execute other modifications like moving or even changing the workflow.
The workflows can be inspected and modified at http://localhost:8080/Plone/portal_workflow/. It is recommended to configure the workflows for a project programmatically in an add-on instead of doing this through the web UI. But for getting to know workflows, their states and transactions, and their permission mappings, this address in the ZMI (Zope management interface) is a good place to start. If you are interested in inspecting the effects on changes it is recommended to copy a default workflow, apply it to for example pages and do changes in this workflow. Afterwards these changes can be reverted by reapplying the former default workflow.
For programmatically changes, a modified default workflow can be exported and included in an add-on.
Important for the understanding of workflows is the mapping of roles to permissions per workflow state. This is one crucial integrational component that makes Plone a secure CMS. Each content type instance like a page is in a workflow state. Access and modifications of this instance is defined by the role/permission mapping of this workflow state. As each user, including the anonymous, has a set of roles, the circle is closed and each user has access and or can modify a content type instance or not, according to their roles.
See also
Training Plone Workflow
Plone 5 Documentation Collaboration and Workflow
Placeful workflows#
Warning
Placeful workflows are not yet configurable in Volto. Workflow settings that are configured in Plone backend are applied though.
You may need to have different workflows in different parts of a site. For example, we created an intranet page. Since this is intended for our conference organizers — but not the public — the simple workflow we use for the rest of the site is not appropriate for a protected intranet.
Plone's Workflow Policy Support package gives you the ability to set different workflows in different sections of a site.
Typically, you use it to set a special workflow on a page determining the page and its sub pages.
Since it has effect in a "place" in a site, this mechanism is often called "Placeful Workflow".
Placeful Workflow ships with Plone but needs to be activated via the add-on configuration page.
Once it is added, a Policy option appears in the state menu to allow setting a placeful workflow policy.
6.13. Publishing date and expiration date#
The visibility of a content type instance like a page is not only ascertained by the workflow state. The publishing can be scheduled by setting the publishing date.
Edit the front page of your site to display published news by adding a listing block with the approriate criteria.
By publishing one of your news items, it will appear on the front page.
As soon as you change the publishing date to a future date, the news item will no longer be shown on the front page until the date is reached.
6.15. Url management#
Plone has an integrated mechanism to remember urls that where modified. A moved page is still available via the former url.
Additional to this behavior, a page can be explicitly made available under further urls.
You can find the UI for adding alternative urls following the context menu ....
6.16. Working copy#
Warning
The working copy feature is not yet implemented in Volto UI.
Published content, even in an intranet setting, can pose a special problem for editing. It may need to be reviewed before changes are made available. In fact, the original author may not even have permission to change the document without review. Or, you may need to make a partial edit. In either case, it may be undesirable for changes to be immediately visible.
Plone's working copy support solves this problem by adding a check-out/check-in function for content — available via the actions menu. A content item may be checked out, worked on, then checked back in. Or it may get abandoned if the changes aren't acceptable. The new content is not visible unless checked back in.
While it's shipped with Plone, working copy support is not a common need. So, if you need it, activate it via the add-on packages configuration page. Unless activated, check-in/check-out options are not visible.