Rapido#
Rapido allows you to create Plone applications in the Theme.
In this part you will:
Create a Like button on any talk so that visitors can cast votes,
Display the total of votes next to the button,
Create a "Top 5" page,
Reset the votes on workflow change.
Topics covered:
Create a Rapido app.
Insert Rapido blocks in Plone pages.
Implement scripts in Rapido.
What is Rapido?#
Rapido is a Plone add-on that allows implementation of custom features on top of Plone.
It is a simple yet powerful way to extend the behavior of your Plone site without using the underlying frameworks.
The Plone theming tool is the interface used to build rapido.plone applications.
This means that Rapido applications can be written both on the file system or using the inline editor of the Plone theming tool.
A Rapido application is a part of your current theme: It can be imported, exported, copied, modified, etc. like the rest of the theme. But in addition to layout and design elements, it can contain business logic implemented in Python.
A couple of comparisons#
Compared to Dexterity:
Dexterity focuses on content types. Content types can only use the Plone business logic, you cannot implement your own logic.
By contrast, using Rapido you can implement your own logic; however you can only store data records, not Plone content items (at least, not directly like Dexterity does).
Compared to Diazo and Mosaic:
Diazo manages the Plone theme,
Mosaic allows you to manage layouts by positioning tiles,
Rapido does not do either theming or layouts, but a Rapido block can be called from a Diazo rule or displayed in a Mosaic tile.
Compared to conventional Plone development:
Rapido is simpler: no need to learn about any framework, no need to create Python eggs,
but Rapido code runs in restricted mode, so you cannot import any unsafe Python module in your code.
Installation#
For the training, we will use a Heroku instance pre-configured with Plone.
Once deployed:
Create a Plone site,
Go to: ,
Finally: install Rapido.
But to deploy Rapido on an actual Plone instance, modify buildout.cfg to add Rapido as a dependency:
eggs =
    ...
    rapido.plone
Run your buildout:
bin/buildout -N
Then go to
http://localhost:8080/Plone/prefs_install_products_form,
and install Rapido.
Principles#
- Rapido application
It contains the features you implement; it is a folder containing templates, Python code, and YAML files.
- block
Blocks display a chunk of HTML which can be inserted in your Plone pages.
- element
Elements are the dynamic components of your blocks. They can be input fields, buttons, or computed HTML. They can also return JSON if you call them from a JavaScript app,
- records
A Rapido app is able to store data as records. Records are basic dictionaries.
How To Create A Rapido App#
A Rapido app is defined by a set of files in our Diazo theme.
The files need to be in a specific location
/rapido/<app-name>
Here is a typical layout for a Rapido app
/rapido
    /myapp
        settings.yaml
        /blocks
            stats.html
            stats.py
            stats.yaml
            tags.html
            tags.py
            tags.yaml
Todo
ADD SCREENSHOT HERE
Blocks And Elements#
The app components are blocks.
A block is defined by a set of 3 files (HTML, Python, and YAML) located in the blocks folder.
The YAML file defines the elements.
An element is any dynamically generated element in a block.
It can be a form field (input, select, etc.),
or a button (an ACTION element),
or even a piece of generated HTML (a BASIC element).
The HTML file contains the layout of the block.
The templating mechanism is super simple:
elements are enclosed in curly brackets, like this: {my_element}.
The Python file contains the application logic. We will see later how we use those Python files.
Exercise 1: Create The Vote Block#
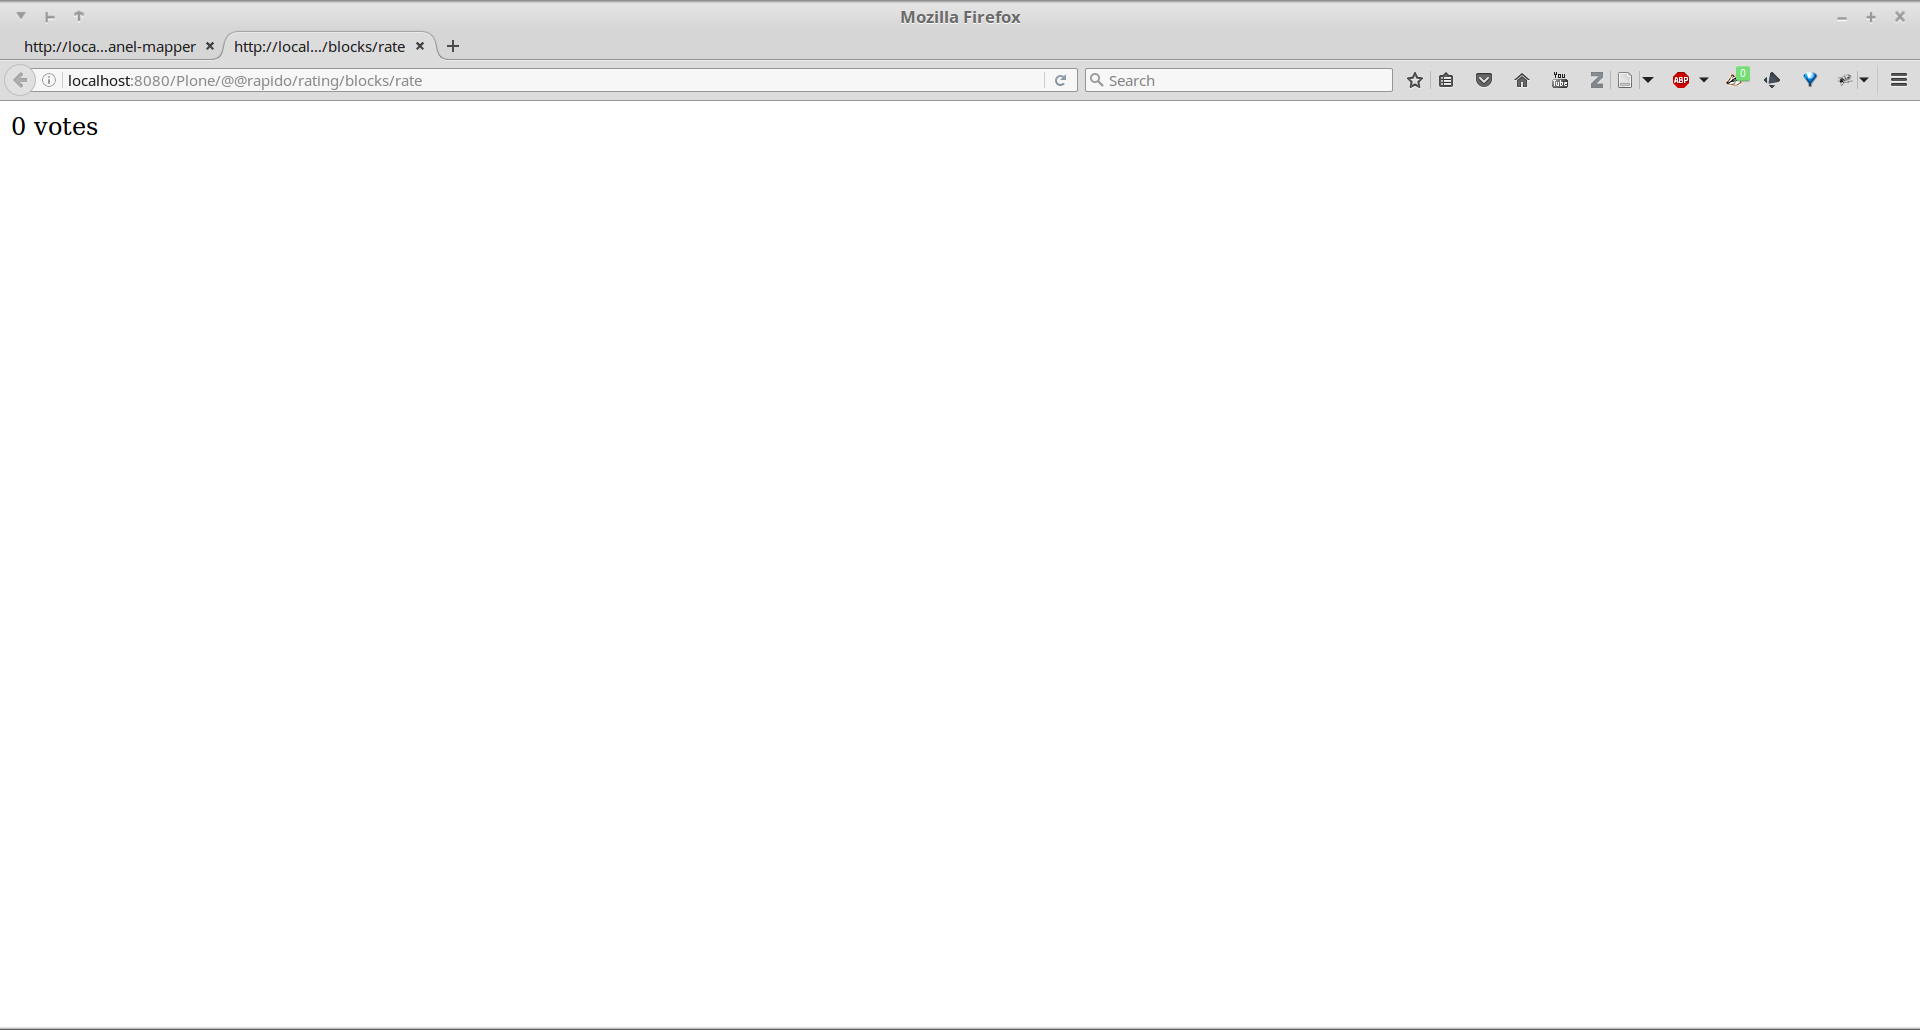
Let's start by displaying a static counter showing "0 votes" on all talks.
First, we need to create the rating Rapido app.
And now, we need to create a rate block.
Once the block is ready, you can display it by visiting its URL in your browser:
http://localhost:8080/Plone/@@rapido/rating/blocks/rate
But we would prefer to display it inside our existing Plone pages.
Include Rapido Blocks In Plone Pages#
We can include Rapido blocks in Plone pages using Diazo rules.
The include rule is able to load another URL than the current page,
extract a piece of HTML from it,
and include it in regular Diazo rules (such as after, before, etc.).
So the following rule:
<after css:content="#content">
    <include href="@@rapido/stats/blocks/stats" css:content="form"/>
</after>
would insert the stats block under the Plone main content.
Rapido rules can be added directly in our theme's main rules.xml file,
but it is a good practice to put them in a dedicated rule file which can be located in our app folder.
The app-specific rules file can be included in the main rules file as follows
(where MYAPP is the name that you gave your application):
<xi:include href="rapido/MYAPP/rules.xml" />
Exercise 2: Display The Vote Block In Plone Pages#
Insert the rate block content under the Plone page main heading.
Note
This presumes having completed Dexterity.
Now, if you visit a talk page, you see the counter below the heading.

Make Our Blocks Dynamic#
The YAML file allows us to declare elements. The Python files allows computing the element value using a function named after the element id. And the HTML file can display elements using the curly-brackets notation. The 3 files must have the same name (only the extensions change).
As mentioned earlier, the Python file contains the application logic.
This file is a set of Python functions named to correspond to the elements or the events they relate to.
For a BASIC element for instance,
if we provide a function with the same name as the element,
its return-value will be inserted in the block at the location of the element.
For an ACTION,
if we provide a function with the same name as the element,
it will be executed when a user clicks on the action button.
A typical element is defined and used as follows:
create a definition in the YAML file:
elements:
    answer:
        type: BASIC
create an implementation in the Python file:
def answer(context):
    return 42
insert the element in the HTML template:
<span>Answer to the Ultimate Question of Life, the Universe, and Everything: {answer}</span>
Exercise 3: Create An Element To Display The Votes#
Let's replace the "0" value in our rate block with a computed value.
To do this, you need to add an element to the block.
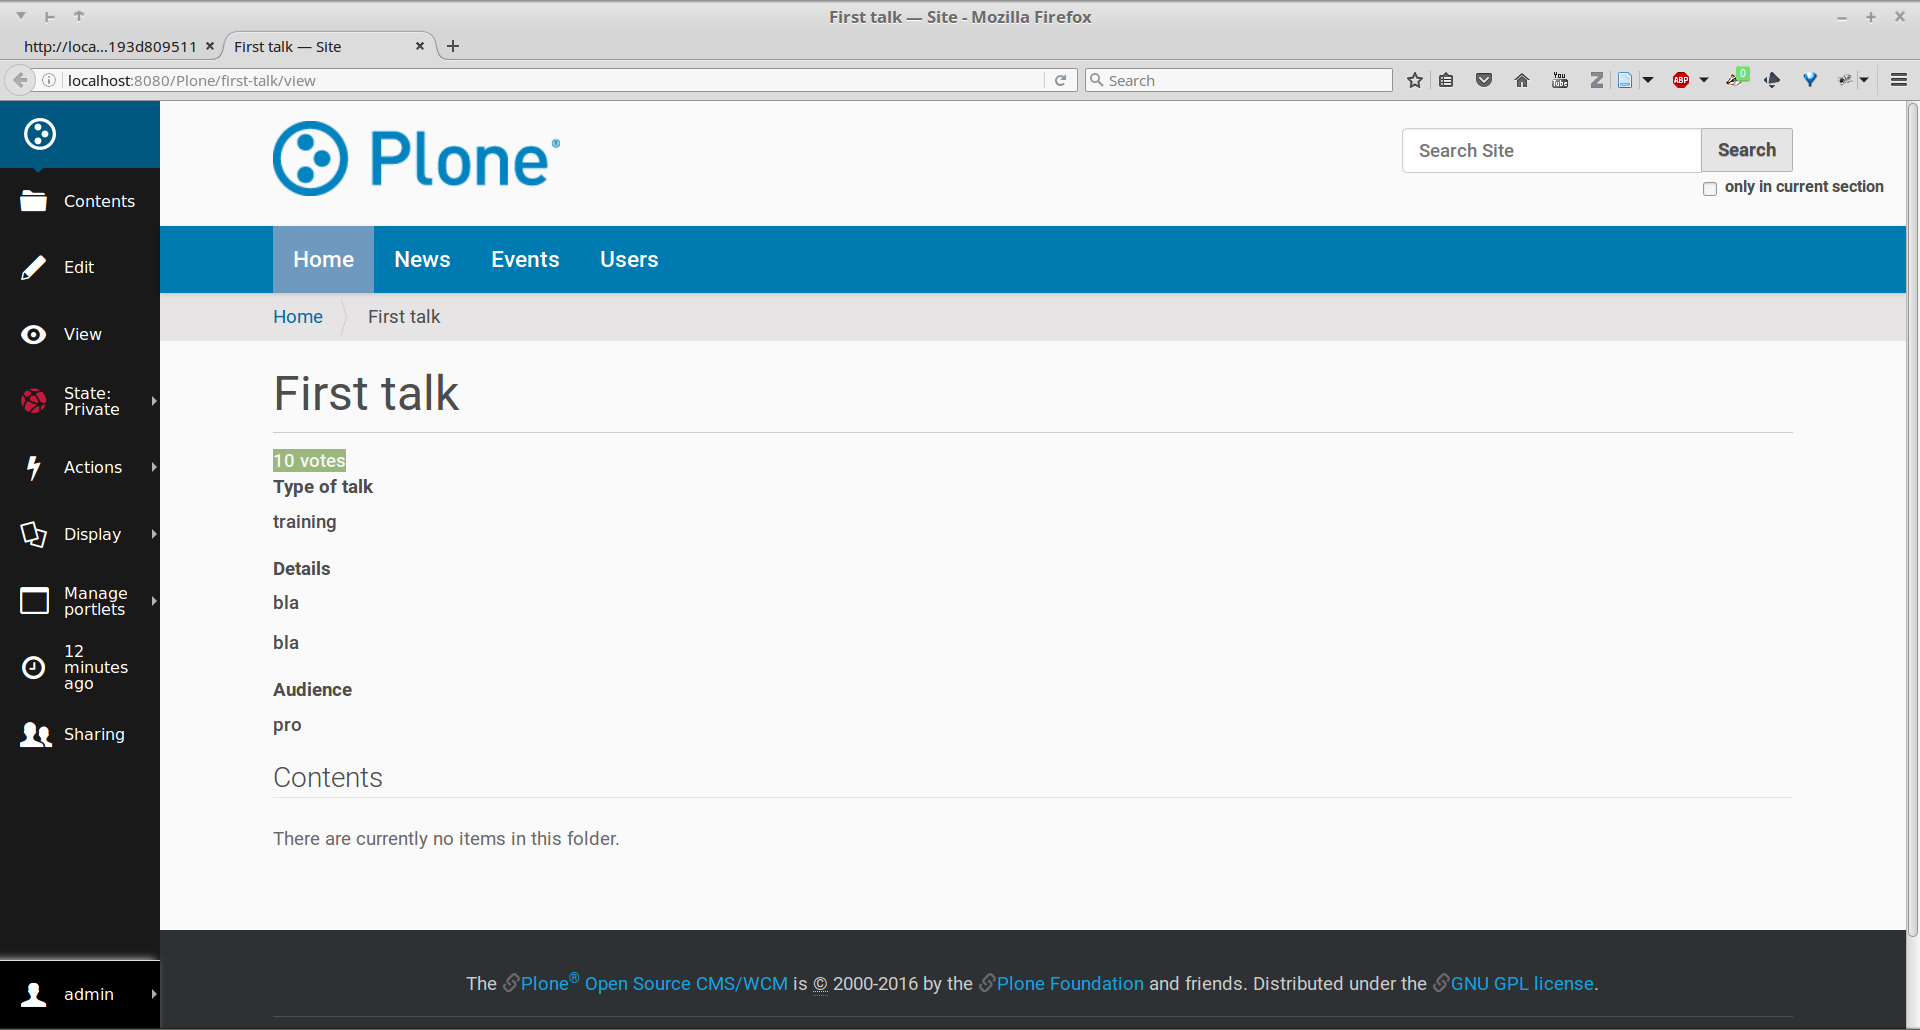
For now the Python function will return 10.
Now, if you refresh your talk page, the counter will display the value returned by your Python function.
Create Actions#
An action is a regular element, but it is rendered as a button.
Its associated function in the Python file will be called when the user clicks on the button.
Example:
YAML:
elements:
    change_page_title:
        type: ACTION
        label: Change the title
Python:
def change_page_title(context):
    context.content.title = "A new title"
HTML:
<span>{change_page_title}</span>
Every time the user clicks the action, the block is reloaded (so elements are refreshed).
When the block is inserted in a Plone page using a Diazo rule, the reloading will replace the current page with the bare block. This is not what we want.
If we want the current Plone page to be preserved, we need to activate the AJAX mode in the YAML file:
target: ajax
Exercise 4: Add The Like Button#
Add a Like button to the block. For now, the action itself will do nothing. Let's just insert it at the right place, and make sure the block is refreshed properly when we click.

Store Data#
Each Rapido app provides an internal storage utility able to store records.
Records are not Plone objects, they are just simple dictionaries of basic data (strings, numbers, dates, etc.).
There is no constraint on the dictionary items but Rapido will always set an id item, so this key is reserved.
Something like:
{'id': 'record_1', 'name': 'Eric', 'age': 42}
could be a valid record.
The Rapido Python API allows us to create, get or delete records:
record = context.app.create_record(id="my-record")
record = context.app.get_record("other-record")
context.app.delete_record("other-record")
The record items are managed like regular Python dictionary items:
record.get('age', 0)
'age' in record
record['age'] = 42
del record['age']
Exercise 5: Count Votes#
The button is OK now, now let's focus on counting votes. To count the votes on a talk, you need store some information:
an identifier for the talk (we will use the talk path, from the Plone
absolute_url_path()method),the total votes it gets.
Let's implement the like() function:
first we need to get the current talk: the Rapido
contextallows to get the current Plone content usingcontext.content,then we need to get the record corresponding to the current talk, - if it does not exist, we need to create it,
and then we need to increase the current total votes for that talk by 1.
Note: we cannot just use the content id attribute as a valid identifier
because it is not unique at site level, so we prefer the path.
Now let's make sure to display the proper total in the display_votes element:
here also, we need to get the current talk,
then we get the corresponding record,
and we get its current total votes.
def display_votes(context):
    talk_path = context.content.absolute_url_path()
    record = context.app.get_record(talk_path)
    if not record:
        return 0
    return record['total']

HTML Templating Vs TAL Templating#
HTML templating#
The Rapido HTML templating is very simple. It is just plain HTML with curly-bracket notations to insert elements:
<p>This is my message: {message}</p>
If the element is an object, we can render its properties:
def doc(context):
    return context.content
<p>This is my title: {doc.title}</p>
And if the element is a dictionary, we can access its items:
def stats(context):
    return {'avg': 10, 'total': 120}
<p>Average: {stats[avg]}</p>
It is easy to use but it cannot perform loops or conditional insertion.
TAL Templating#
TAL templating is the templating format used in the core of Plone. If HTML templating is too limiting, Rapido allows you to use TAL instead.
We just need to provide a file with the .pt extension instead of the HTML file.
The block elements are available in the elements object:
def my_title(context):
    return "Chapter 1"
<h1 tal:content="elements/my_title"></h1>
Elements can be used as conditions:
def is_footer(context):
    return True
<footer tal:condition="elements/is_footer">My footer</footer>
If an element returns an iterable object (list, dictionary), we can make a loop:
def links(context):
    return [
        {'url': 'https://validator.w3.org/', 'title': 'Markup Validation Service'},
        {'url': 'https://www.w3.org/Style/CSS/', 'title': 'CSS'},
    ]
<ul>
    <li tal:repeat="link elements/links">
        <a tal:attributes="link/url"
           tal:content="link/title"></a>
    </li>
</ul>
The current Rapido context is available in the context object:
<h1 tal:content="context/content/title"></h1>
See the TAL commands documentation for more details about TAL.
Create Custom Views#
For now, we have just added small chunks of HTML in existing pages. But Rapido also allows you to create a whole new page (a Plone developer would call it a new view).
Let's imagine we want to display one of our Rapido blocks in the main content area instead of the regular content.
We could do it with a simple replace Diazo rule:
<replace css:content="#content">
    <include href="@@rapido/stats/blocks/stats" css:content="form"/>
</replace>
But if we do that, the regular content will not be accessible anymore. What if we want to be able to access both the regular content with its regular URL, and define an additional URL to display our block as main content?
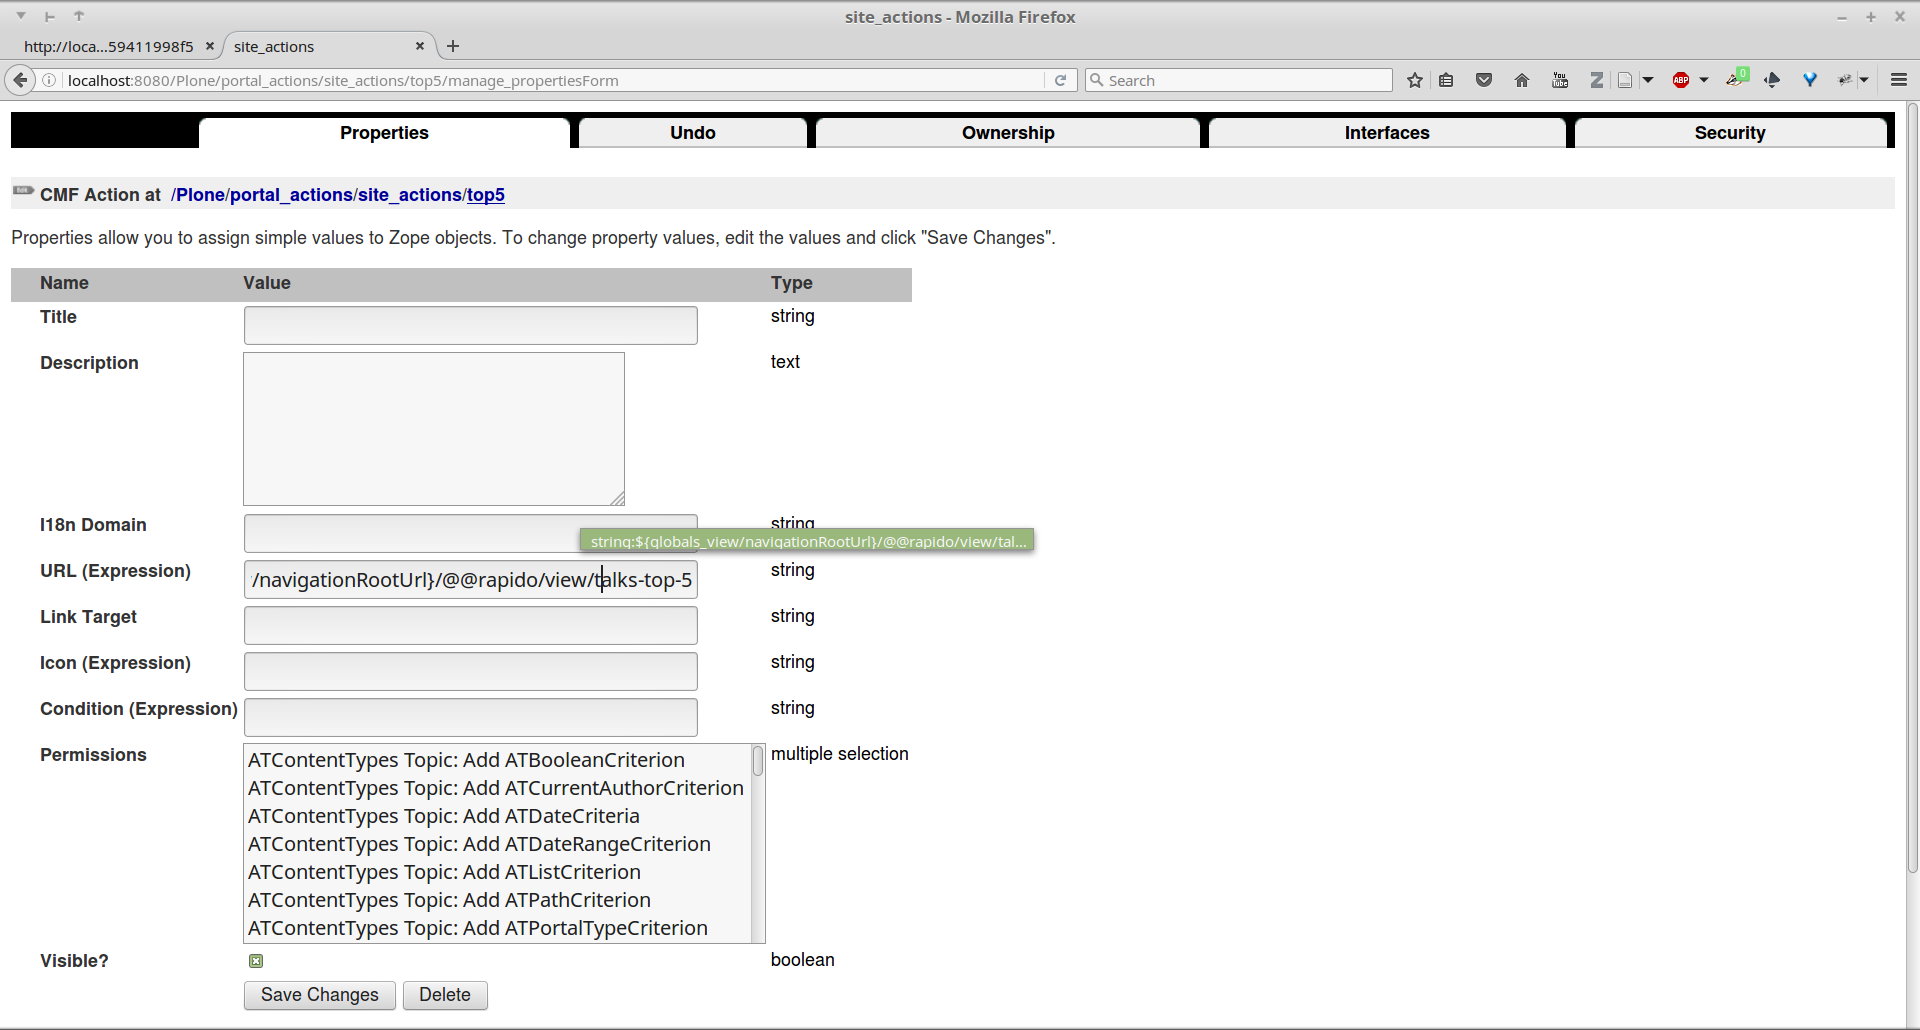
To accomplish this, Rapido allows you to declare neutral views.
By adding @@rapido/view/<any-name> to a content URL we get the content's default view.
The any-name value can actually be anything, we do not really care,
we just use it to match a Diazo rule in charge of replacing the default content with our block:
<rules if-path="@@rapido/view/show-stats">
    <replace css:content="#content">
        <include css:content="form" href="/@@rapido/stats/blocks/stats" />
    </replace>
</rules>
Now if we visit for instance:
http://localhost:8080/Plone/page1/@@rapido/view/show-stats
we see our block instead of the regular page content.
(And if we visit http://localhost:8080/Plone/page1, we get the regular content of course.)
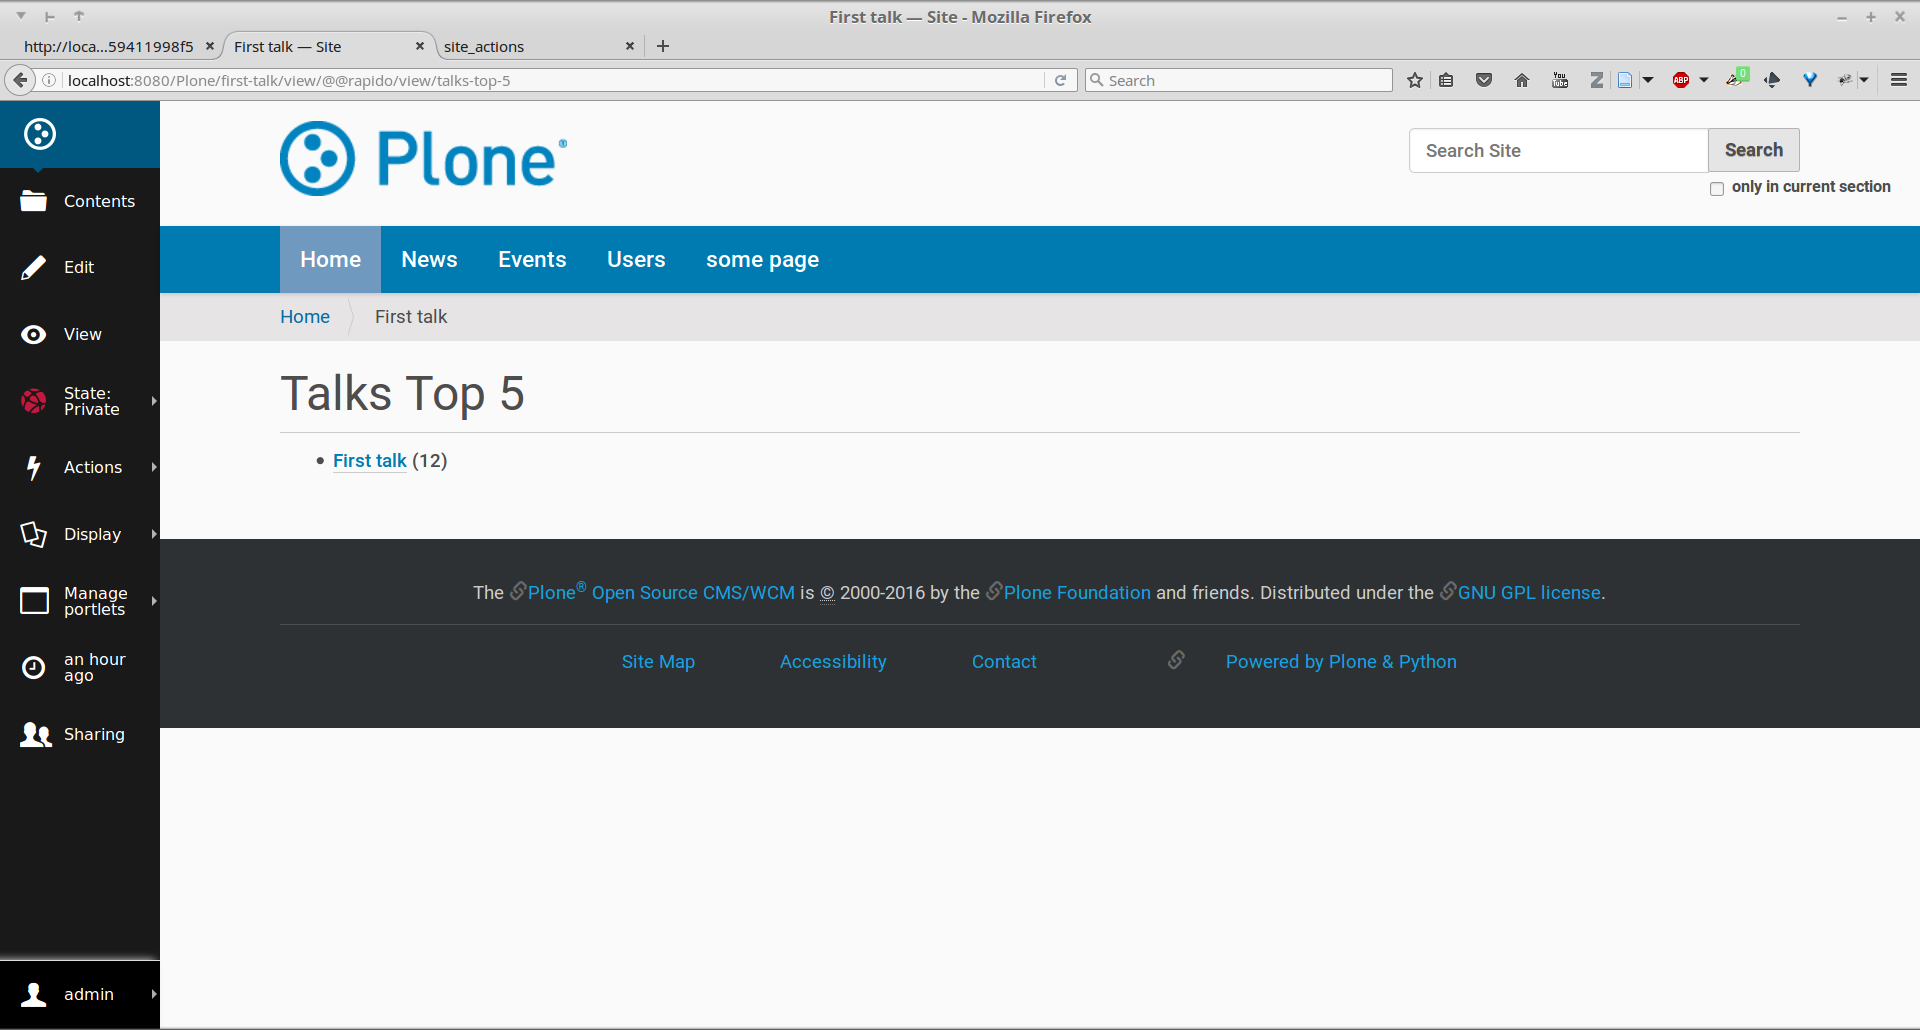
Exercise 5: Create The Top 5 Page#
Let's create a block to display the Talks Top 5:
It needs to be a specific view.
We will use a TAL template (but for now the content will be fake and static).
Visitors will access it from a footer link.
Index And Query Records#
Rapido record items can be indexed, so we can filter or sort records easily.
Indexing is declared in the block YAML file using the index_type property.
Example:
target: ajax
elements:
    firstname:
        type: BASIC
        index_type: field
The index_type property can have two possible values:
fieldA field index matches exact values, and supports comparison queries, range queries, and sorting.
textA text index matches contained words (applicable for text values only).
Queries use the CQE format (see documentation.
Example (assuming author, title and price are existing indexes):
context.app.search(
    "author == 'Conrad' and 'Lord Jim' in title",
    sort_index="price")
To reindex a record, we can use the Rapido Python API:
myrecord.save()  # this will also run the on_save event
myrecord.reindex()  # this will just (re-)index the record
We can also reindex all the records using the refresh URL command:
http://myserver.com/Plone/@@rapido/<app-id>/refresh
Exercise 6: Compute The Top 5#
We want to be able to sort the records according to their votes:
we need to declare
totalas an indexed element,we need to refresh all our stored records,
we need to update the
top5block to display the first 5 ranked talks.
Create Custom Content-rules#
Plone content rules allow triggering a given action depending on an event (content modified, content created, etc.) and on a list of criteria (for example: only for certain content types, only in this folder, etc.).
Plone provides a set of useful ready-to-use content rule actions, such as moving some content somewhere, sending mail to an email address, executing a workflow change, etc.
Rapido allows us to easily implement our own actions. To do this, it adds a generic "Rapido action" to the Plone content rules system. It allows us to enter the following parameters:
The app id,
The block id,
The function name.
The content property in the function's context allows access to the content targeted by the content rule.
For instance, to transform the content title to uppercase every time we edit something, we would use a function such as this:
def upper(context):
    context.content.title = context.content.title.upper()
Exercise 7: Reset The Votes On Workflow change#
We would like to reset the votes when we change the workflow status of a talk.
We will need to:
create a new block to handle our
reset()function,add a content rule to our Plone site,
assign the rule to the proper location.
Other Topics#
The following Rapido features haven't been covered by this training:
using Rapido blocks as tiles in Mosaic,
using blocks as forms to create, display and edit records directly,
access control,
Rapido JSON REST API.
You can find information about those features and also interesting use cases in the Rapido documentation.