Add an Image Block to a Page#
You can add an image to a page by adding an image block.
This is different from adding an image content item, which is an item on its own.
When you add an image block to a page, you can place the image block on the page anywhere you want, including wrapping text around it or placing the image block to the left or right of text.
Here we add a new page then add an image block to it.
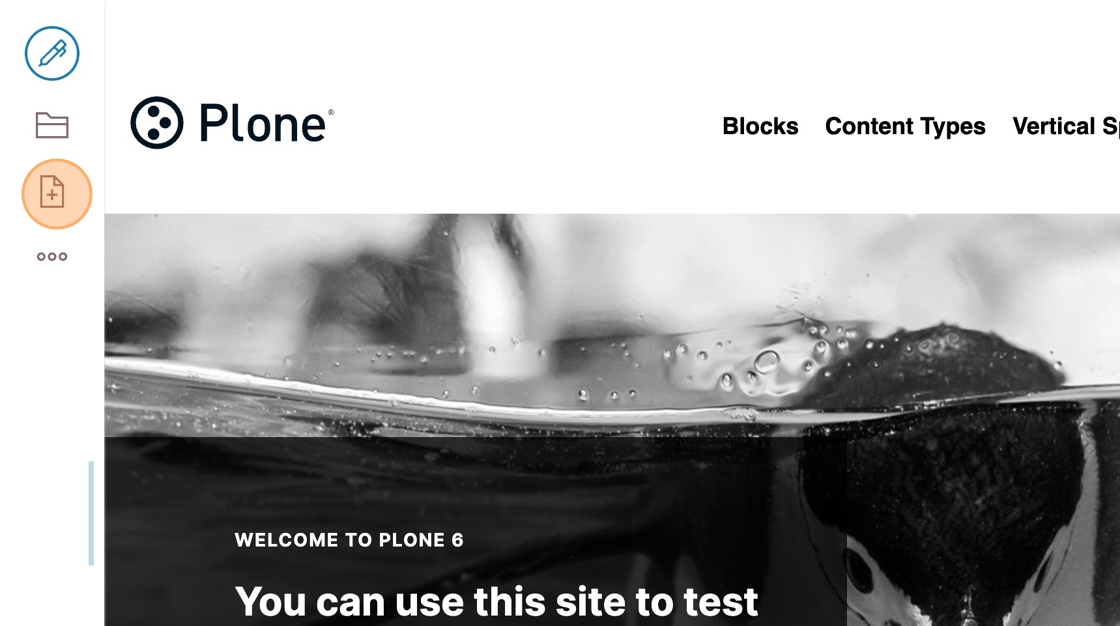
Click the add item button.
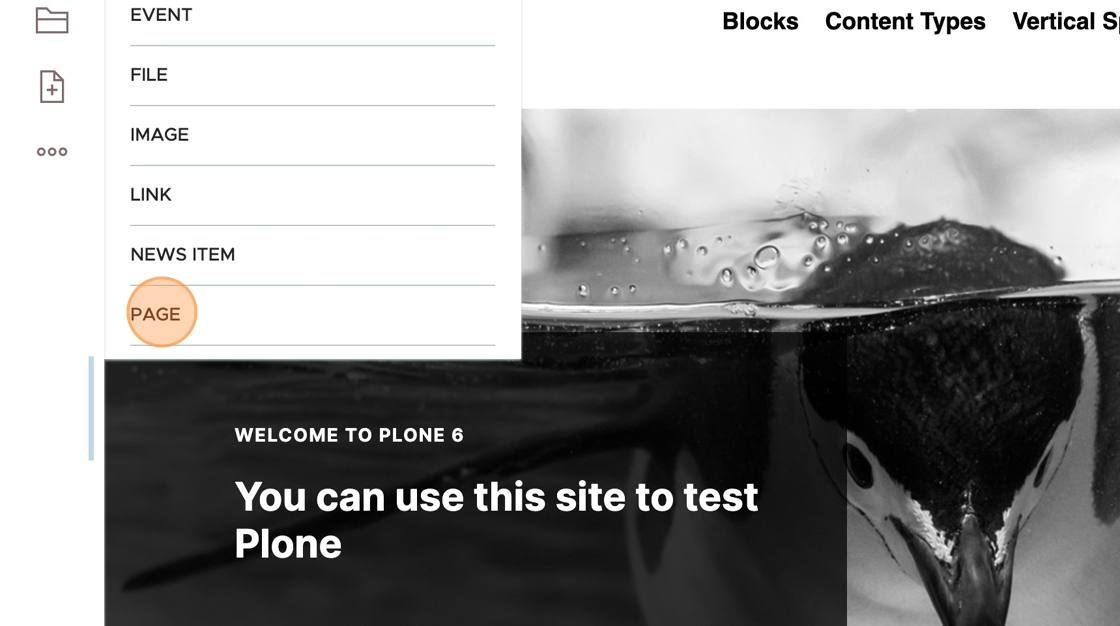
Click Page
Type the title of this new page. For example, "Sample Page Enter"
Once you press Enter, a new text block is added below and the cursor moves to it.
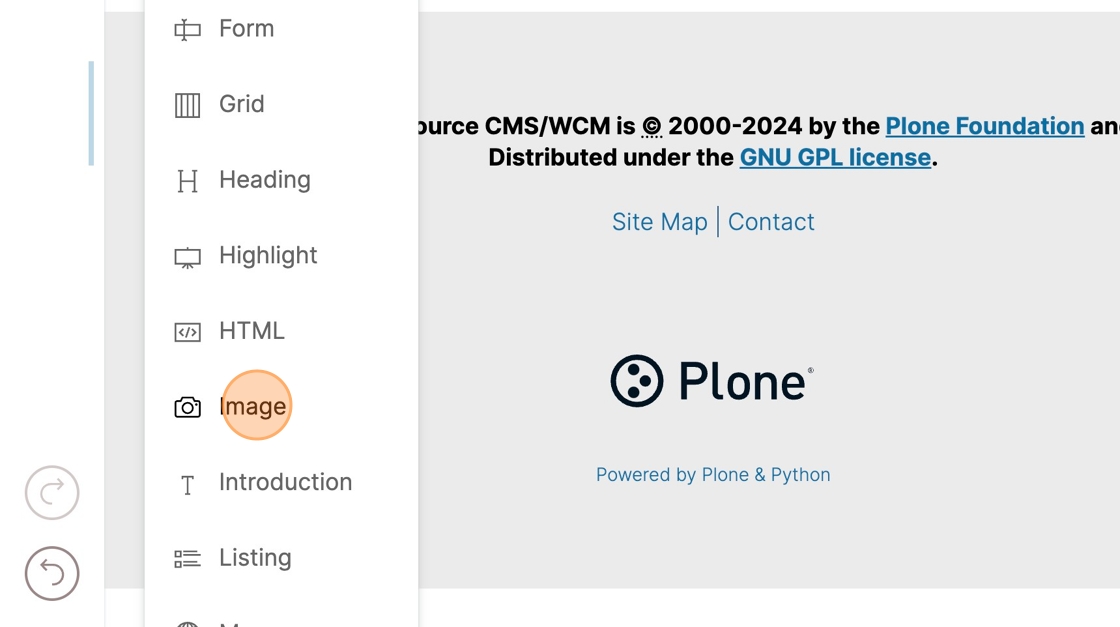
Type the slash character (/) to change this block to a different type.
In the menu that appears, click Image.
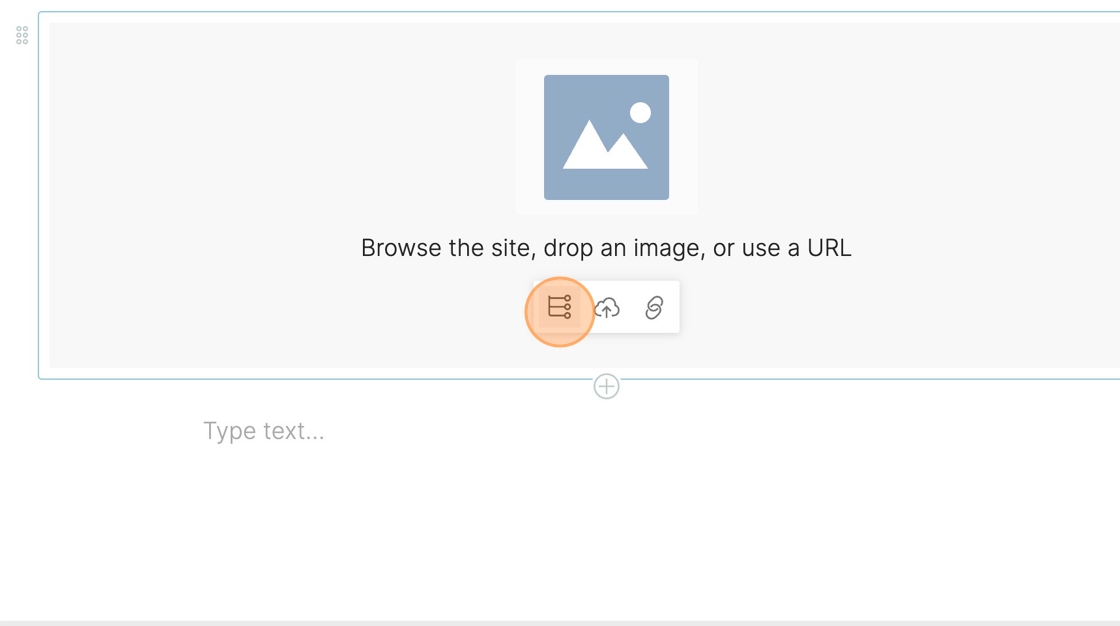
The text block changes to an image block.
To specify the image, you can choose one of the following methods:
Select an image that already exists in the site
Upload an image from your computer
Provide the web address of an image that is available on the Internet
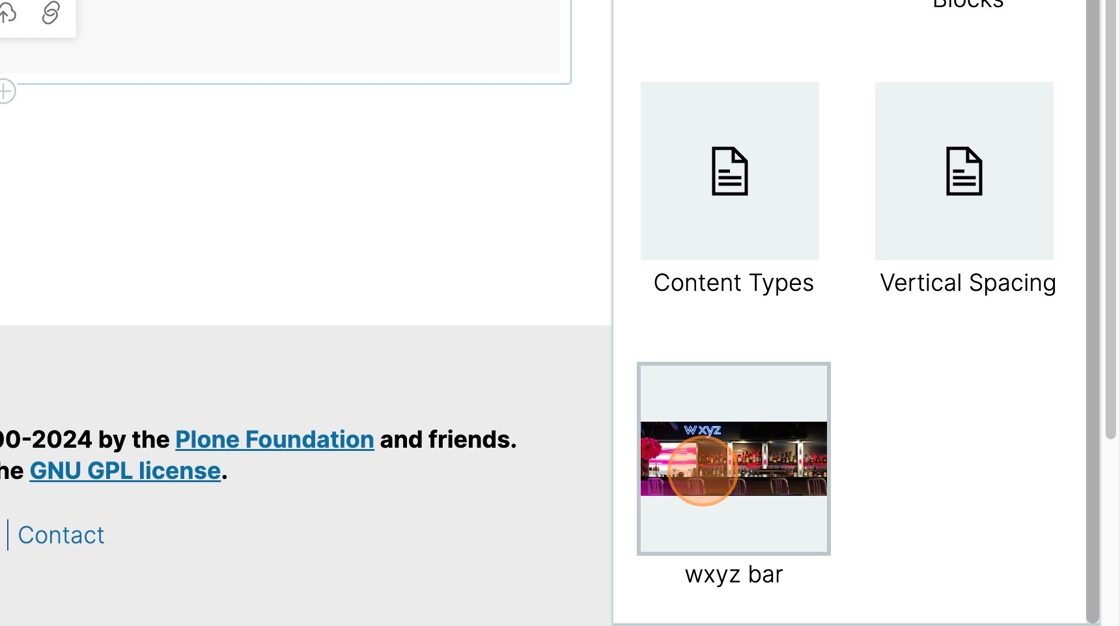
For this example, we want to select an existing image from this site.
In the image search panel that appears on the right, you can navigate throughout the site or you can type a search string to find the image you want.
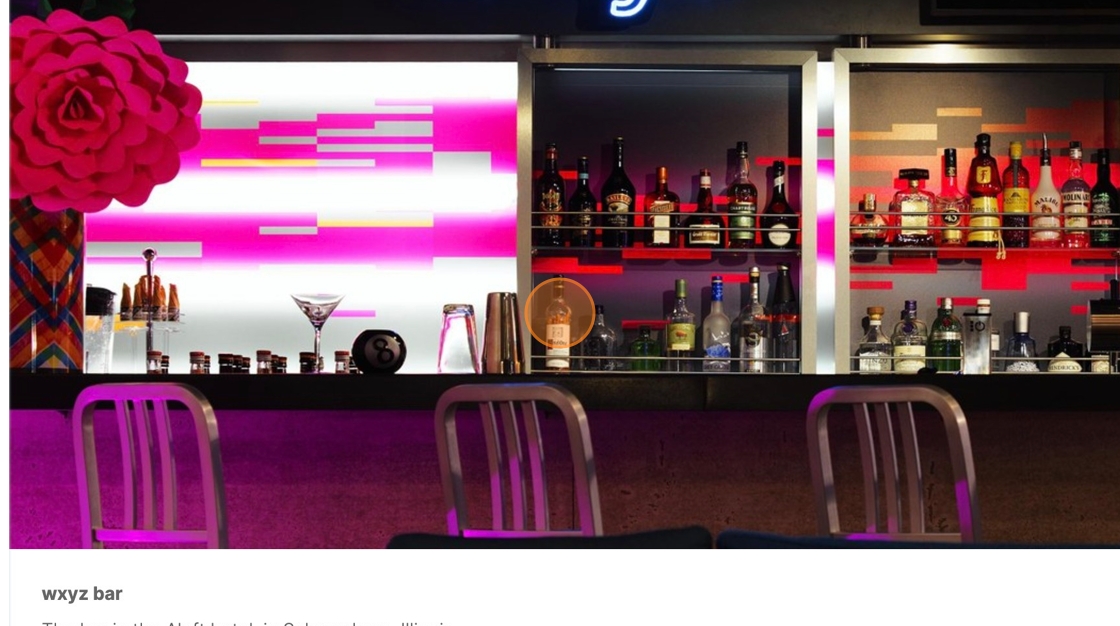
For this example, we click an image we had added to the site earlier.
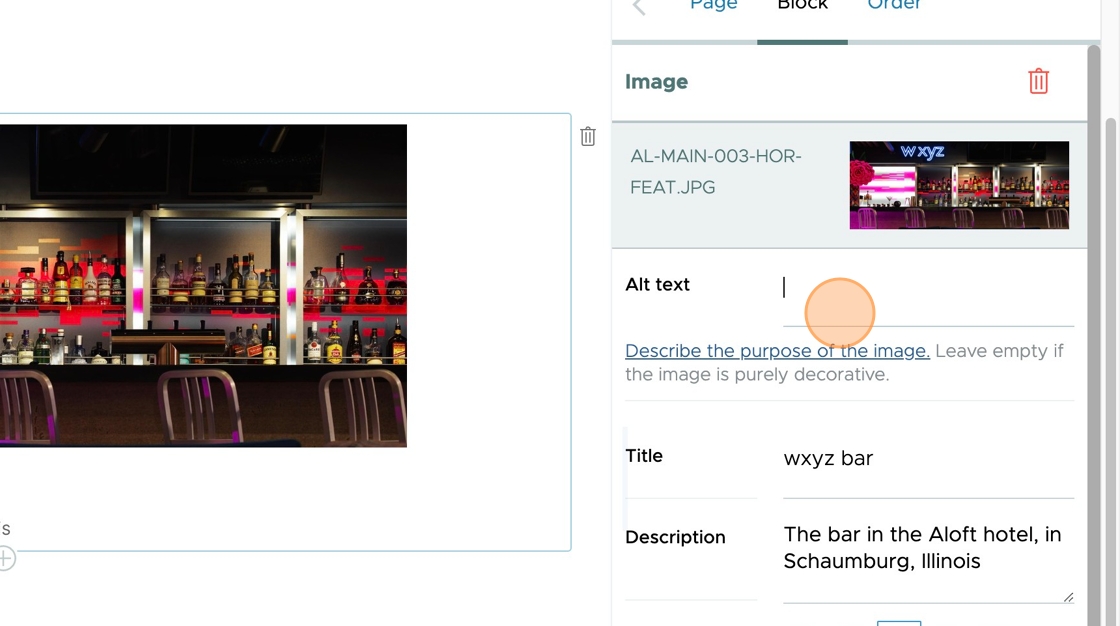
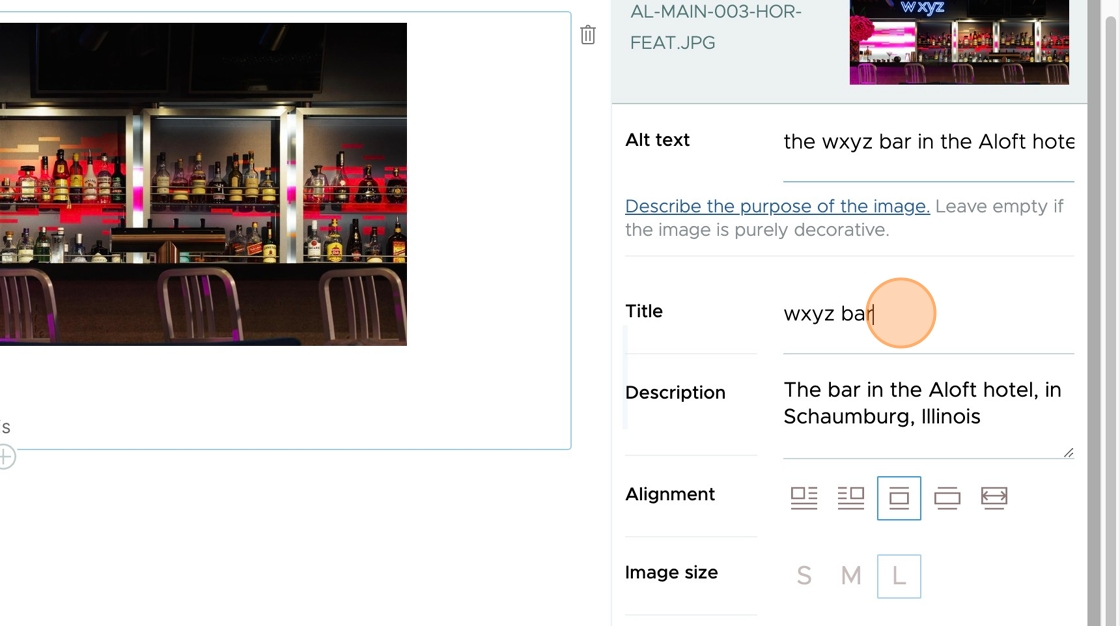
In the right panel, click the Alt text field to provide a description of the image.
This description will be presented to screen readers and will help visually impaired visitors to understand what the image represents.
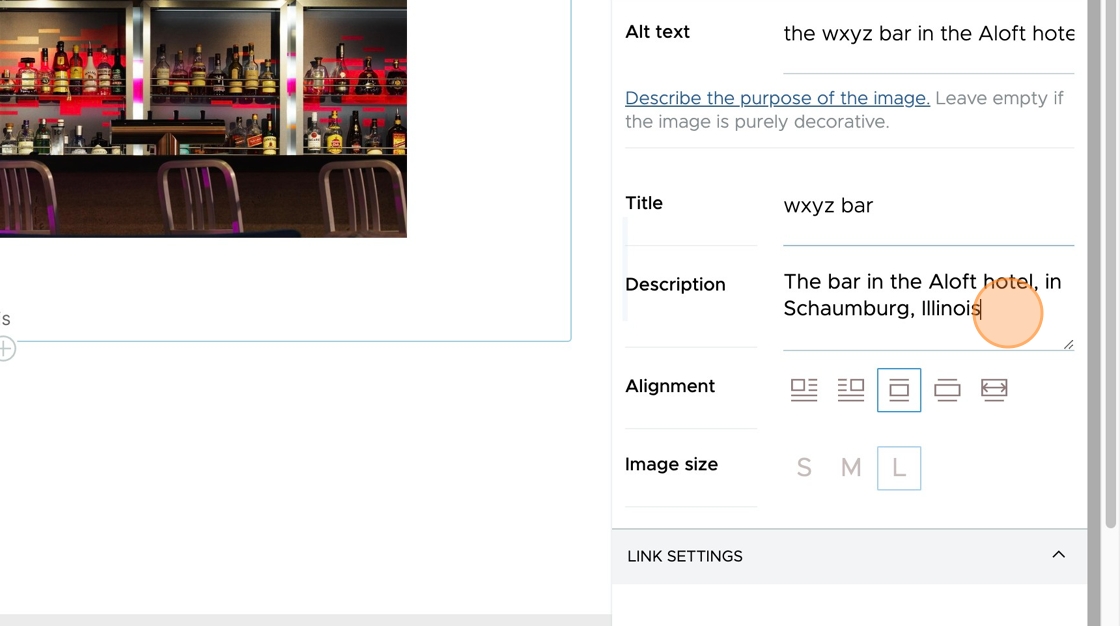
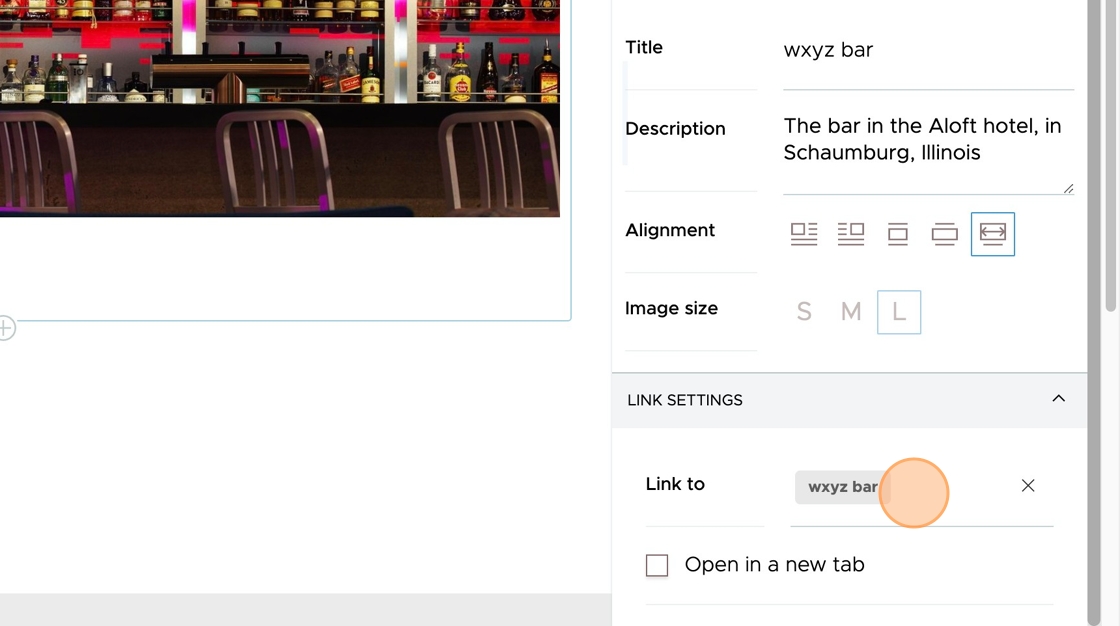
The Title field is set to the same one that is on the image we chose. You can change the title here if you wish.
The Description is also taken from the image we had selected. The description can be changed here.
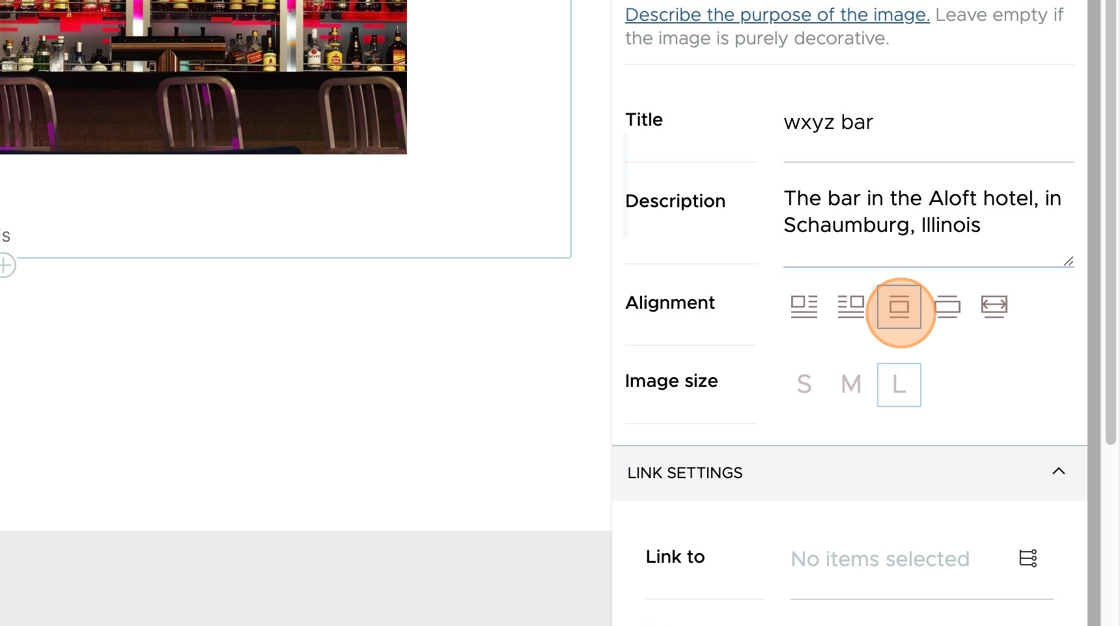
The Alignment buttons let you set how the image block is shown, relative to other blocks on the page.
Try them all out!
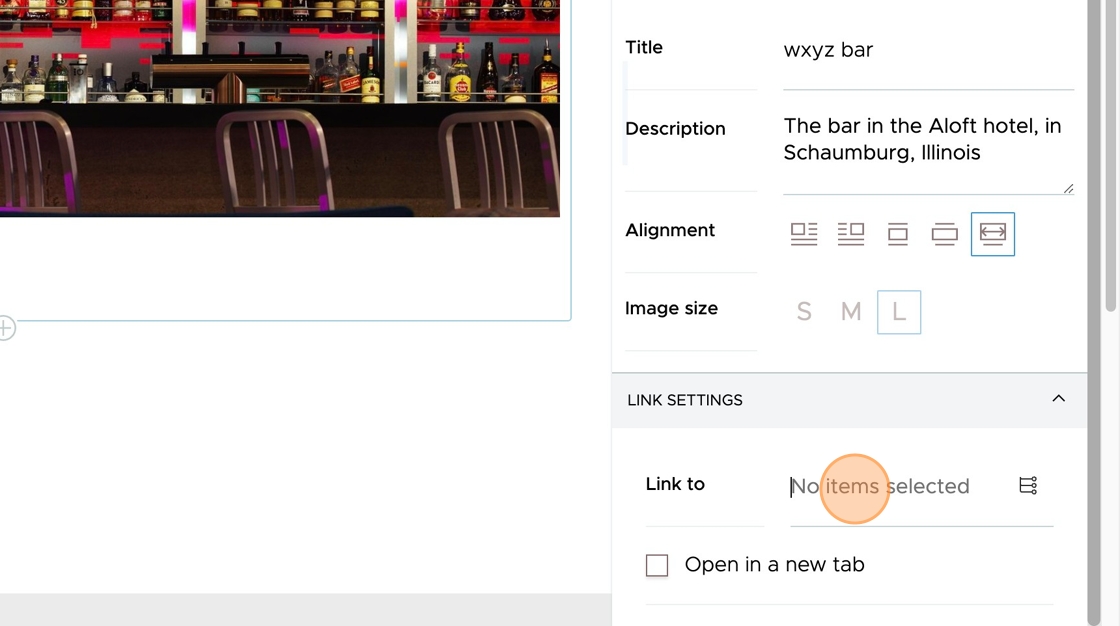
The Link to field lets you specify, optionally, where on the site to navigate to if a user clicks on the image block.
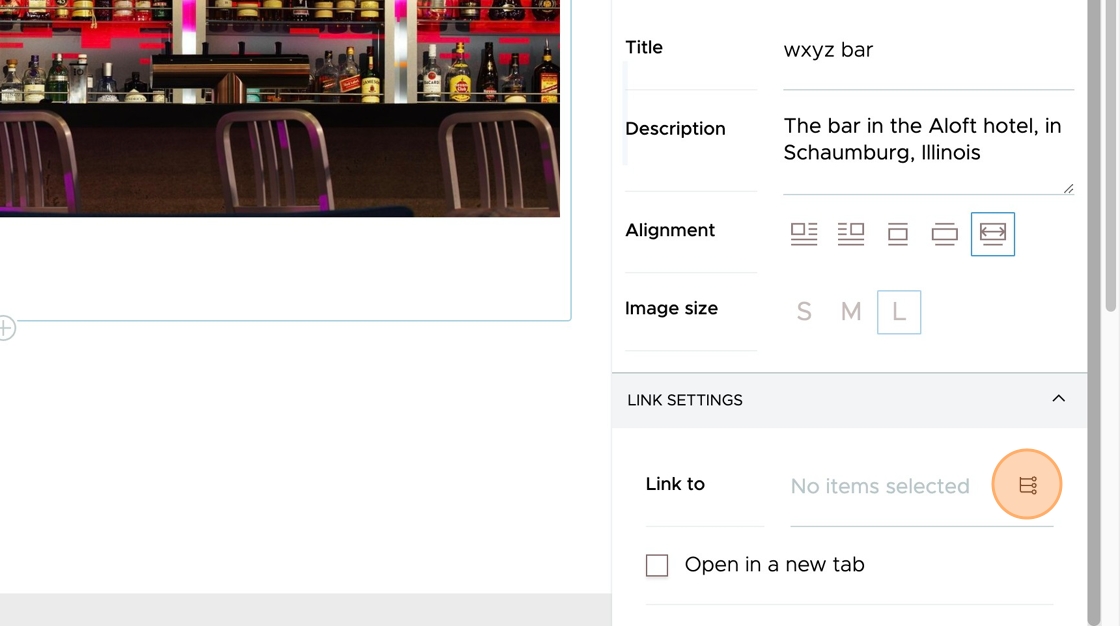
To set the Link to item, click the navigate button.
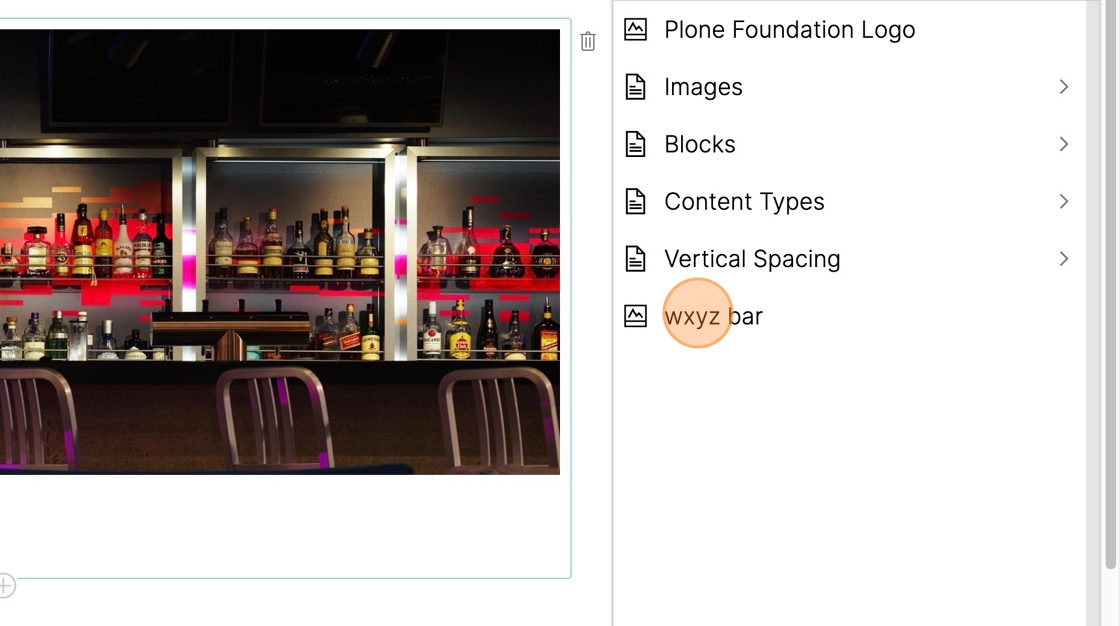
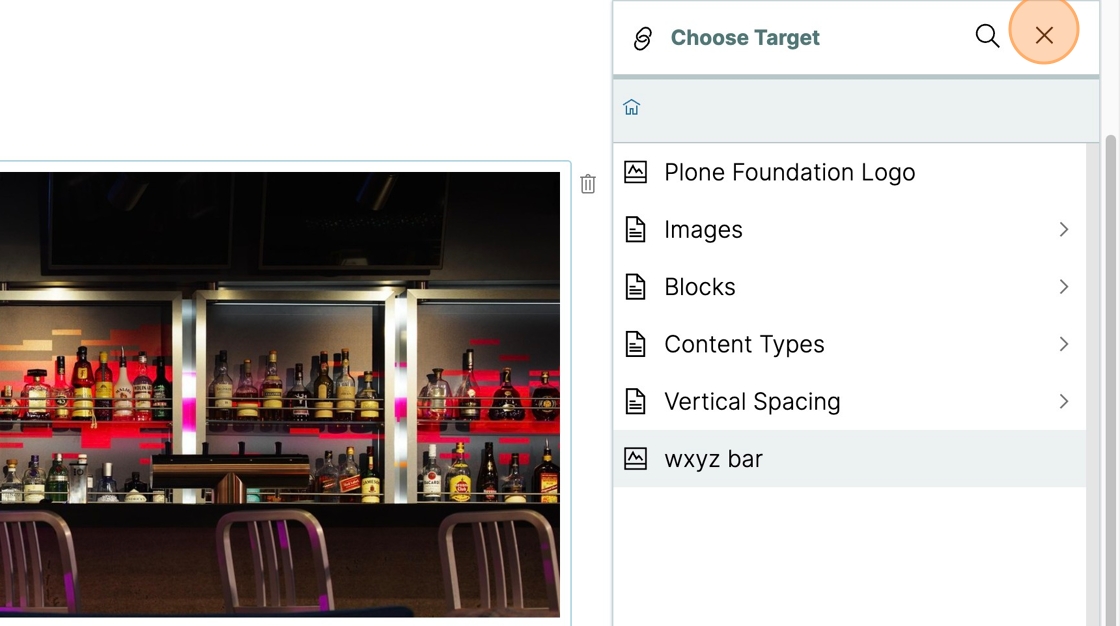
We search or navigate to the item we want to set as the Link to item.
In this example, we click wxyz bar.
Click the X button to close the navigation panel.
You can see what the Link has been set to.
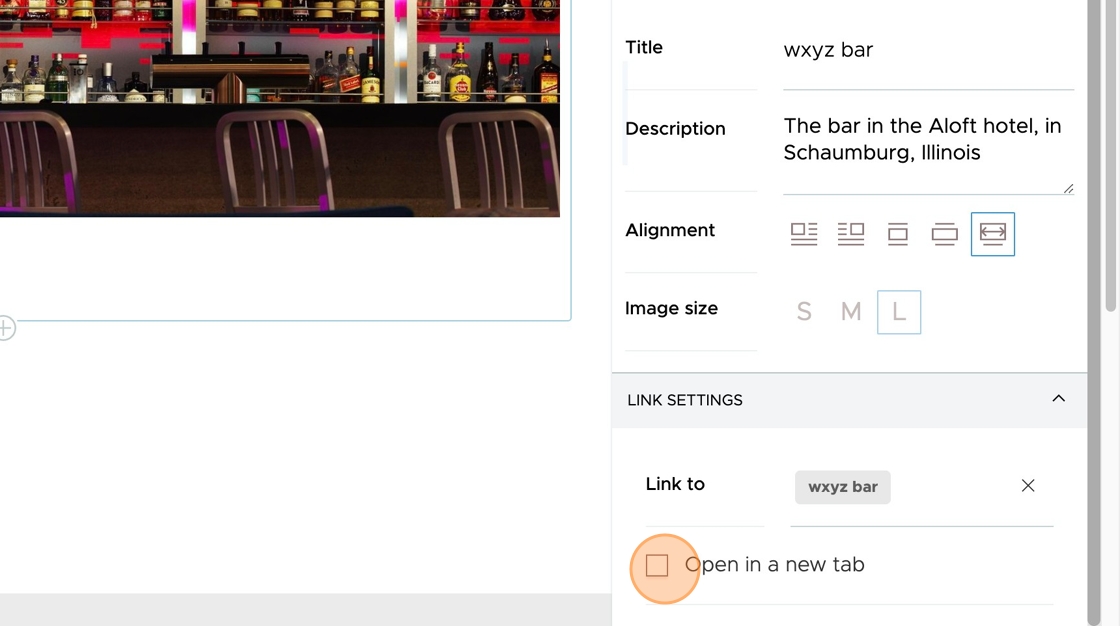
If you'd like the linked item to appear in a new tab when clicked, check the box Open in a new tab.
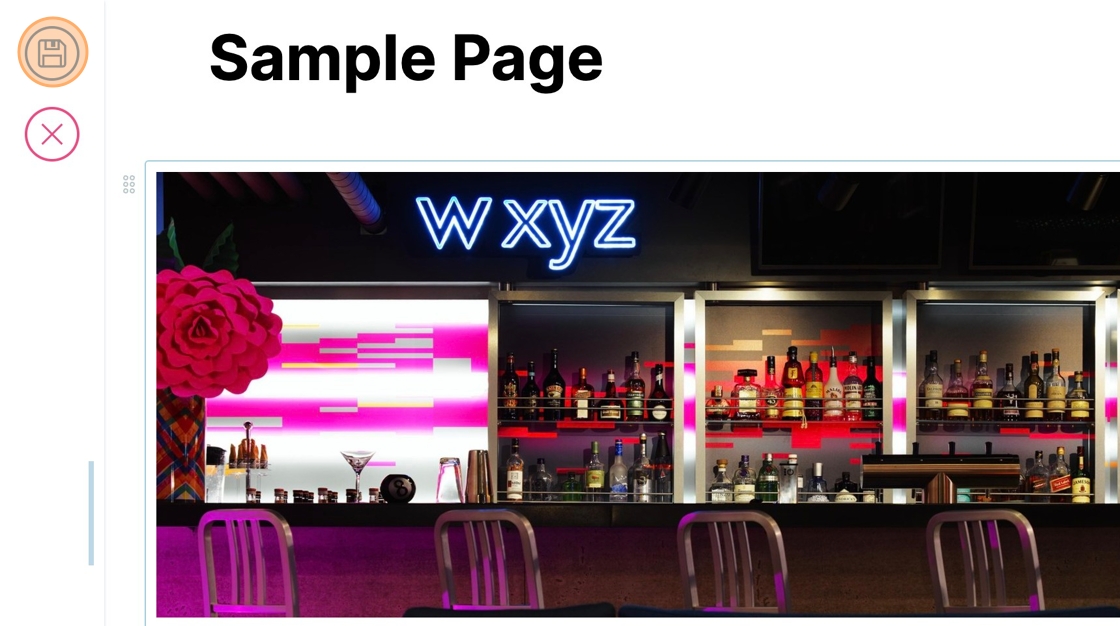
Click the Save button.
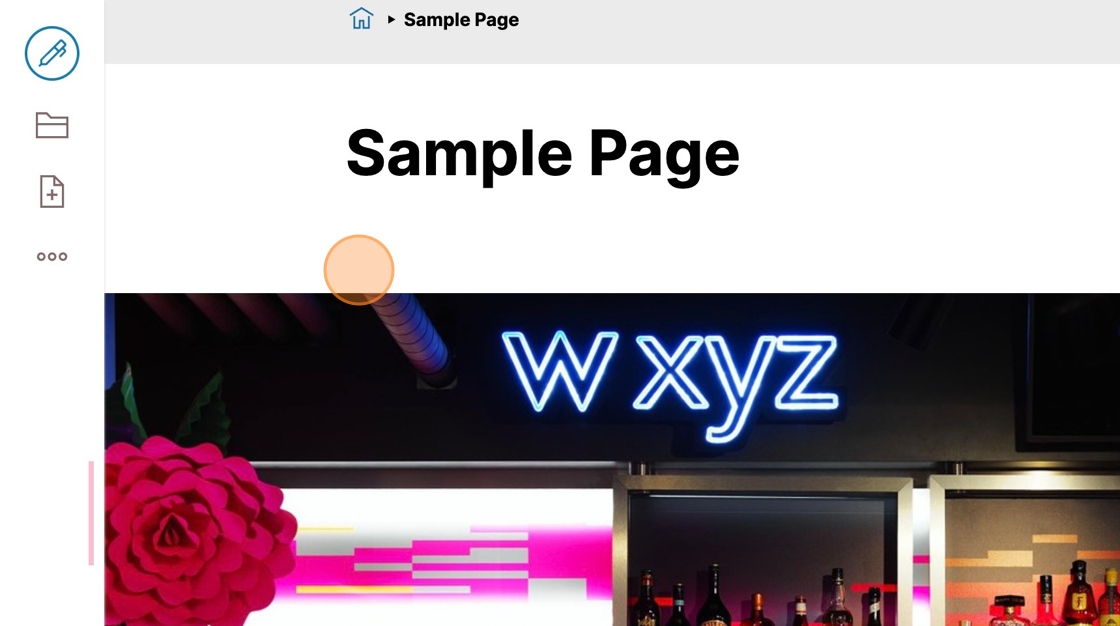
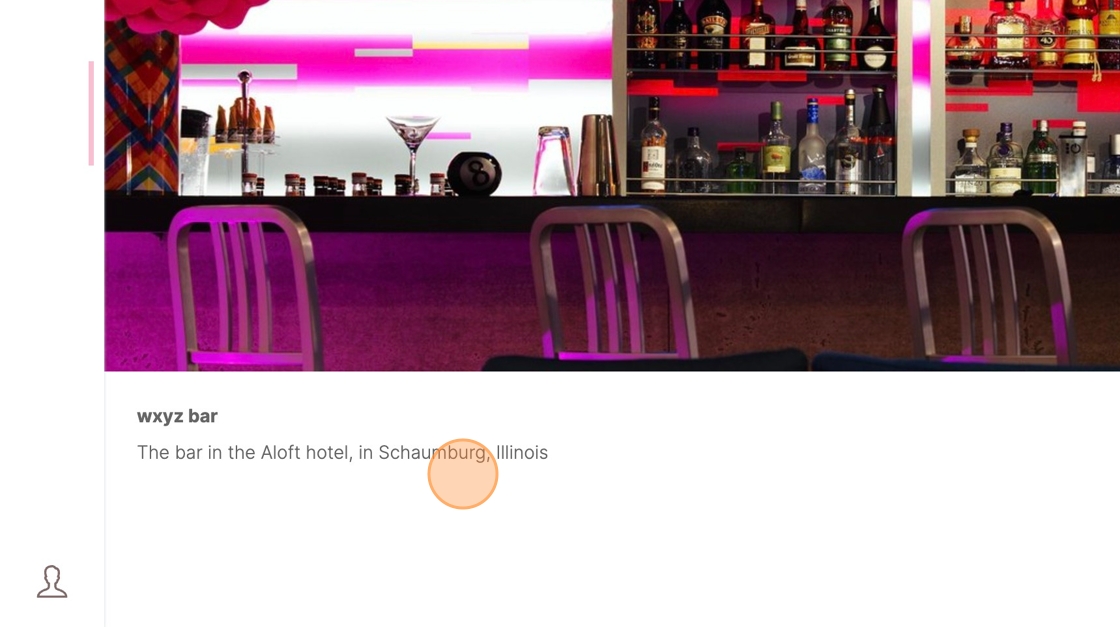
The image block has been added to the page.
The image block displays the title and description you provided.
Click on the image block.
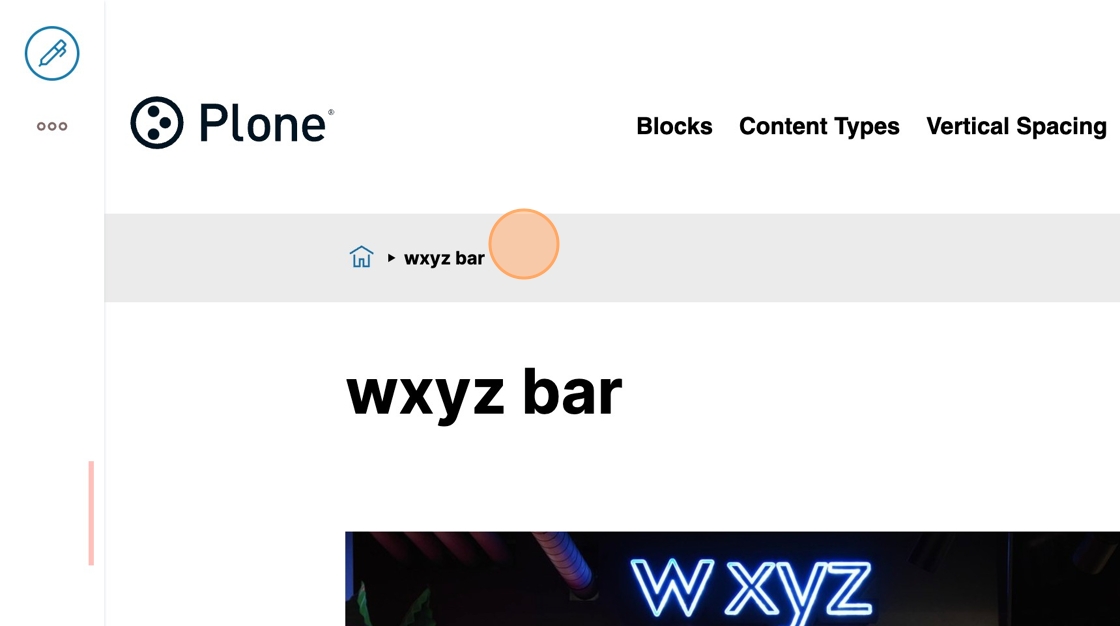
You should be taken to the linked item in a new browser tab.
Confirm that this is the linked item by looking at the breadcrumbs.
