From Content Creation to Publication#
In this section, we introduce how to create and save a content item (a News Item in this case), edit it, and use workflow to publish it.
Create a News Item in Plone#
Navigate to the folder or page where you would like to create the news item.
In this example, we navigate to the root (top) of the site, https://demo.plone.org/
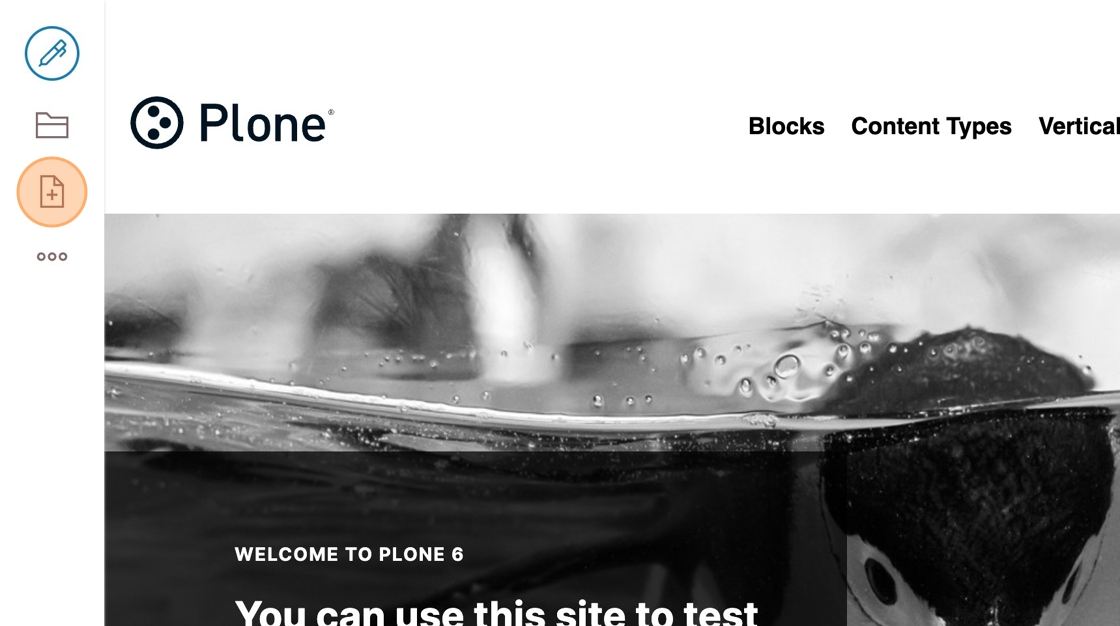
Click the add item button.
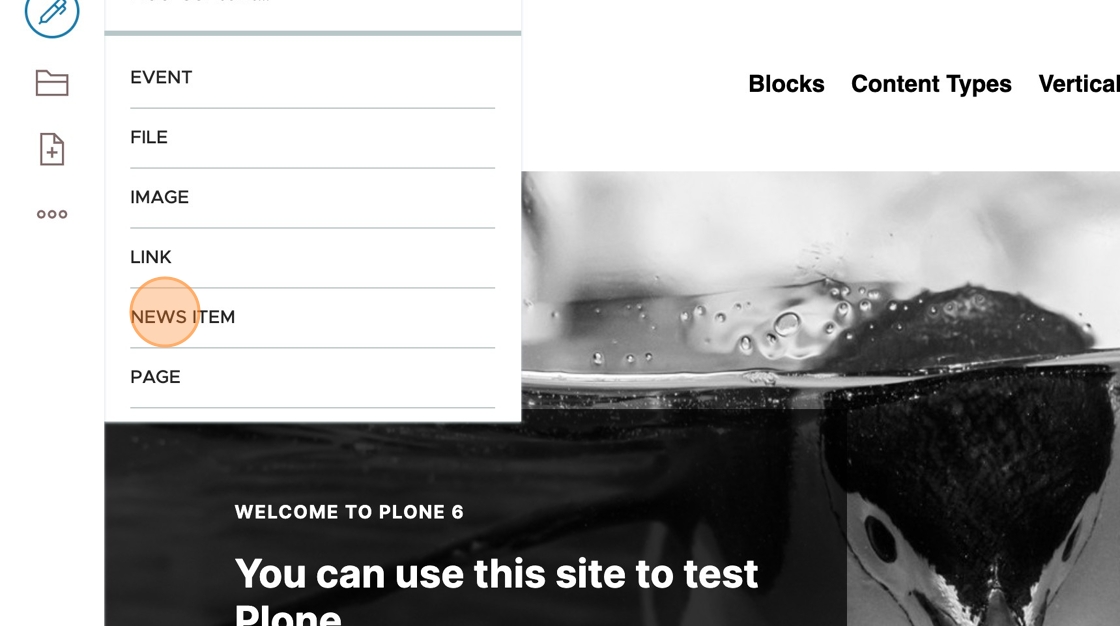
Click News Item
In the title text block, type "Plone Conference 2024" then press Enter.
In the next block, type "Brasilia, Brazil" and pressEnter.
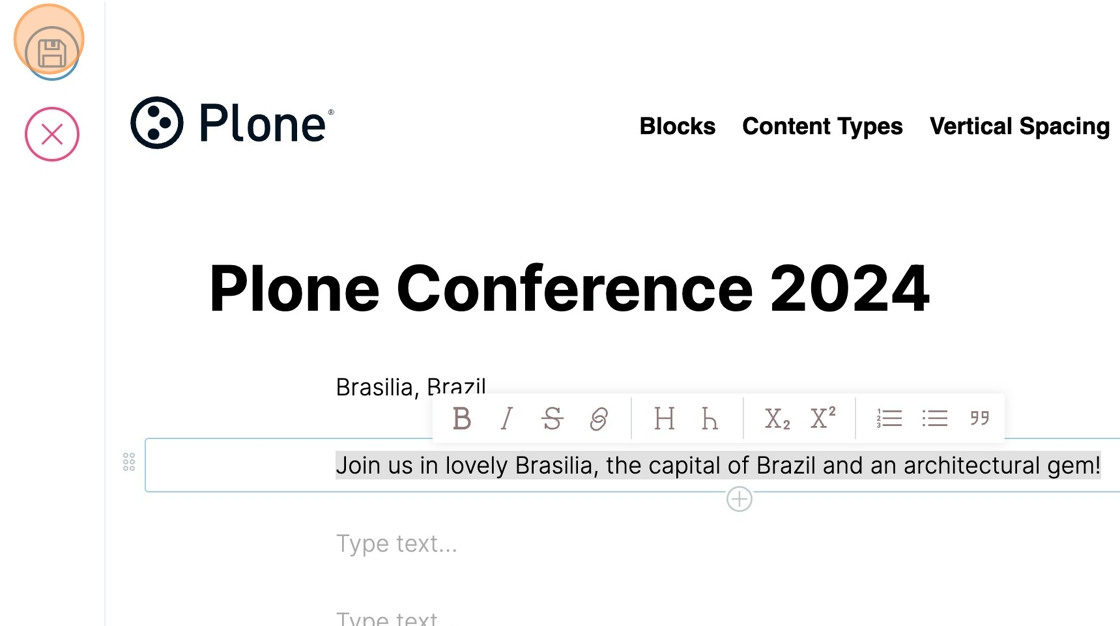
In the next block, type "Join us in lovely Brasilia, the capital of Brazil and an architectural gem!" then press Enter.
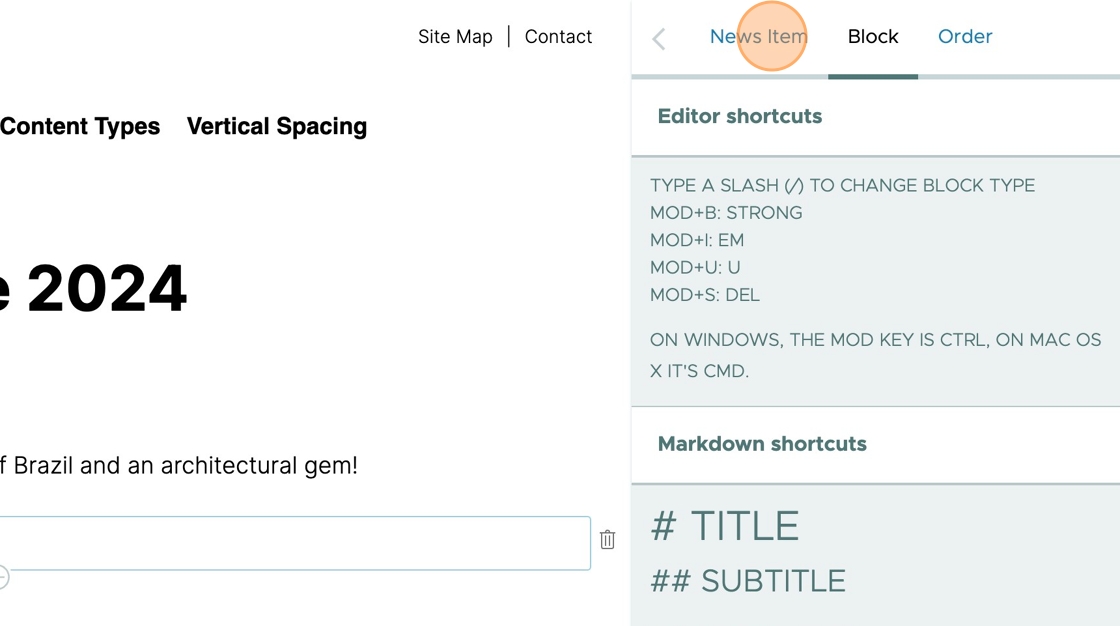
To edit other properties of the news item, press News Item at the top of the right column.
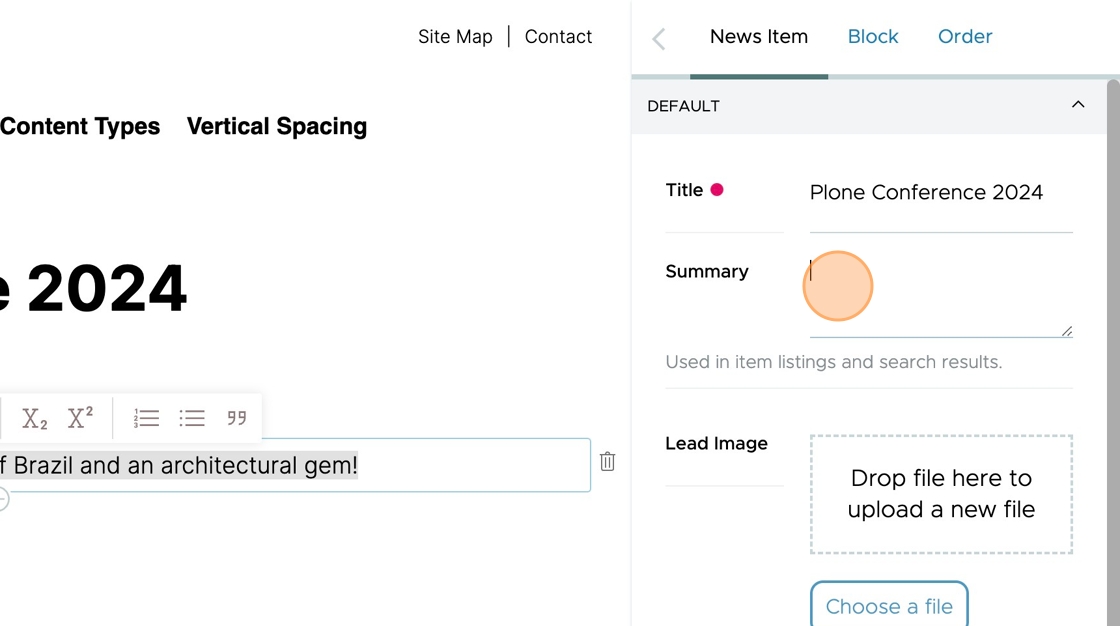
Click the Summary field and enter a brief summary of what this news item is about.
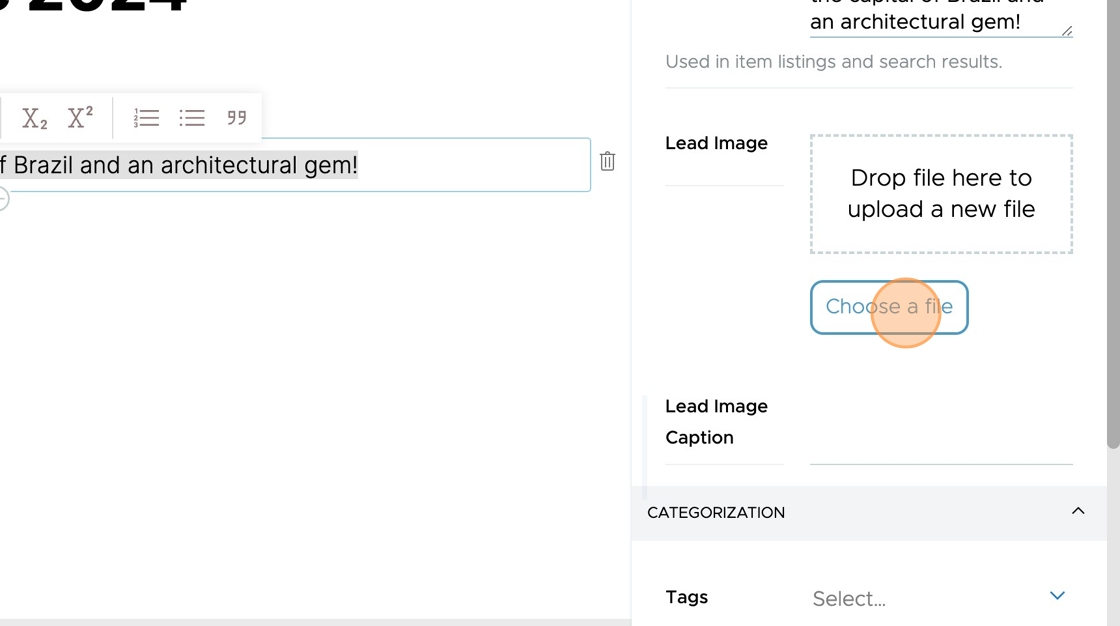
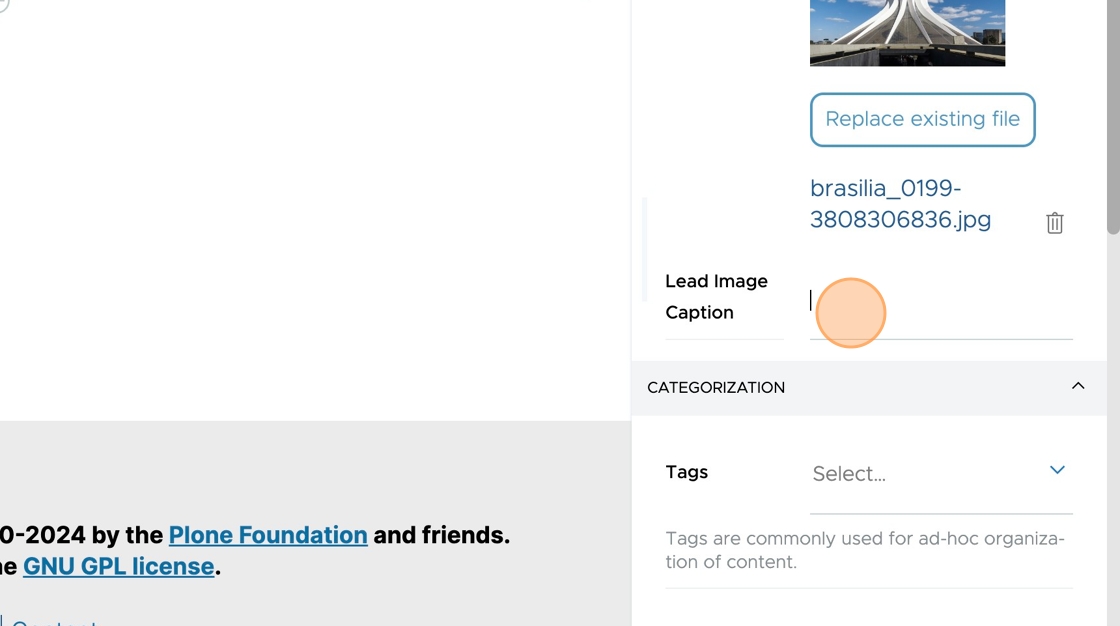
You should set a lead image for this news item, by clicking Choose a file or by dragging an image into the Drop file here to upload a new file target area.
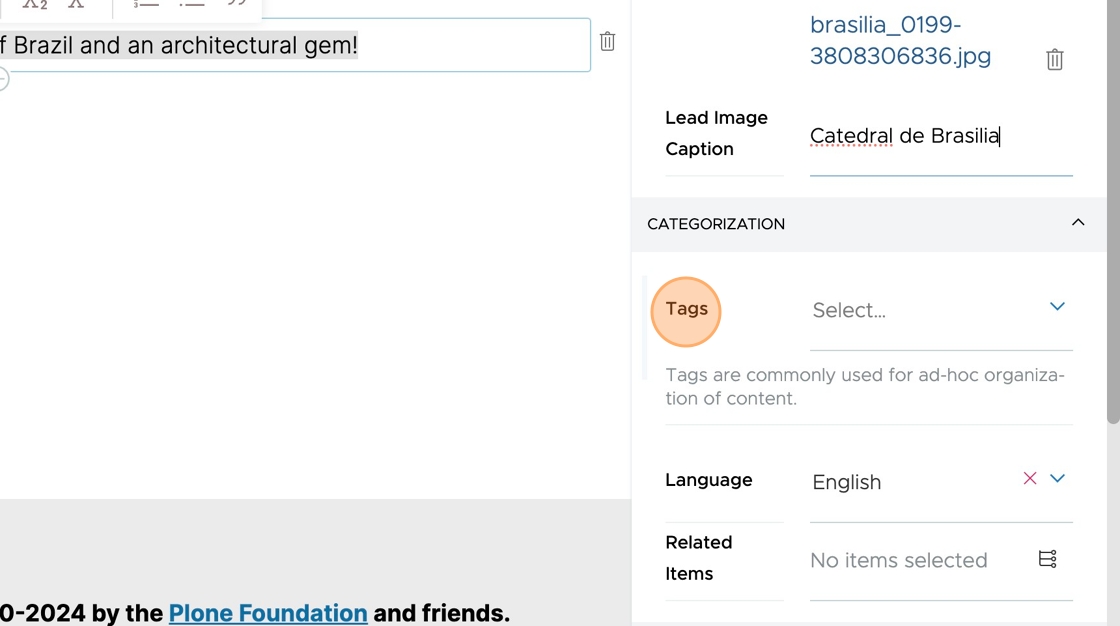
Enter a description of the lead image, using the Lead Image Caption field.
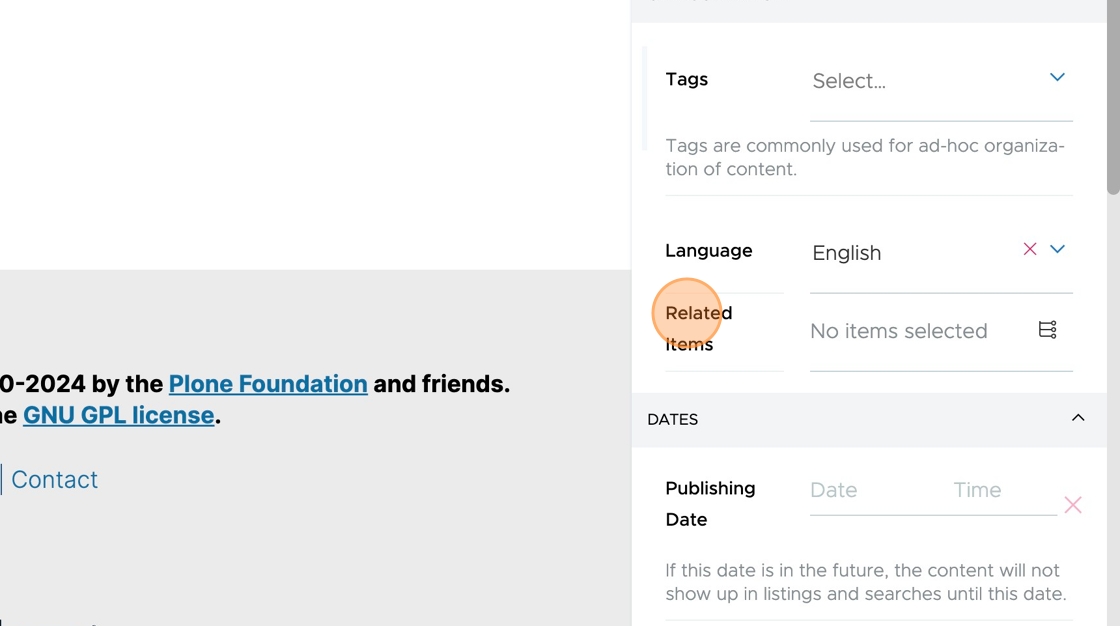
You can use the Tags field to set tags for this news item (more on this topic later).
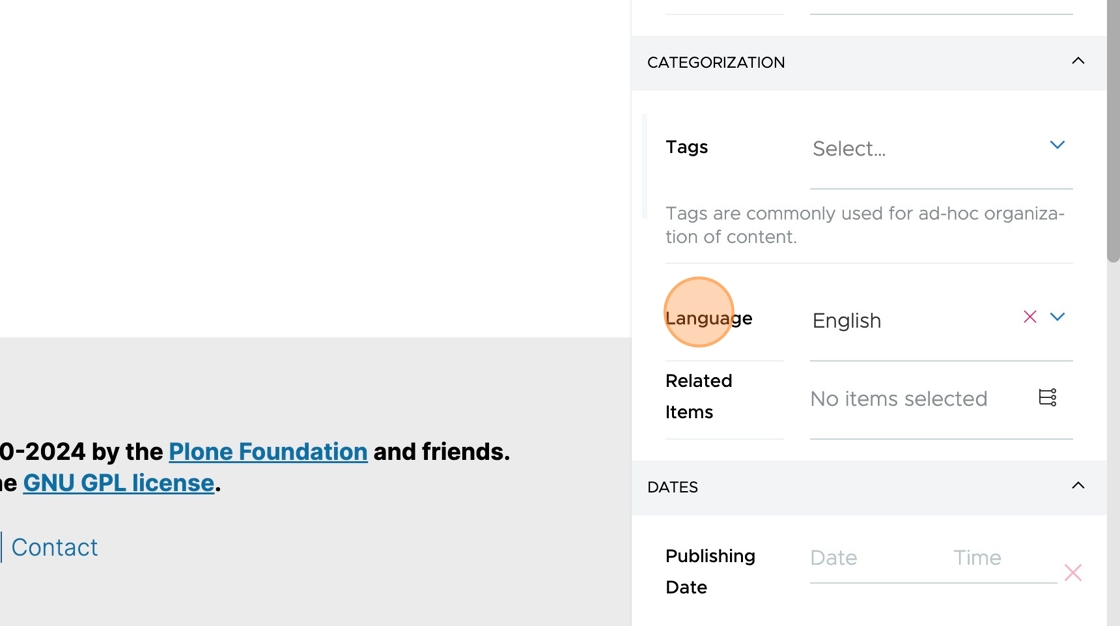
You can set the language of this news item using the Language setting.
You can link to other items on the site using the Related Items field. These links will be displayed at the bottom of the news item.
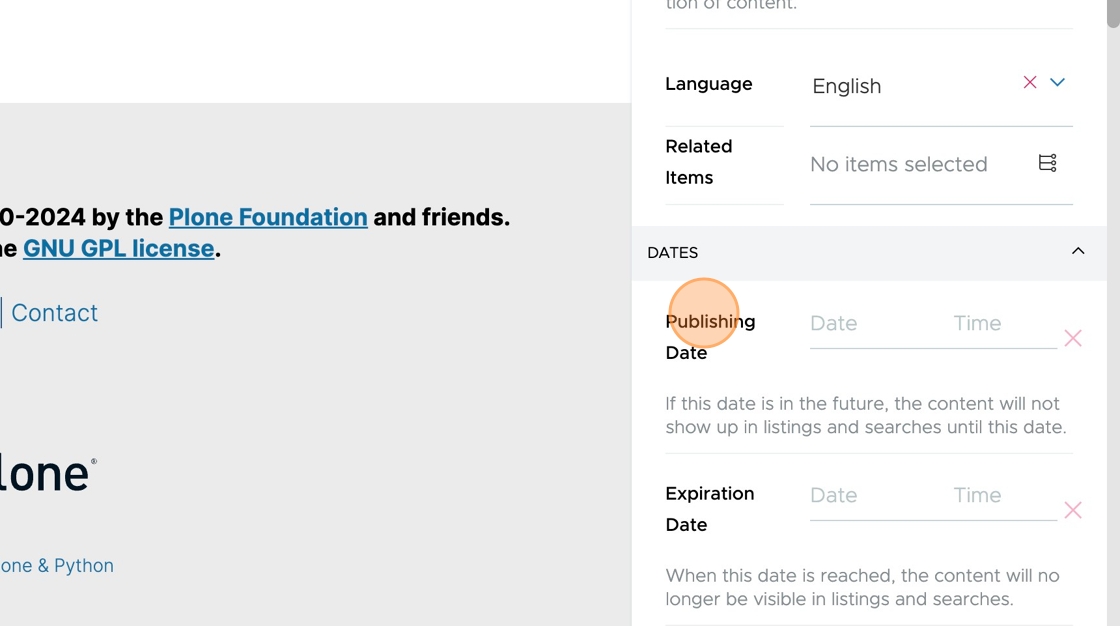
You can set the publication date using the Publishing Date field. By default, it will be set to the date and time when you publish the news item.
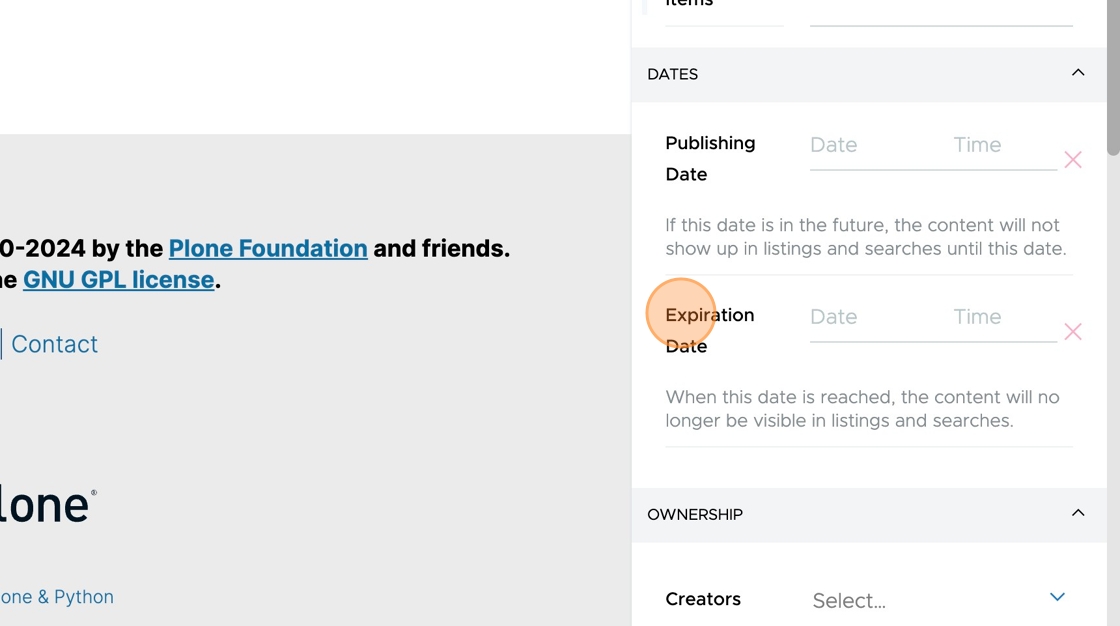
You can set the news item's expiration date using the Expiration Date field. If an expiration date is set, the news item will not be highlighted on the site after that date, though the news item will continue to be visible if users browse to it.
To save the news item, click the Save button at the top left corner.
Edit a News Item#
We edit an existing news item, adding text and an image.
Navigate to https://demo.plone.org/plone-conference-2024
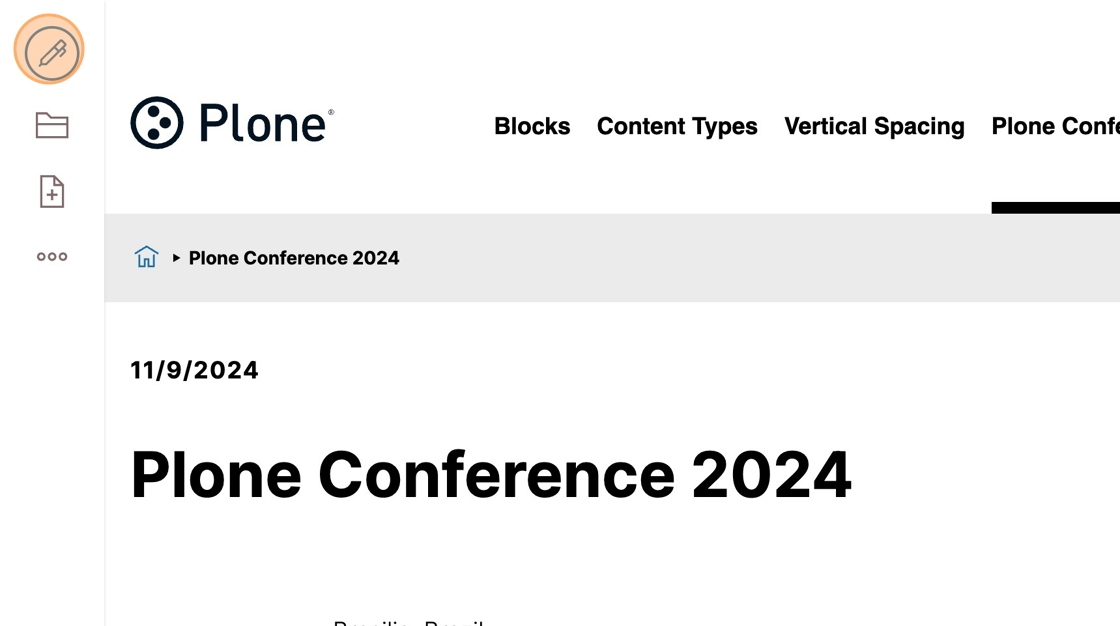
Click the Edit button.
Make changes by editing existing blocks, adding more blocks, deleting blocks, or changing block properties using the right column.
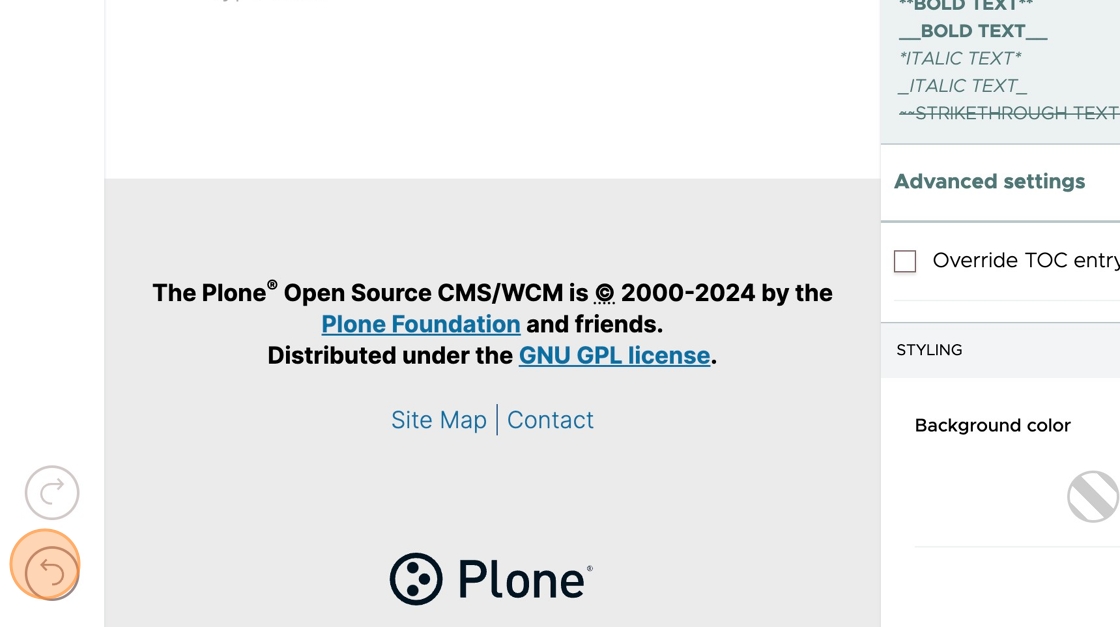
You can undo changes by clicking the Undo button at the bottom left corner of the page.
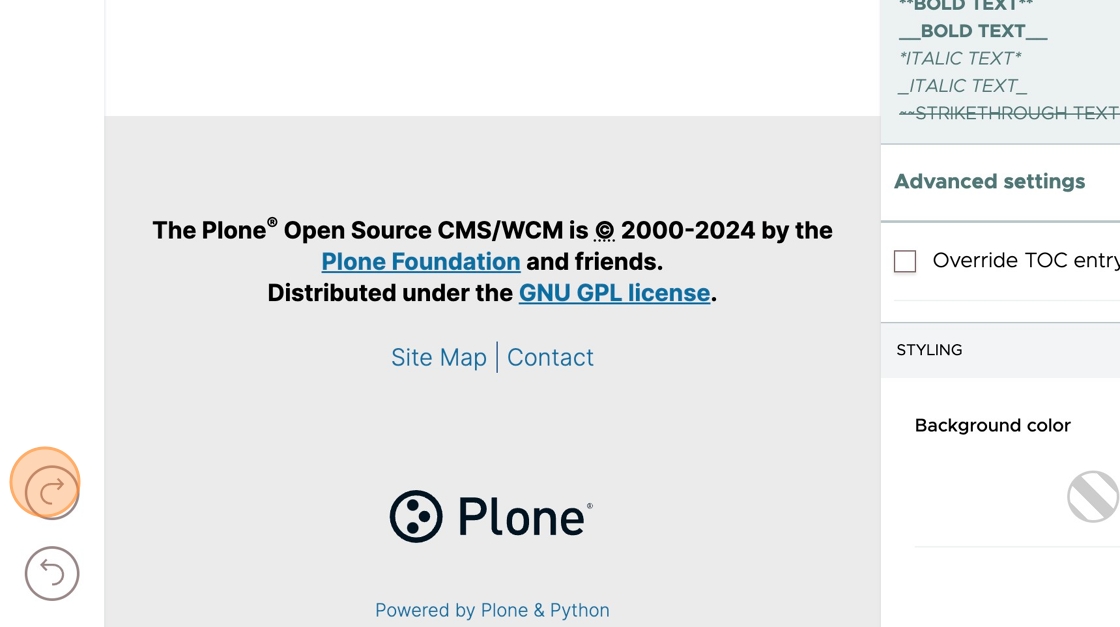
If you used the Undo button, you can redo the changes by clicking the Redo button.
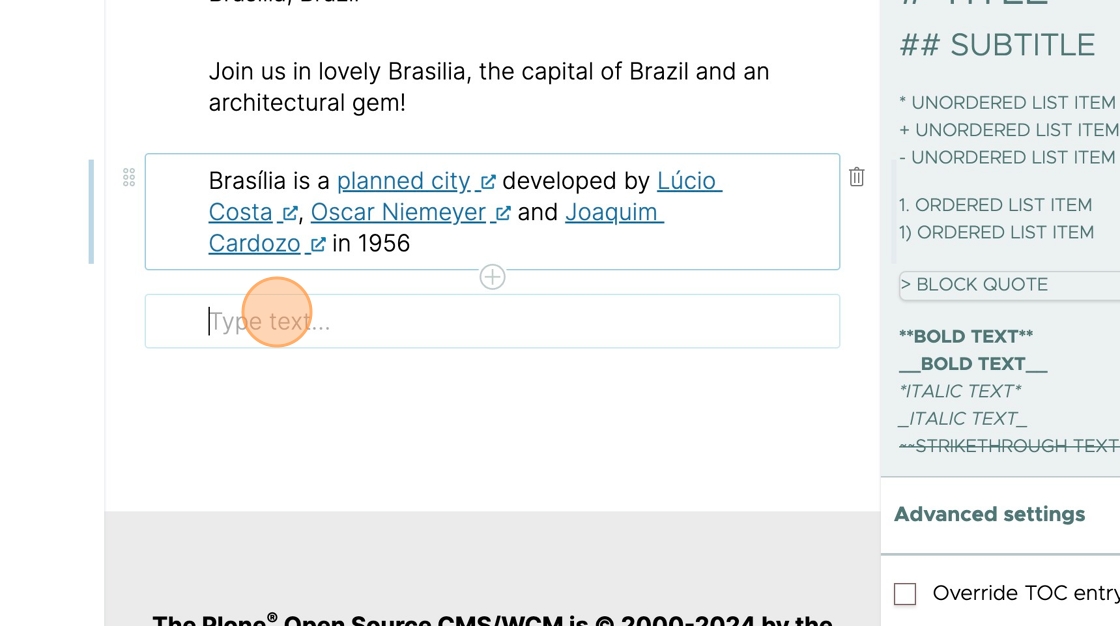
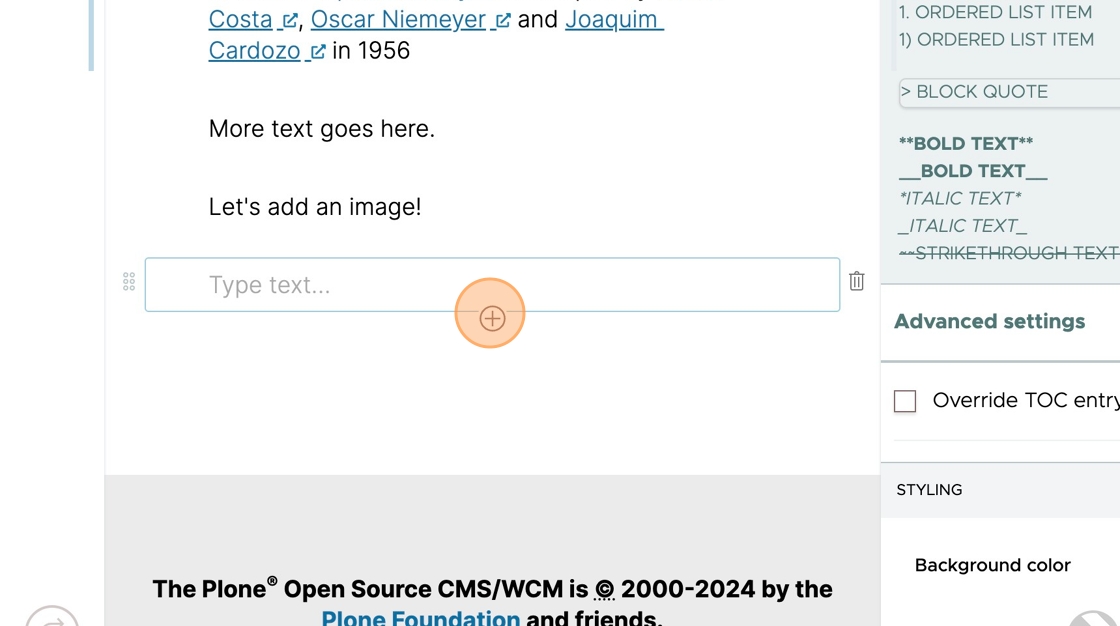
Here we add two text blocks.
To add an image, click the + button on the text block you want to replace with a different type of block (in this case, an image block).
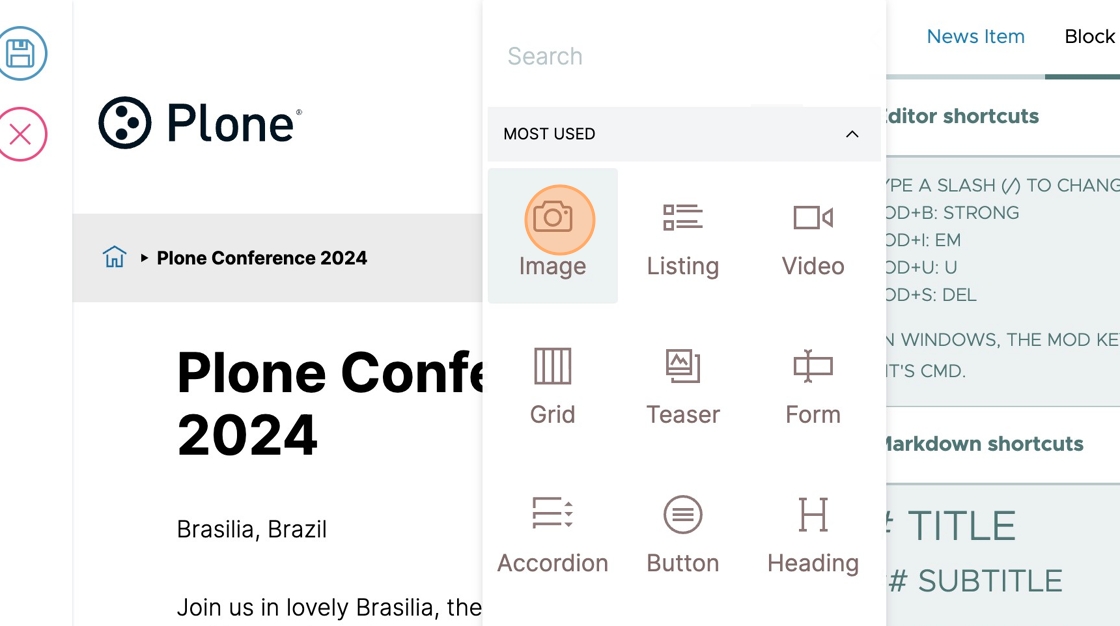
Click the Image icon.
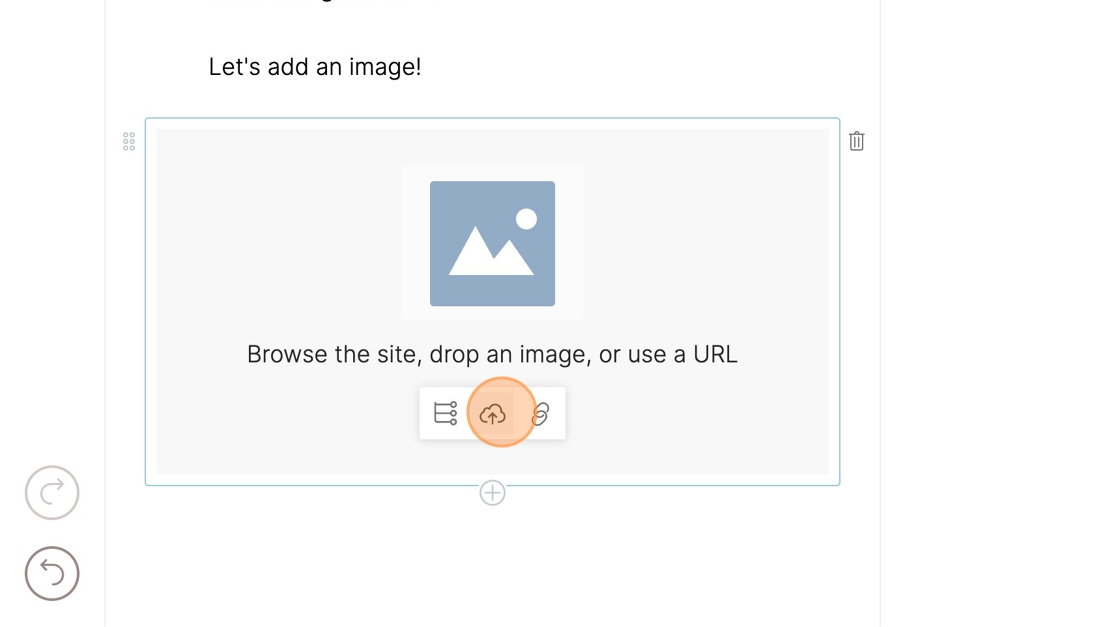
Click the upload button to choose an image from your computer to upload to the site.
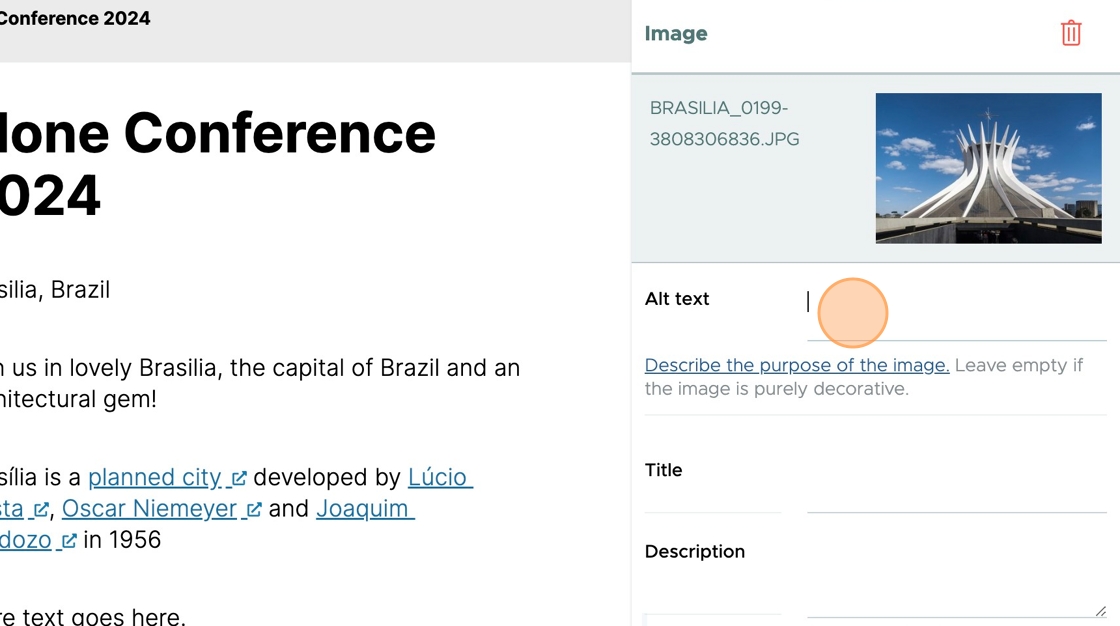
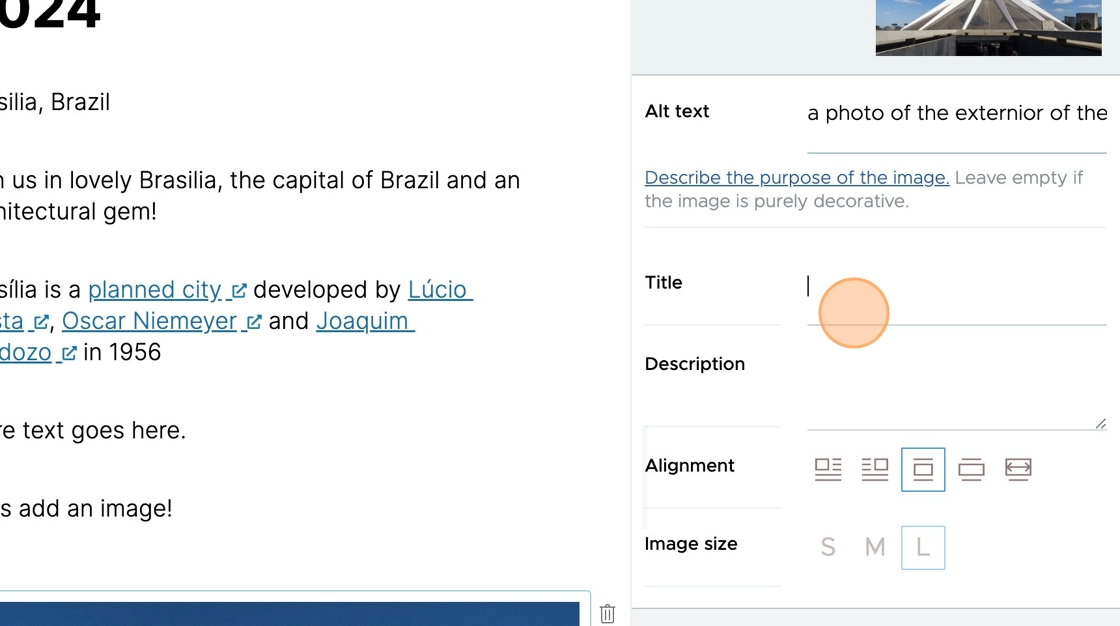
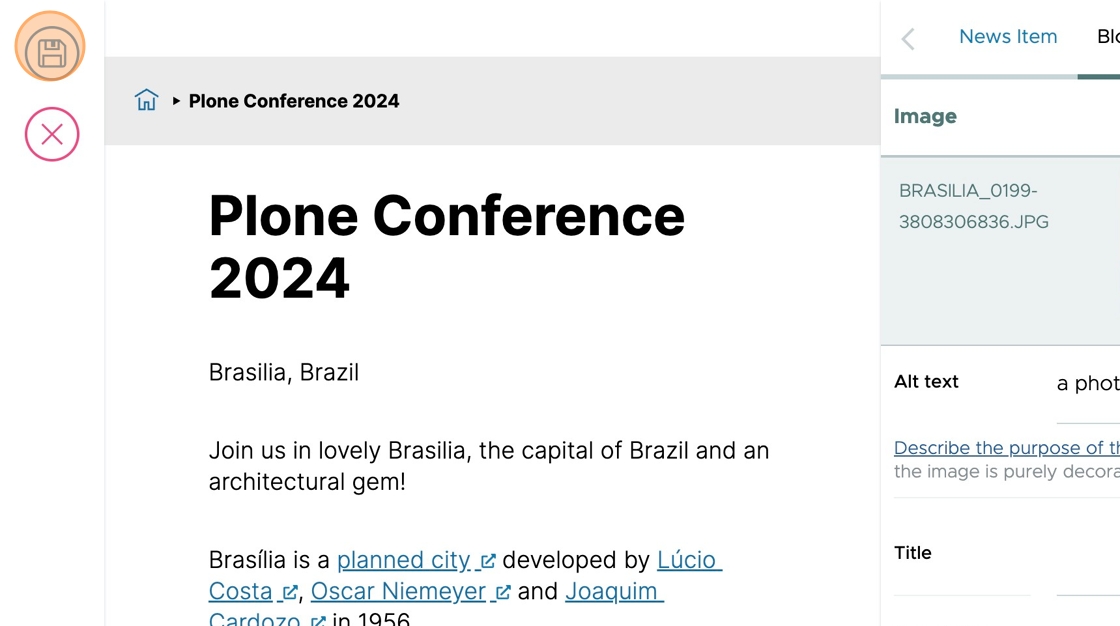
Click the Alt text field in the right column to set the description of the image. This is an important element of accessibility compliance for your site.
In this example, we type "a photo of the exterior of the Catedral de Brasilia".
You can set the title of the image. The title will be shown in content listings and in search results.
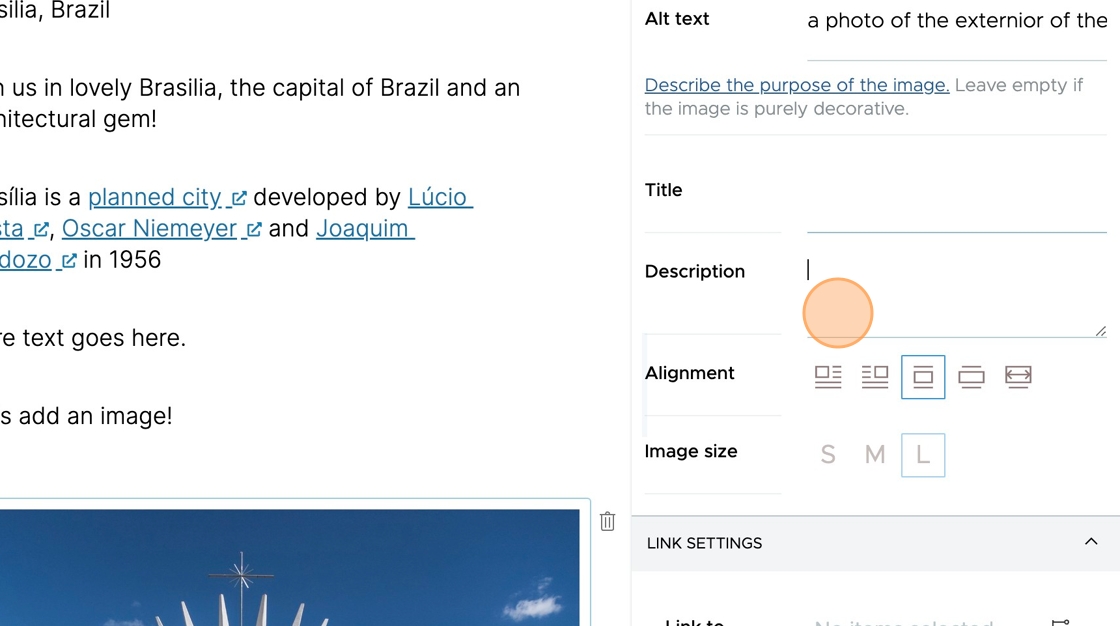
You can set a description of the image. The description will be shown in content listings and in search results.
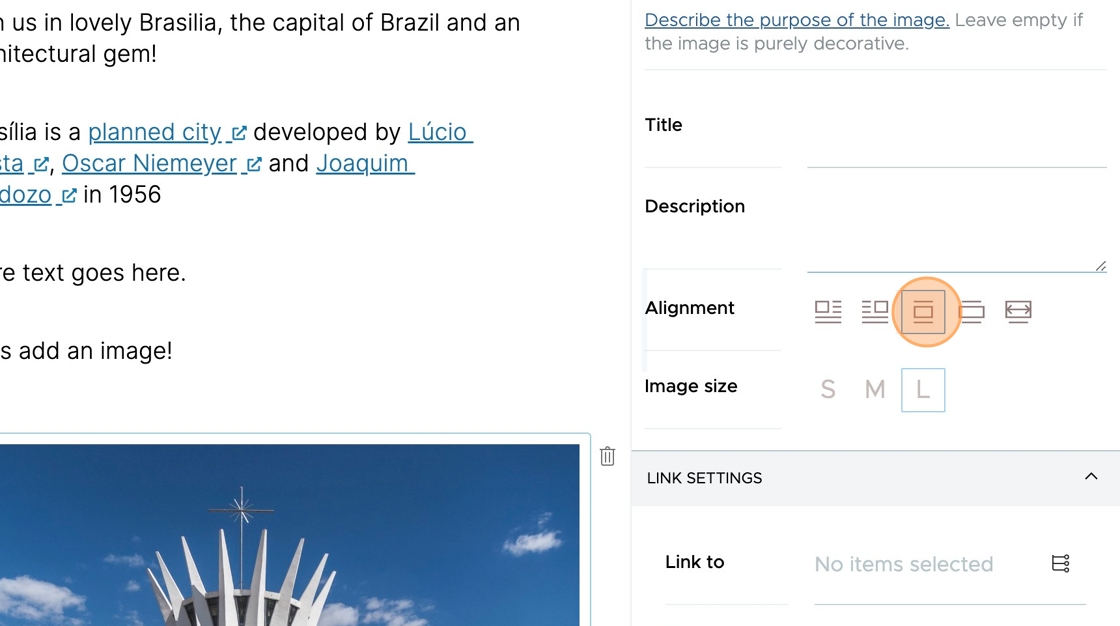
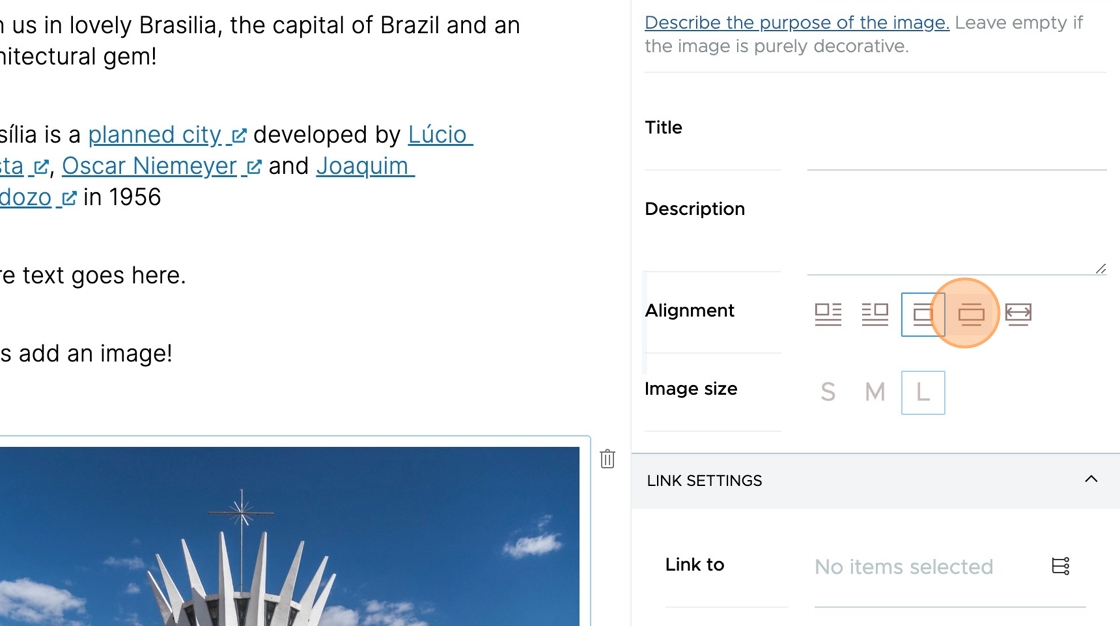
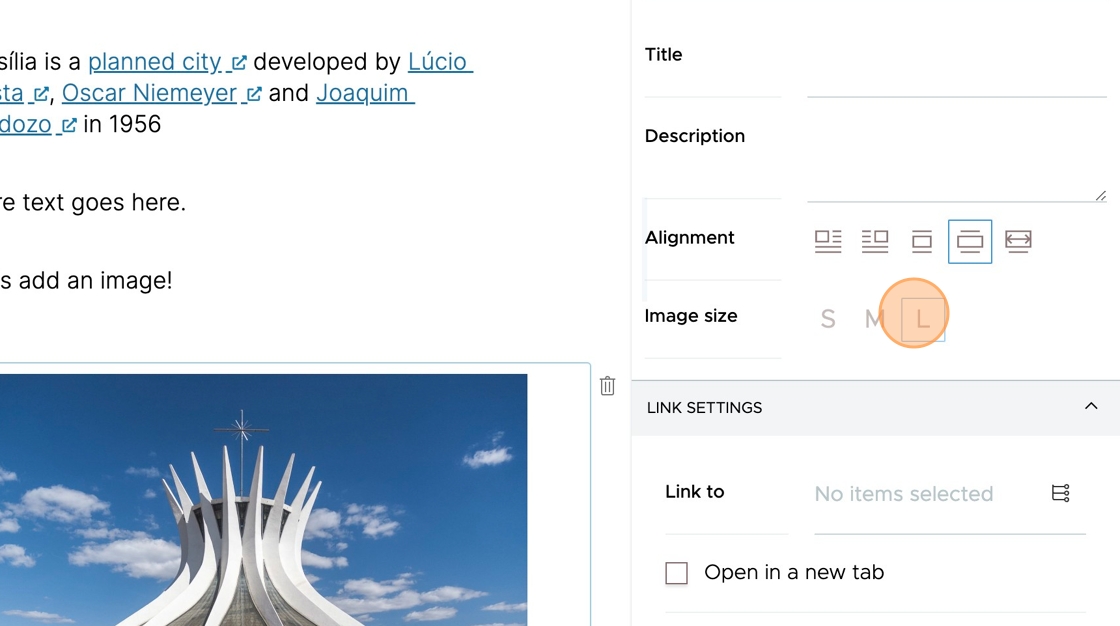
You can change where the image will be displayed on the page relative to other blocks near it.
In this example, we want the image to fill the width of the content column.
By default, the image size is "Large", but you can change it to "Small" or "Medium".
Click the Save button.
At this point, our News Item is in the "private" workflow state.
Items in the private state are visible only to and editable only by their creator and site administrators. Website visitors (the public, or anyone not logged in) cannot see private items.
Now we show how to publish an item. Items in the "published" state are visible to everyone, including the public, but continue to be editable only by their creator and site administrators.
Publish a News Item#
Navigate to https://demo.plone.org/plone-conference-2024
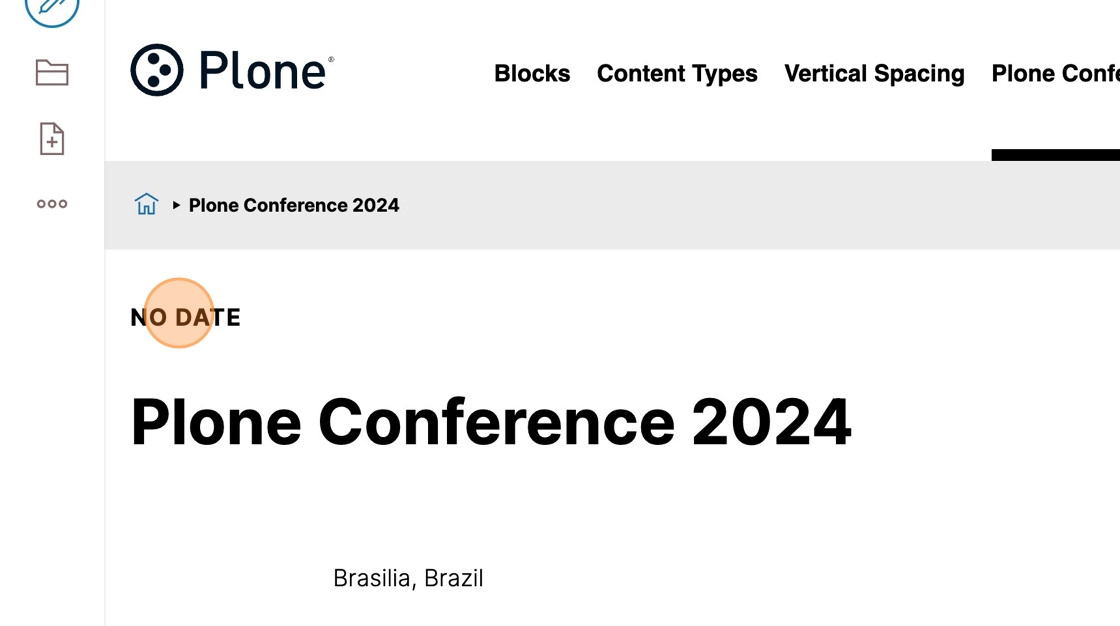
Before a news item has been published, you see "No date". This is where the publication date will be shown.
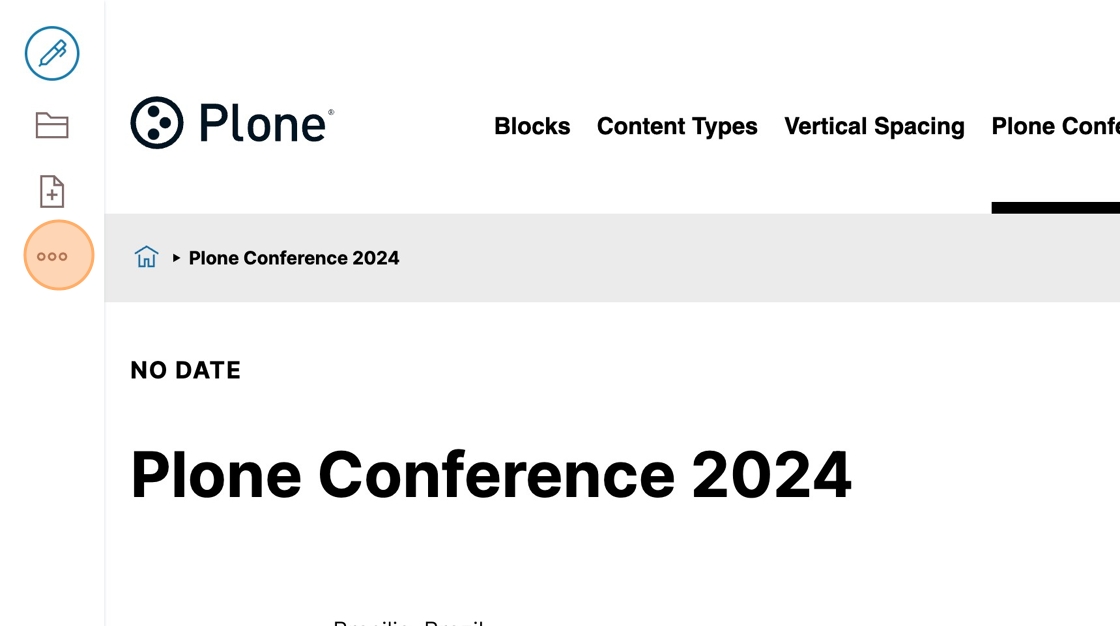
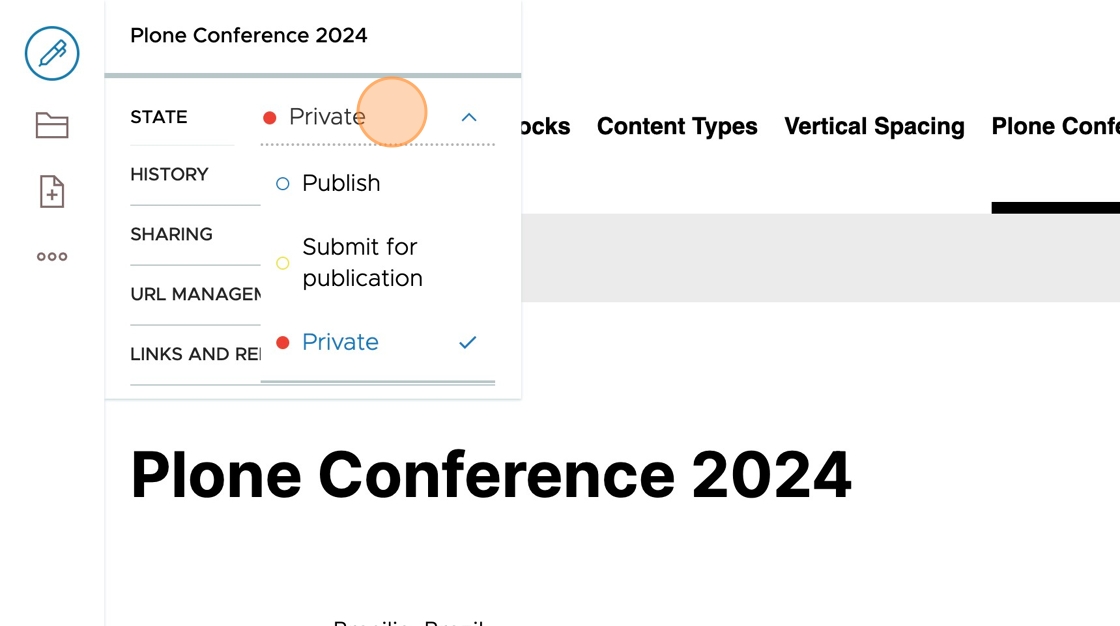
Click the more button.
Click the State dropdown list. It shows the current workflow state of the news item, "Private", in which only the creator and site administrators can view or edit the item.
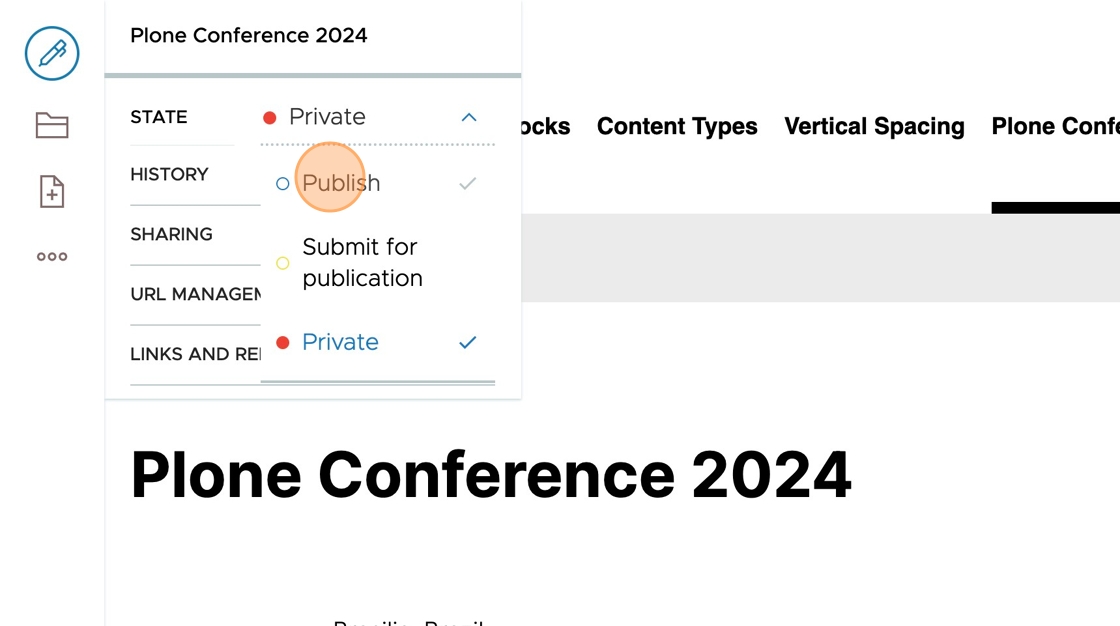
Click Publish. In this example, you are able to publish directly, rather than having to submit for publication, because you are logged in as a site administrator.
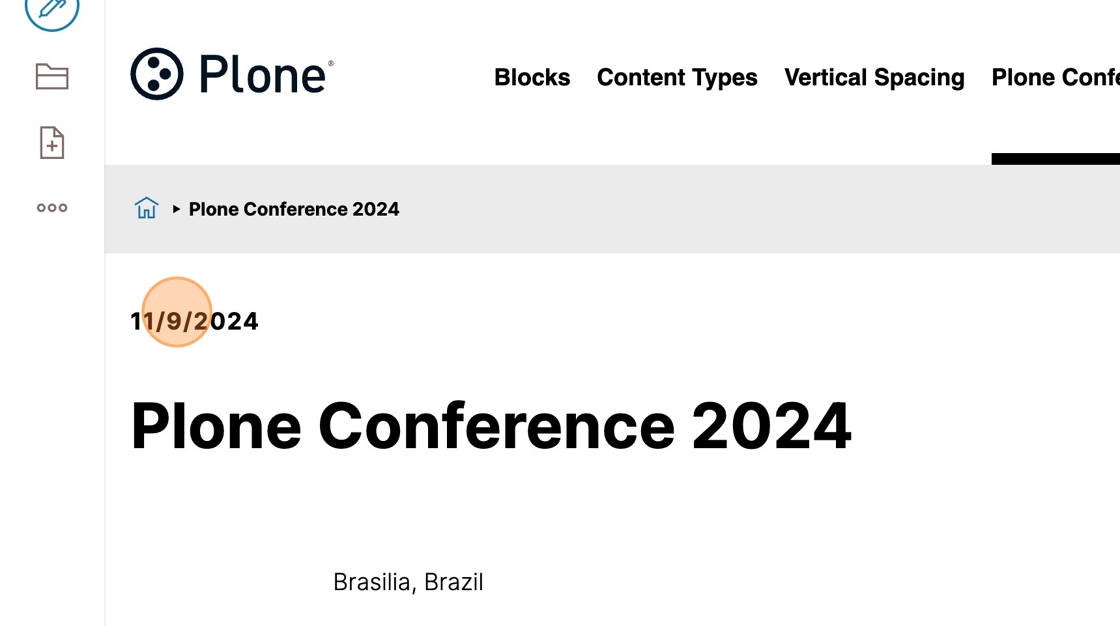
The news item has been published, and the publication date, "11/9/2024", is shown.
