5. Installation#
This chapter provides instructions on how to install Plone with the training code.
For general Plone installation, deployment, and hosting instructions, refer to the authoritative Plone 6 documentation in Get started.
5.1. Technologies and Tools#
We recommend to work on Linux or Mac, not Windows.
5.2. Set up#
We install the Plone backend and its React-based frontend Volto, starting with the following folder structure:
training
├── backend
└── frontend
In backend we install Plone and add our custom Python code.
In frontend we install Volto and add our custom React code.
5.3. Installing the backend#
We encourage you to install and run Plone on your own machine, as you will have important benefits:
You can work with your favorite editor.
You have all the code of Plone at your fingertips in
site-packagestree.
Prerequisites#
make. We recommend upgrading to at leastmake4.
Installation#
Set up the backend with the training code: add-ons ploneconf.site and training.votable.
mkdir training
cd training
git clone https://github.com/collective/training_buildout.git backend
cd backend
Build your backend with:
make build
This build executes multiple tasks. The build
creates a Python virtual environment and installs prerequisites
generates a file structure to be prepared to install Plone packages with pip
generates Zope configuration with Cookiecutter
By creating and working with a Python virtual environment, we are independent of the system Python installation. We install packages and its version according to our needs.
The build generates a file structure to be prepared to install Plone from packages with pip and mxdev. The tool mxdev helps with configuration files to define which add-ons and which versions to install.
It also allows to override Plone core package versions or force a checkout from github.
The documentation Install Plone add-ons provides information on common tasks.
The build generates Zope configuration files with Cookiecutter cookiecutter-zope-instance.
The file we will modify to update our Zope / Plone configuration is instance.yaml.
In this file we will add add-ons that are installed as Python packages and shall be loaded in our instance.
instance.yaml is the one configuration file for our Zope / Plone instance.
The documentation of cookiecutter-zope-instance explains a lot more that can be configured like the port or another storage.
After changes in configuration files, a re-build is necessary:
make build
We are now ready to start the backend with:
make start
Voilà, your Plone is up and running on http://localhost:8080.
The output should be similar to:
katjasuss@purpur training % make start

2022-09-27 08:57:23,961 INFO    [Zope:42][MainThread] Ready to handle requests
Starting server in PID 28745.
2022-09-27 08:57:23,963 INFO    [waitress:486][MainThread] Serving on http://[::1]:8080
2022-09-27 08:57:23,963 INFO    [waitress:486][MainThread] Serving on http://127.0.0.1:8080
Troubleshooting: We are here to help: Please file an issue in training repository.
Point your browser to http://localhost:8080 to see Plone running.
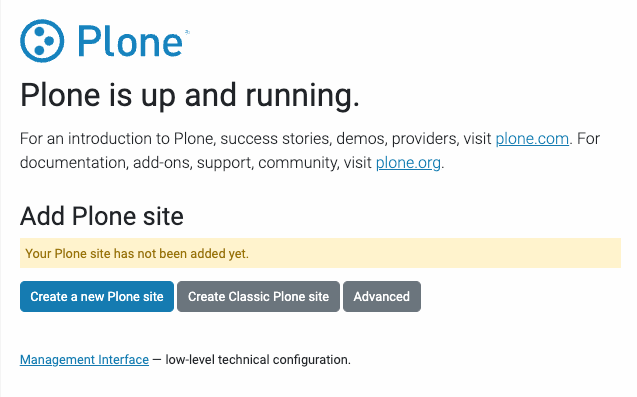
Plone, up and running.#
There is no Plone site yet. We will create one in the next chapter.
You can stop the running instance anytime using ctrl c.
5.4. Installing the frontend#
You have two options:
Create the frontend from scratch using Cookieplone.
Use the prepared Volto project volto-ploneconf with all the code for the training.
Option 1: Frontend from scratch#
Follow the instructions of docs.plone.org: Create a Volto project without a backend.
Option 2. Start with prepared training project volto-ploneconf with all code for the training#
Prepare the prerequisites explained in Prerequisites for installation.
Be aware that Volto 18 recommends pnpm instead of yarn as package manager and project manager.
Get the code for the frontend from GitHub and install:
cd training
git clone https://github.com/collective/volto-ploneconf.git frontend
cd frontend
make install
Now you can start the app with:
make start
which is a
pnpm start
Point your browser to http://localhost:3000 and see that the app is up and running, albeit without content. We will create a Plone instance in the next chapter.
You can stop the frontend anytime using ctrl c.