17. Creating a dynamic front page with Volto blocks#
Show selected content on the front page by criterion.
In this part you will:
Use a listing block to show content marked as "featured"
Configure additional criterion for a listing block
Tools and techniques covered:
listing criterion
Despite this is a frontend chapter, we are working on backend code in ploneconf.site.
Checkout ploneconf.site at tag "initial":
git checkout behaviors_1
The code at the end of the chapter:
git checkout frontpage
More info in The code for the training
We prepared a behavior for content types to store the information if the content should be featured in the previous chapter. And we enhanced the catalog search by adding index and metadata "featured". Now we turn this into a criterion for a listing block that shows featured content.
17.1. Add Index as collection criterion#
To understand why we need a collection criterion for a dynamic front page in Volto and what a collection criterion is, we have to look at the listing block of Volto.
In the sidebar, we see the Criteria select menu, and if we click there, it'll show some of the selectable criteria ordered in categories like the following:
Metadatacontains indexes that are counting as metadata like Type (means Portal Types) and Review StateTextcontains indexes that are counting as text-data like Description and Searchable TextDatescontains indexes which are working with date-data like Effective Date and Creation Date
To get all talks we marked as featured we have to get the listing block to recognize our newly created index.
This means we have to add our index to the collection criteria, to be selectable by the editor.
To add our new index as a criterion to be applicable in a listing block or a collection, we have to switch to our backend. There we have to create a plone.app.registry record for our index. This can be achieved by adding a new file profiles/default/registry/querystring.xml:
 1<?xml version="1.0"?>
 2<registry xmlns:i18n="http://xml.zope.org/namespaces/i18n"
 3          i18n:domain="plone">
 4
 5  <records interface="plone.app.querystring.interfaces.IQueryField"
 6           prefix="plone.app.querystring.field.featured">
 7      <value key="title" i18n:translate="">Featured</value>
 8      <value key="enabled">True</value>
 9      <value key="sortable">False</value>
10      <value key="operations">
11          <element>plone.app.querystring.operation.boolean.isTrue</element>
12          <element>plone.app.querystring.operation.boolean.isFalse</element>
13      </value>
14     <value key="group" i18n:translate="">Metadata</value>
15  </records>
16
17</registry>
To understand this code snippet, we have to know the information and tags we are using:
The prefix
plone.app.querystring.field.featuredrefers to the featured index we just created.The operations elements define the provided criterion values to filter the listing.
The group value defines the group under which the entry shows up in the selection widget, in our case
Metadata.
Note
For a list of existing QueryField declarations and operations see plone/plone.app.querystring
We can now restart the instance and re-install the add-on.
17.2. Add a listing block to show the featured content#
Now we go back to our frontend.
To create a new listing block on the front-page we have to click on edit and then create one new block.
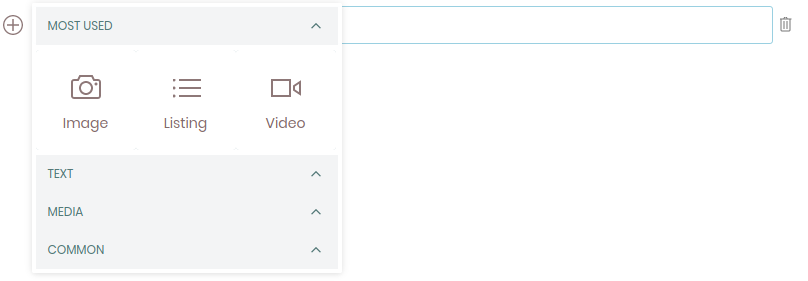
Now you choose the block Listing from the menu:
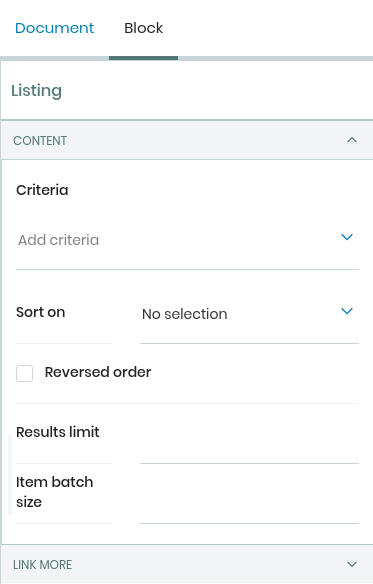
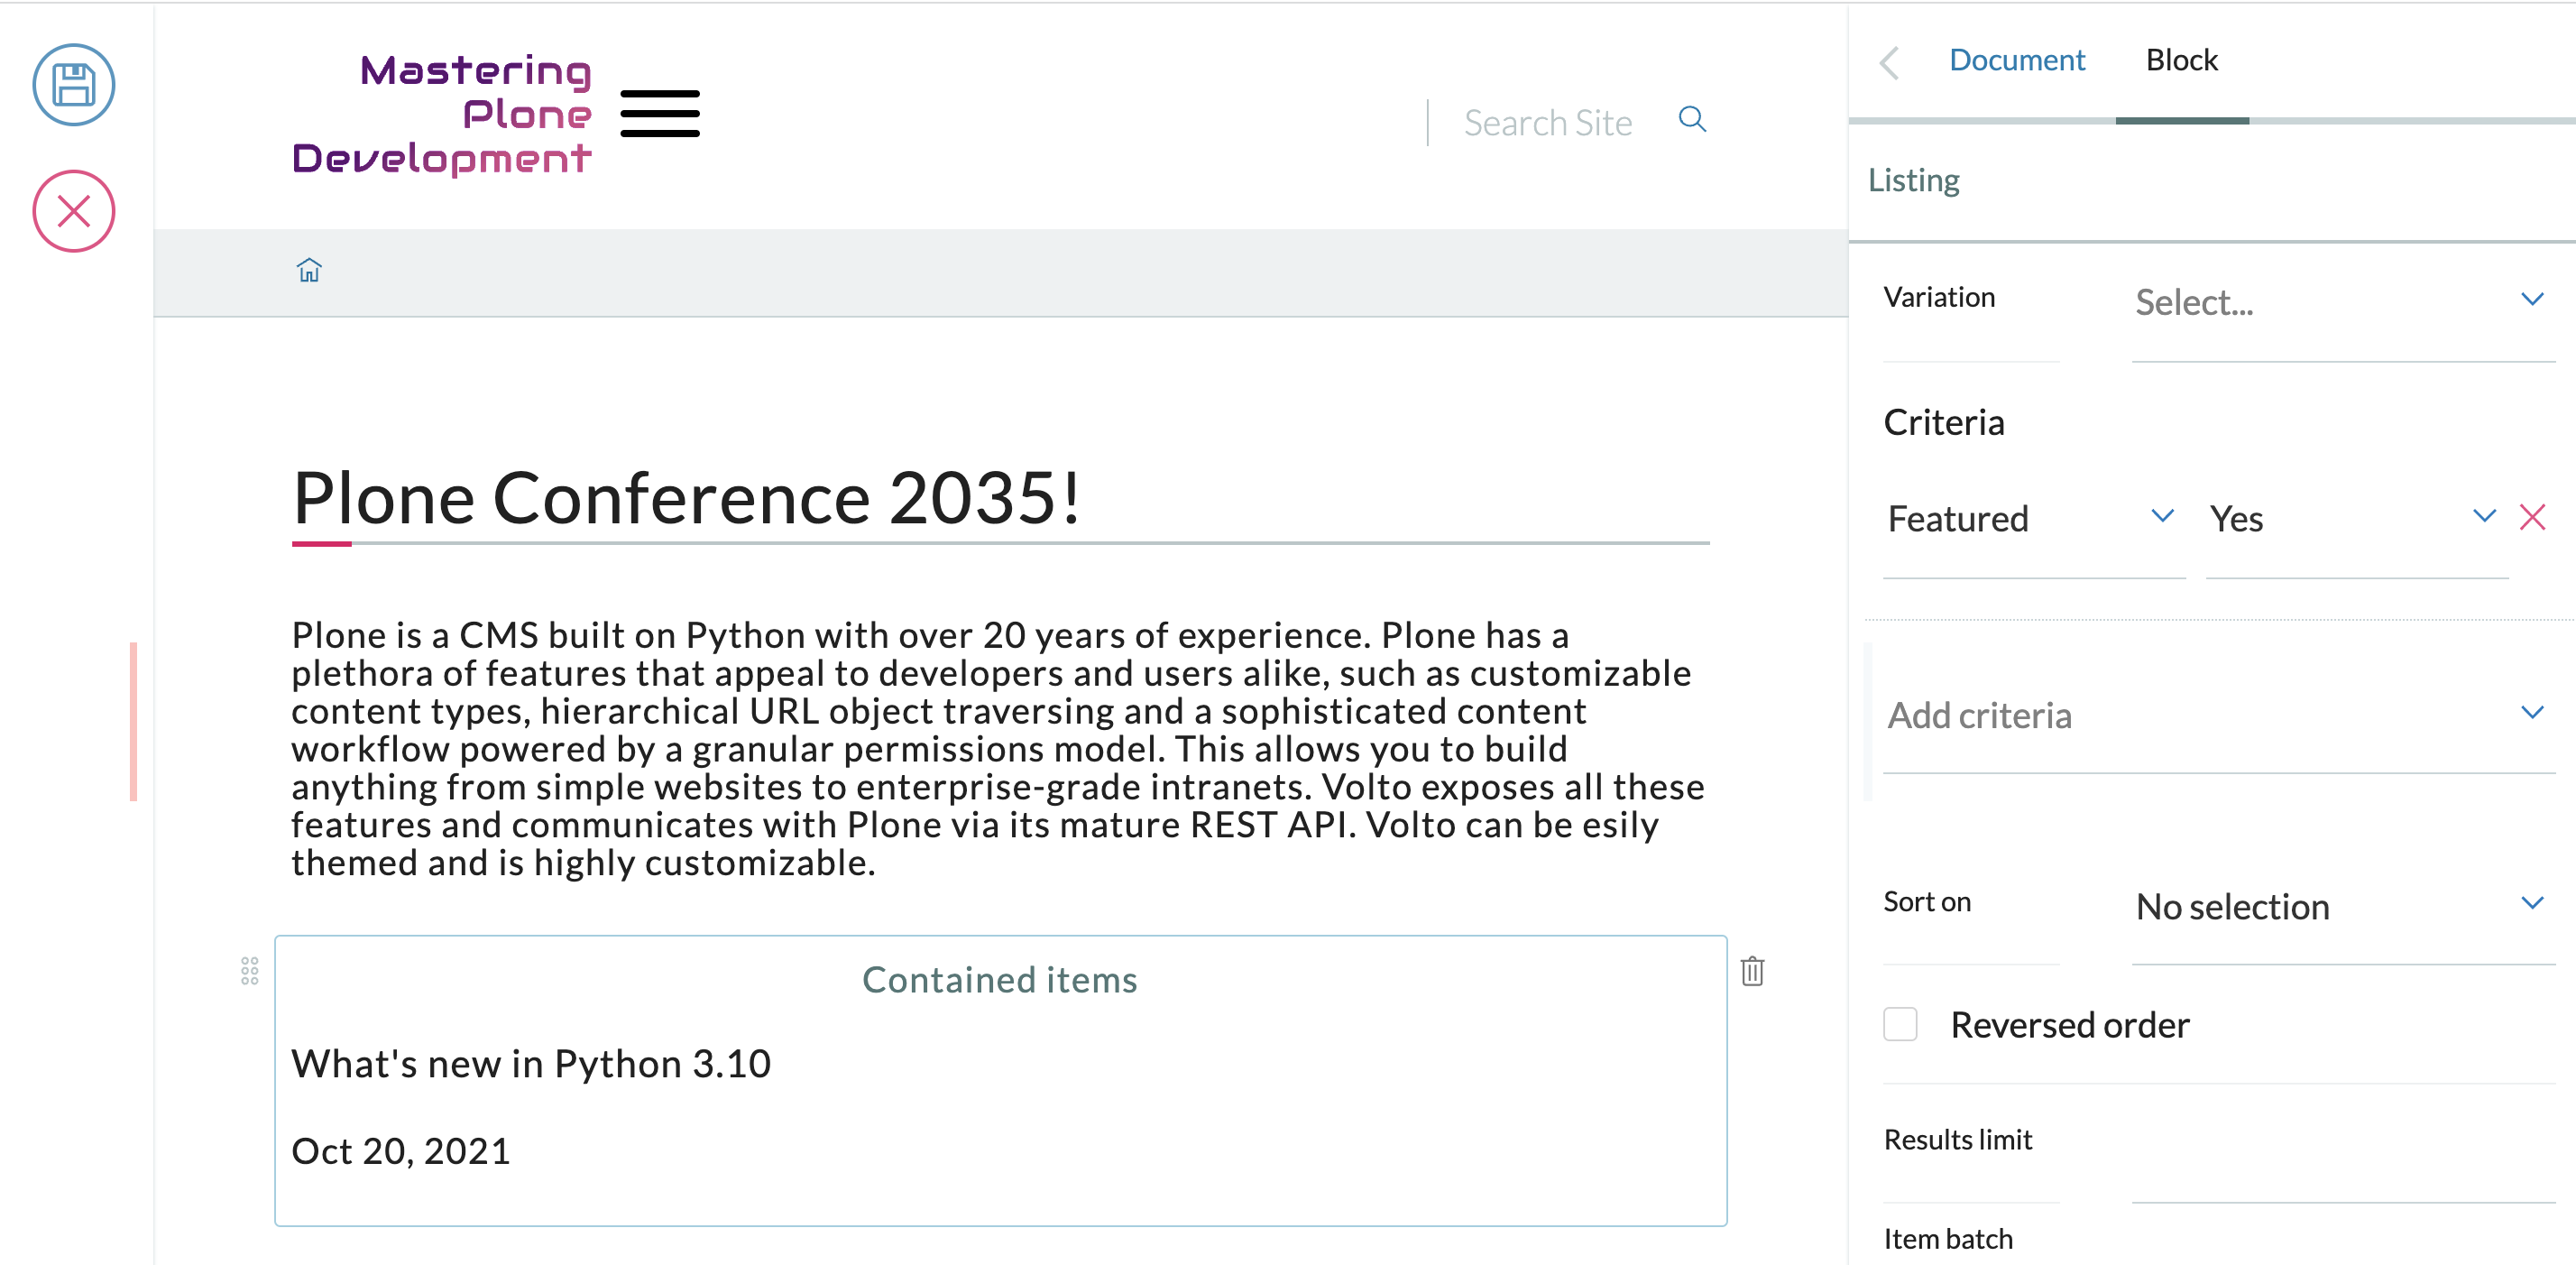
You can select the 'featured' criterion:
17.3. Outlook: Block variations#
The listing block comes with default variations for the display. The editor can choose from these variations to change the template for the listing: with thumbnail image or without, etc.. Your project maybe needs a custom template. The way to go would be to create an additional variation of the listing block. See Block variations for more information.