Use Pages to Organize Content#
Pages can contain other items, and can be nested to any depth.
Here we show how to create a page that will contain Event content items, and how to create an Event content item.
Create an Events "Folder"#
We create a page called "Events" to contain all the site's events, then we create an event inside it.
We will create a page called "Events" to hold the event we will create next.
Pages can act as folders and contain other items. Pages can be nested to any depth you need to organize your content.
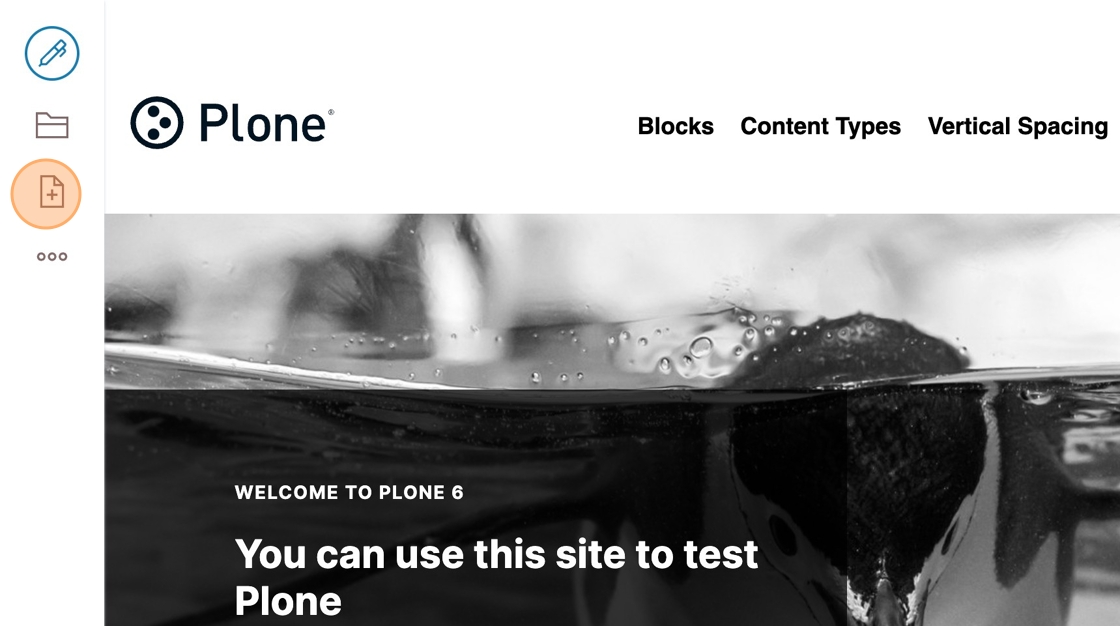
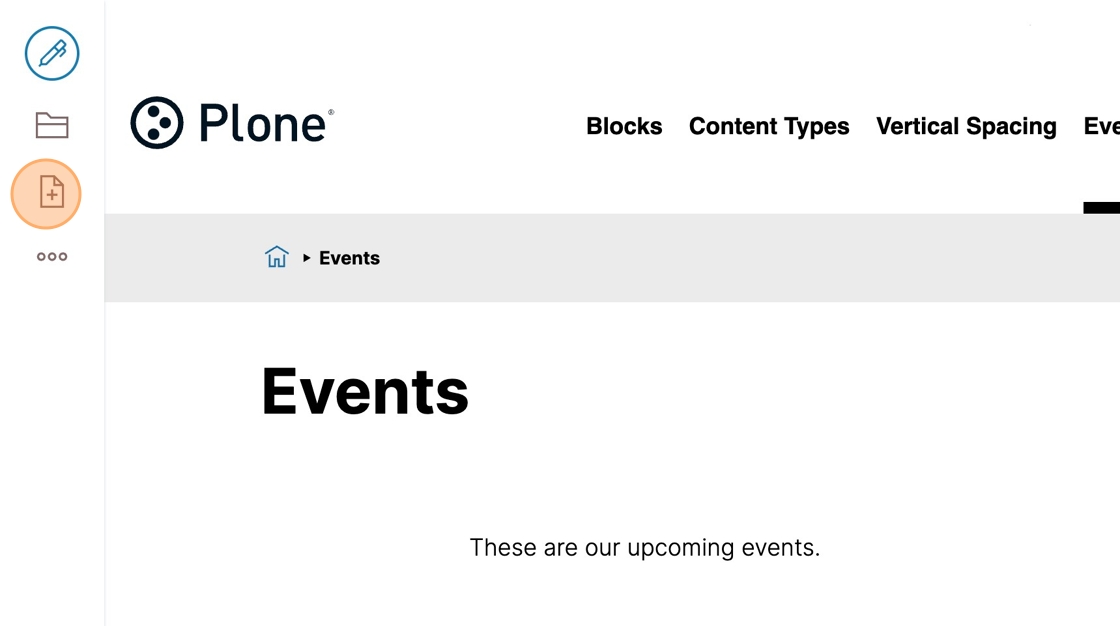
Click the add item button.
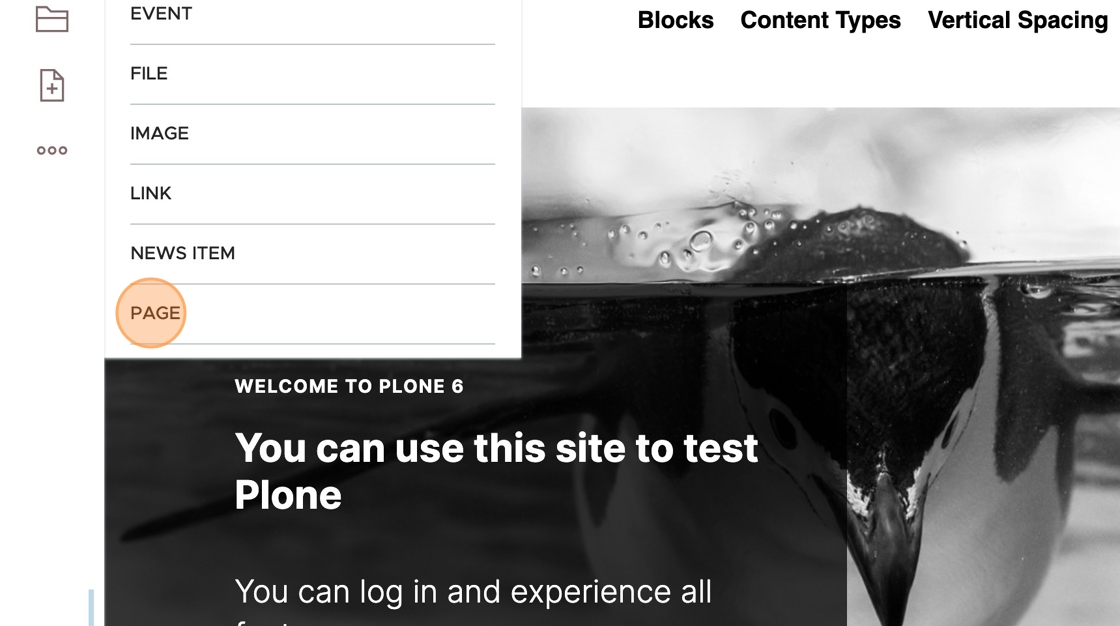
Click Page.
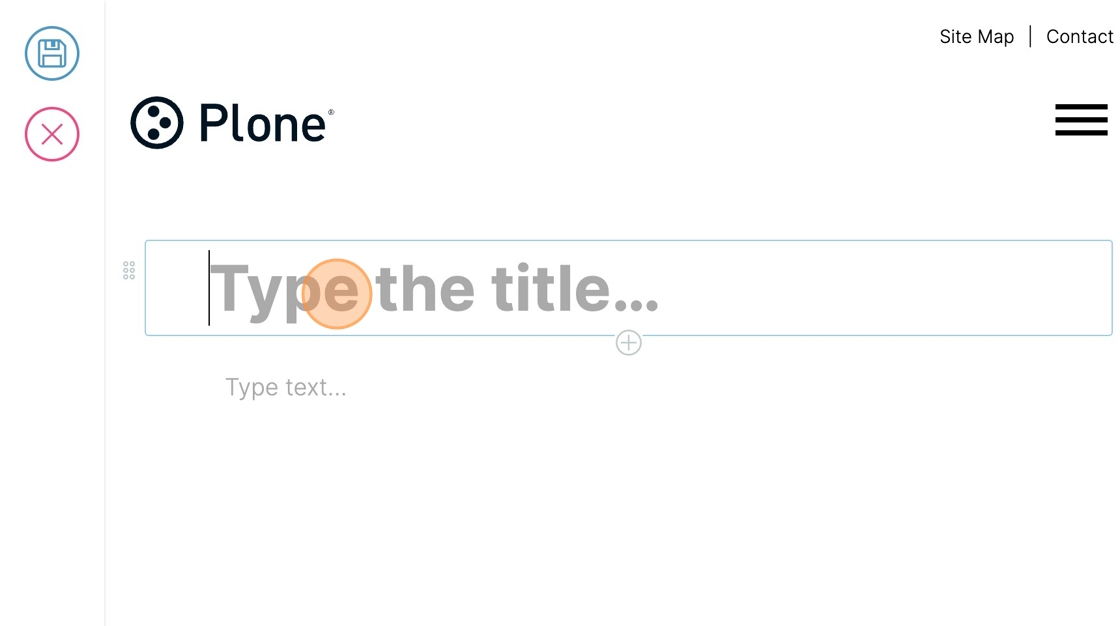
Click in the text block Type the title...
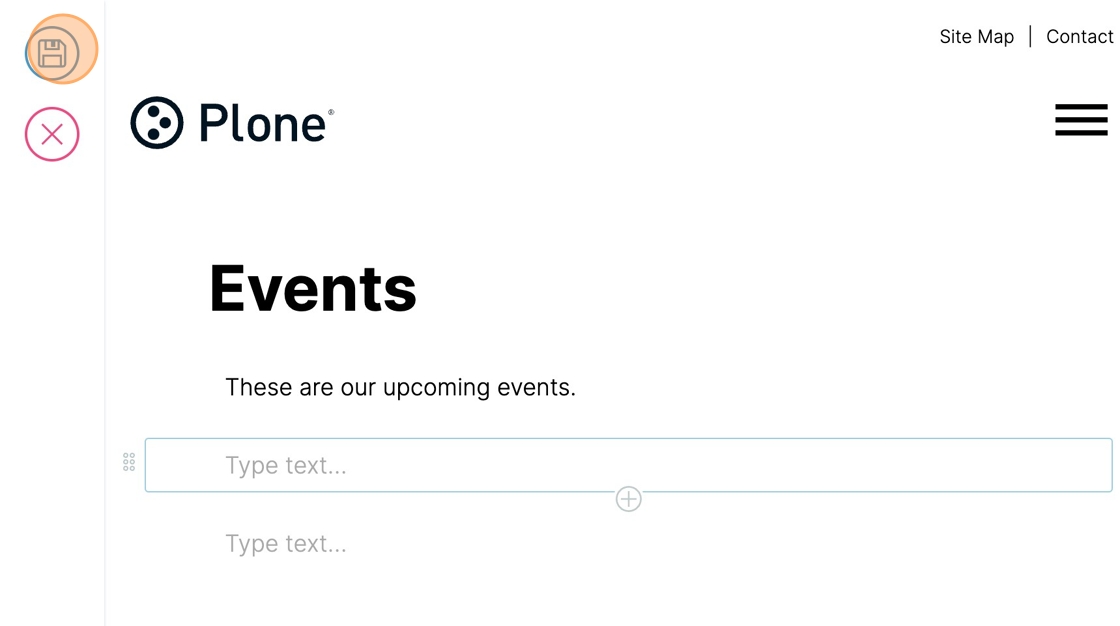
Type "Events Enter", then in the text block below it, type "These are our upcoming events.Enter"
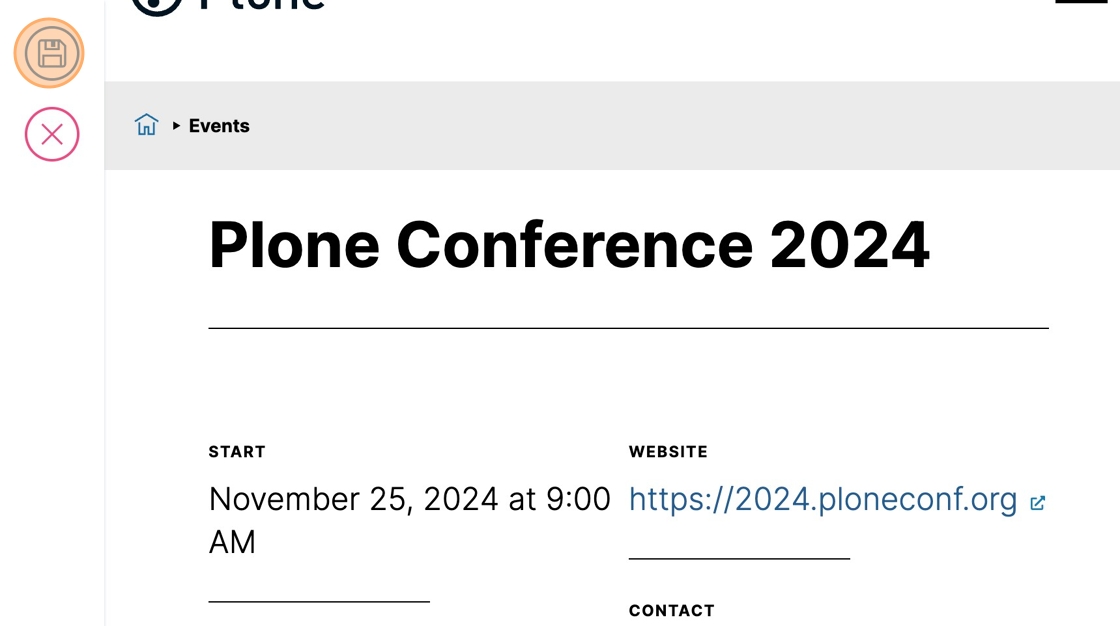
Click the Save button.
Add an Event Inside the Folder#
We are now looking at the new "Events" page.
We will create an Event inside it.
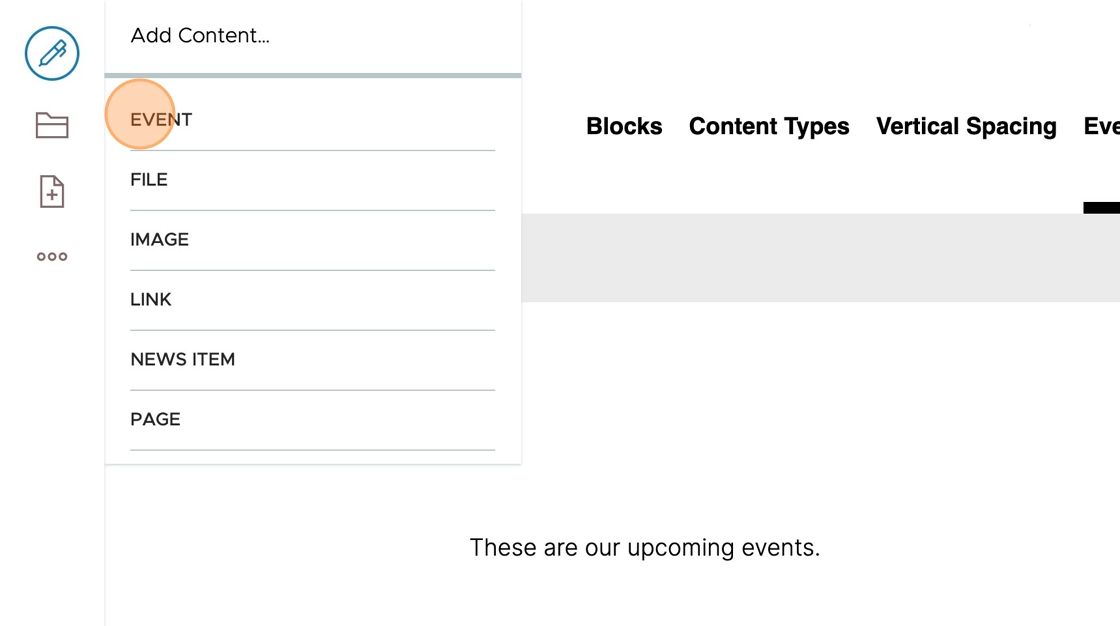
Click the add item button.
Click Event
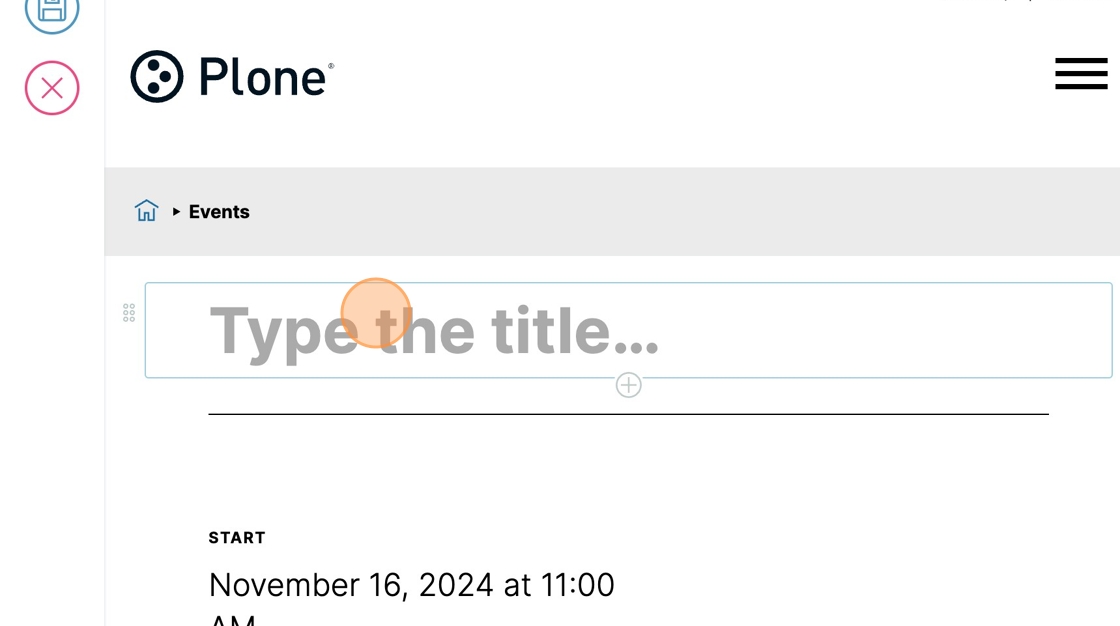
Click Type the title...
Type "Plone Conference 2024" to set the title of the event.
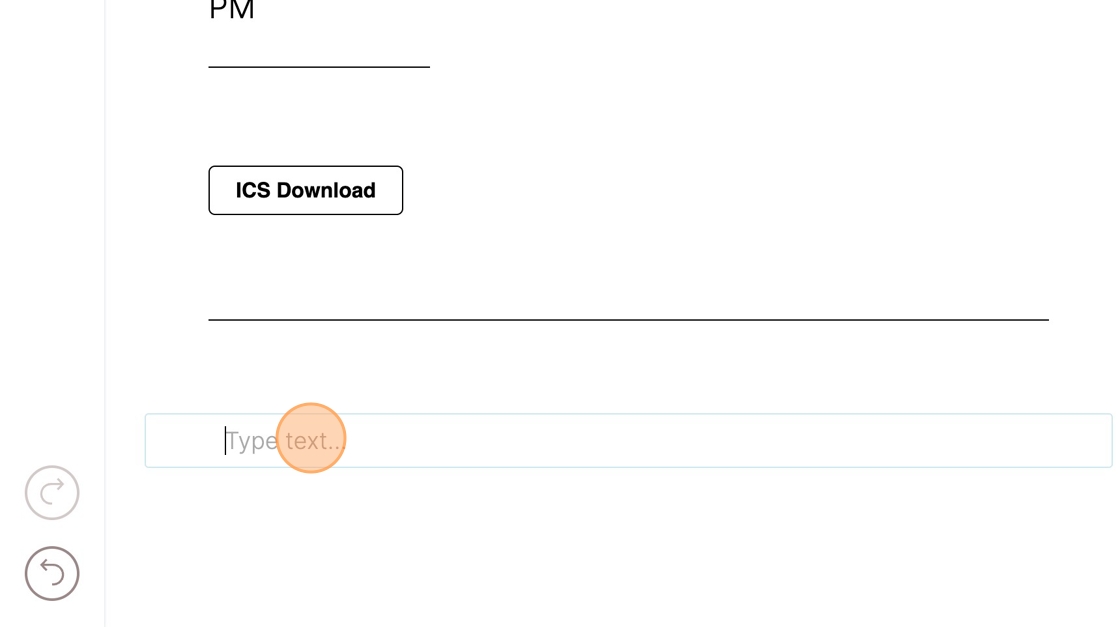
Click in the text block below, where it says Type text...
Type some text describing the event, e.g., "The Plone Conference, the annual gathering of the vibrant Plone community, has been a cornerstone of the open-source CMS world for nearly two decades. From the first edition, back in 2003 to its latest edition in 2023, the conference has evolved into a global celebration of collaboration, innovation, and knowledge sharing."
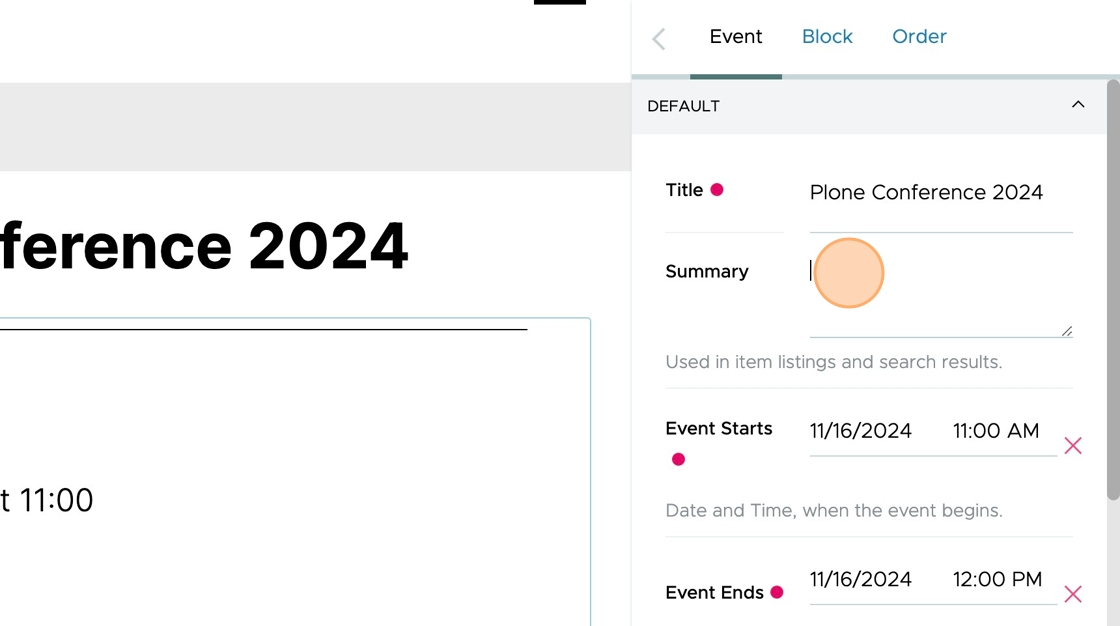
Click the Summary field and type some text that describes the event.
Summaries should be brief, typically 1-2 sentences.
Plone's built-in search indexes the title, summary and text of every content item.
An event should have a start and (usually) an end date.
By default, it is set to the date and time when you created the event.
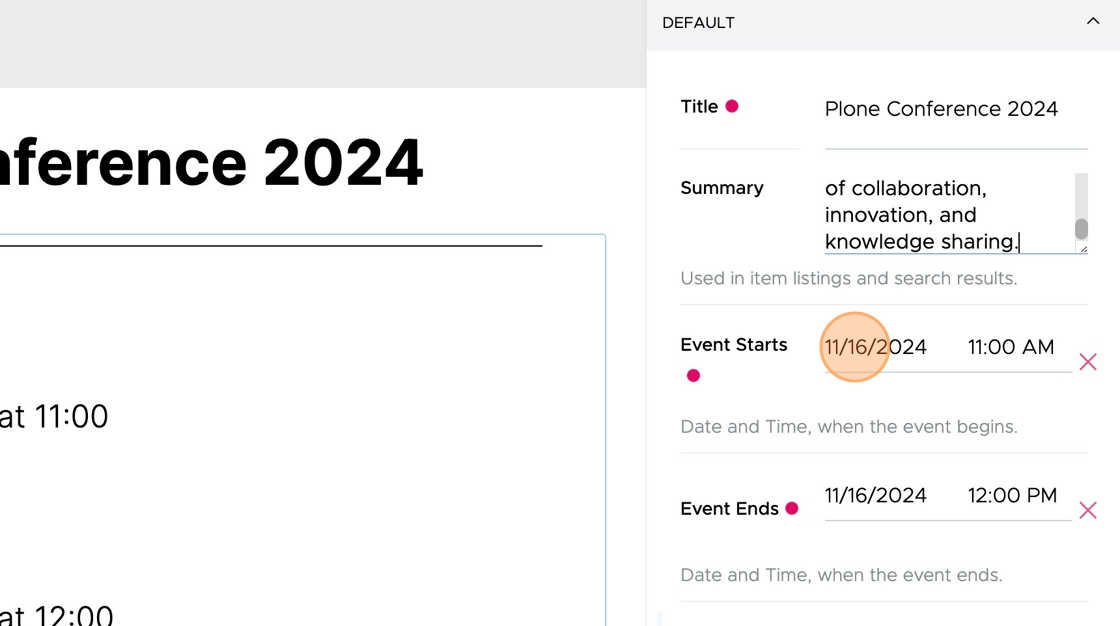
Click the Event Starts date field.
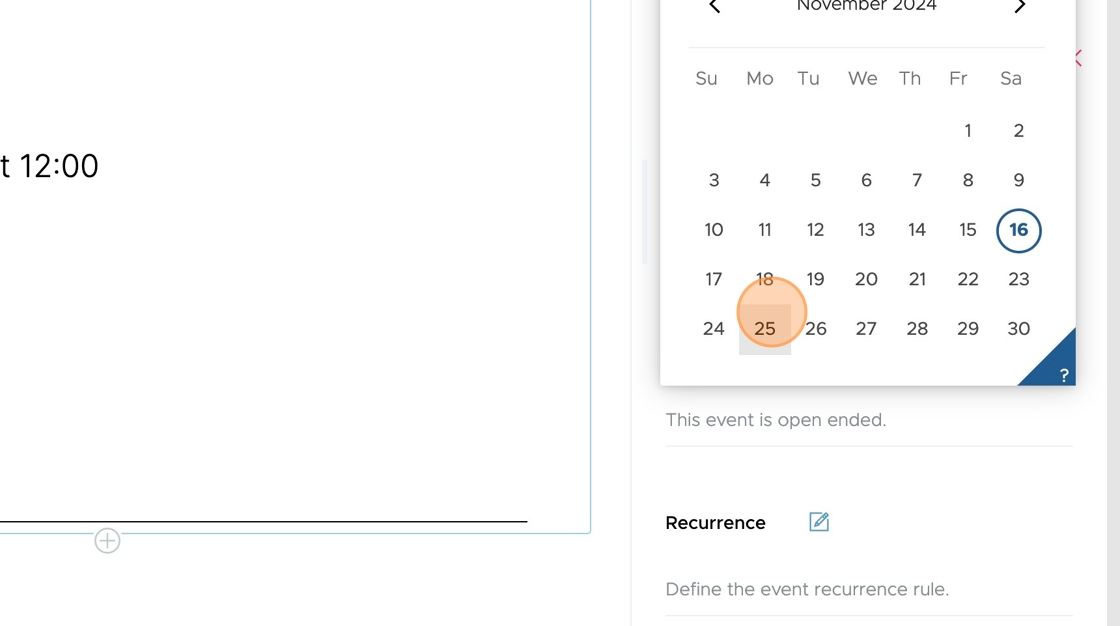
Use the calendar widget to set the event's start date.
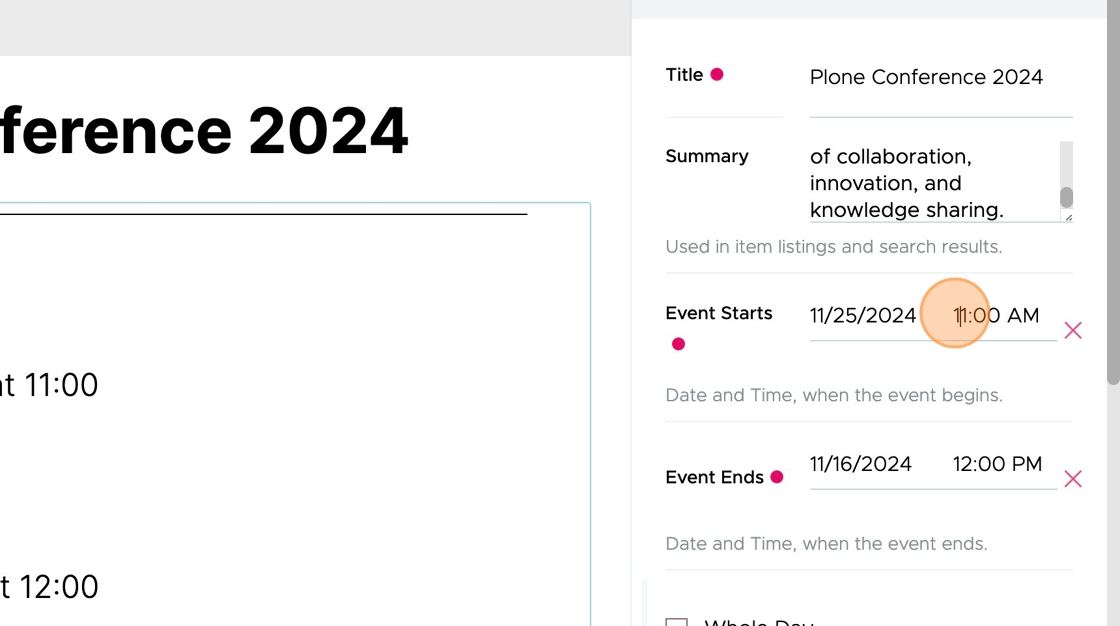
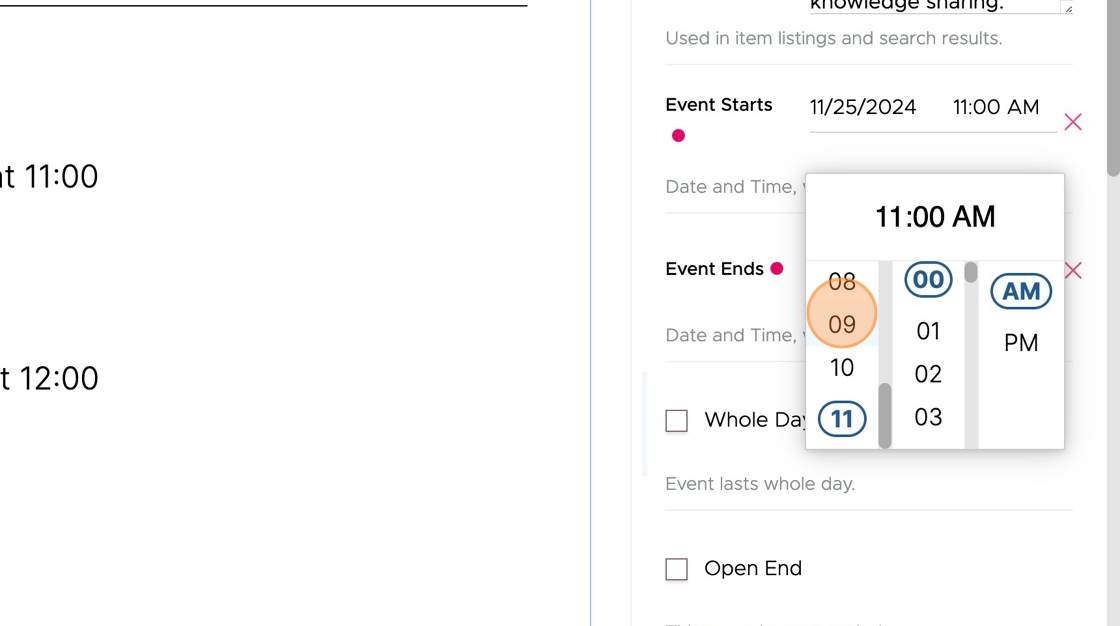
Click the Time field.
Use the time widget to set the event's start time.
Type Escape or click elsewhere on the page to hide the widget.
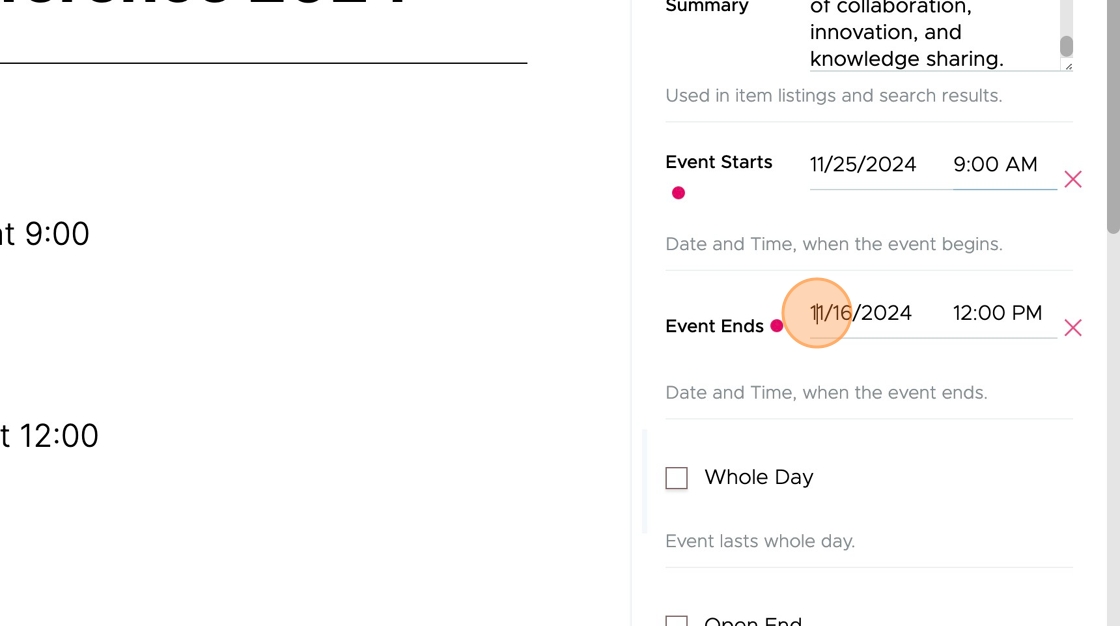
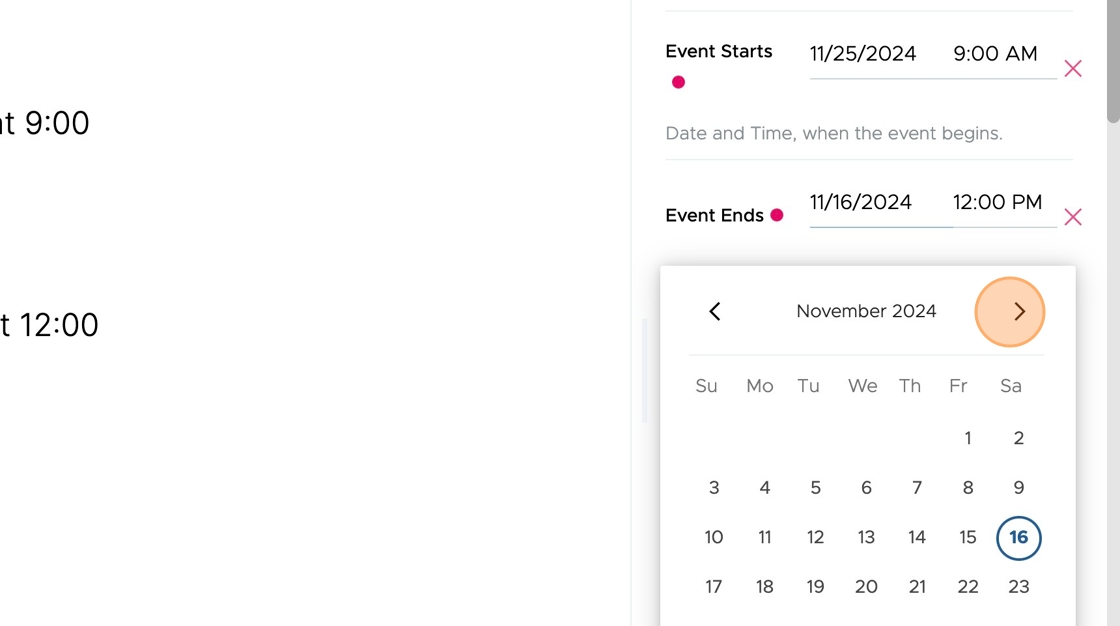
Click the Event Ends date field.
Use the calendar widget to set the event's end date.
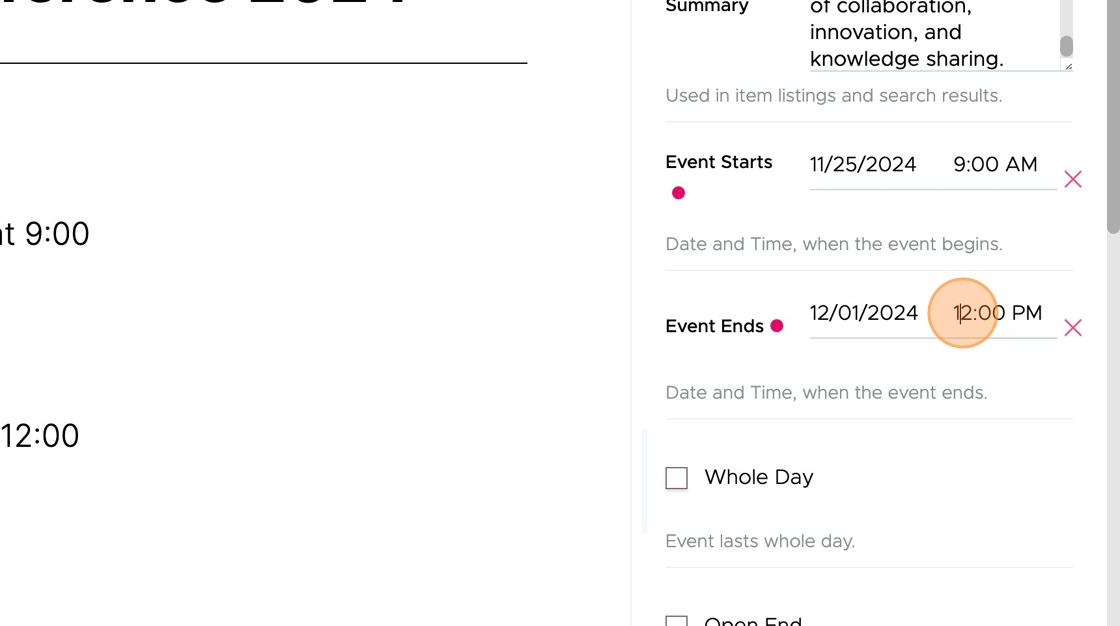
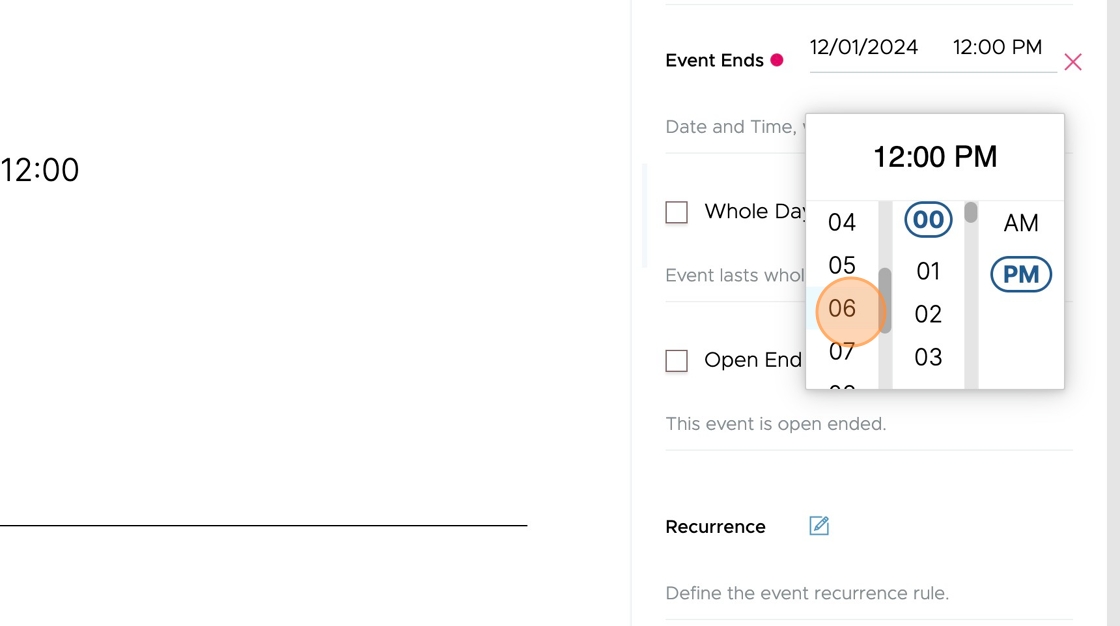
Click the Event Ends time field.
Use the time widget to set the event's end time.
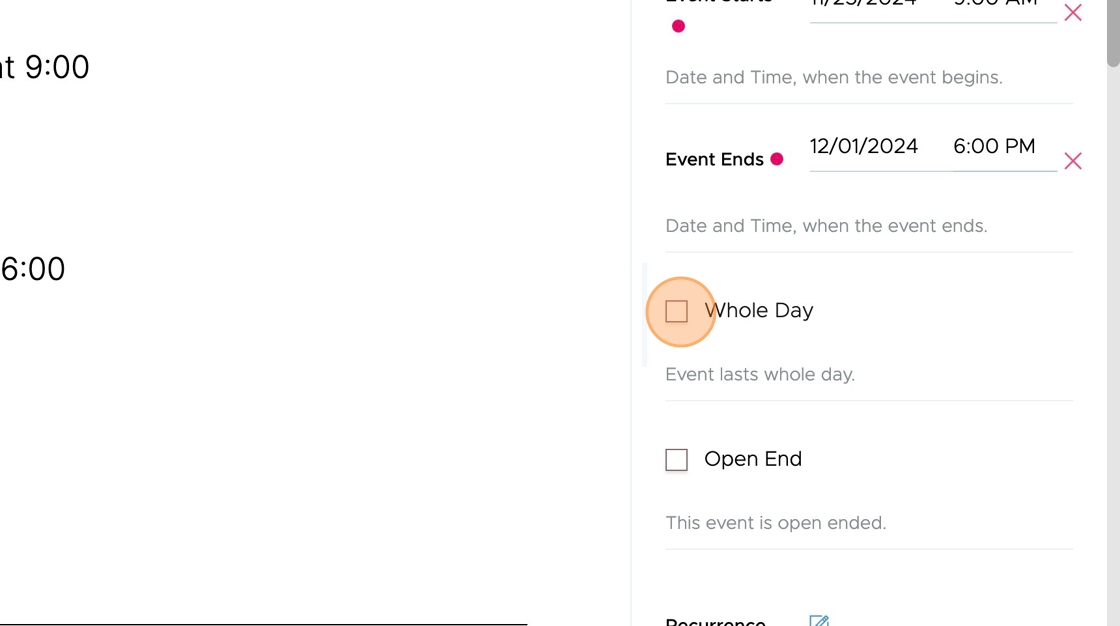
You can click Whole Day if the event takes place the entire day or if you don't want to have to set start and end times.
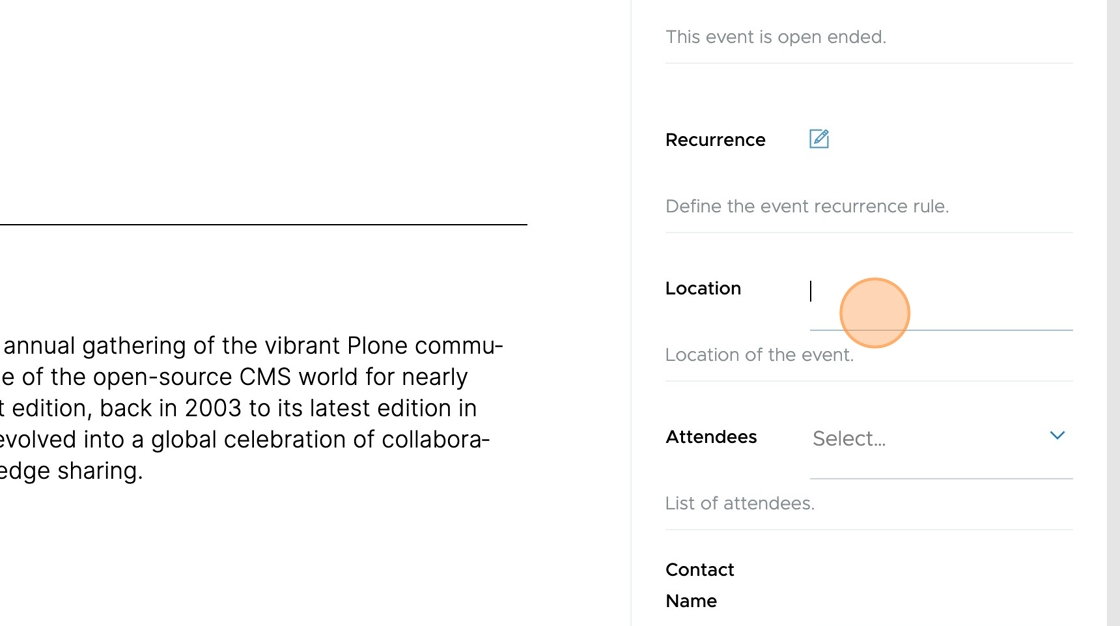
You can use the Location field to enter the location of the event.
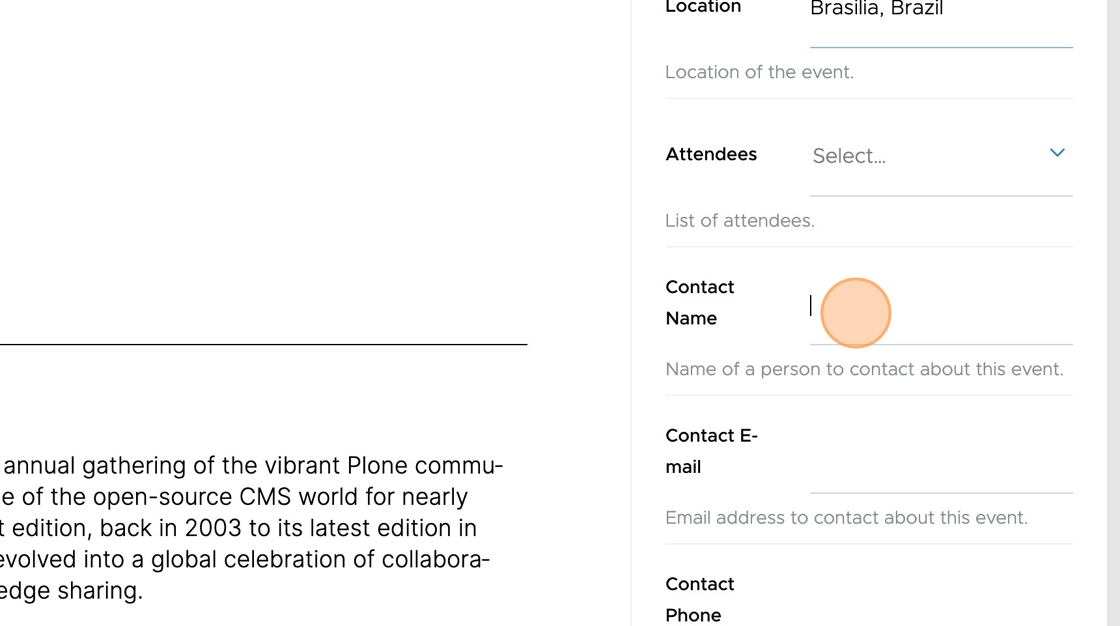
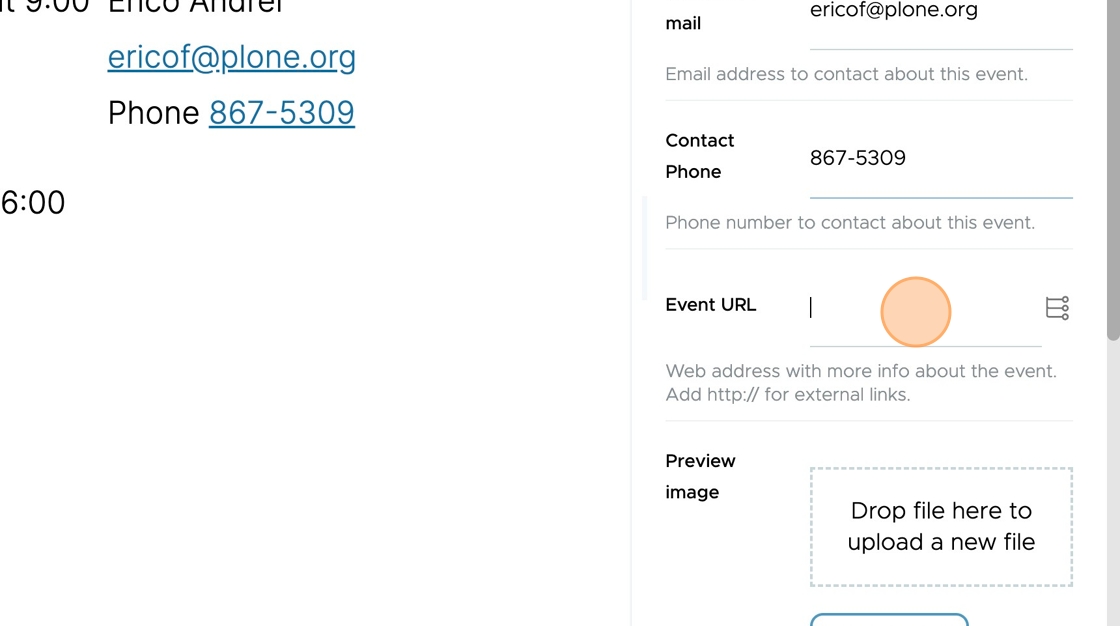
You can enter the organizer's contact information using the Contact Name, Contact E-mail, and Contact Phone fields.
If the event has its own web page, you can enter it in the Event URL field.
For example, it could be "https://2024.ploneconf.org".
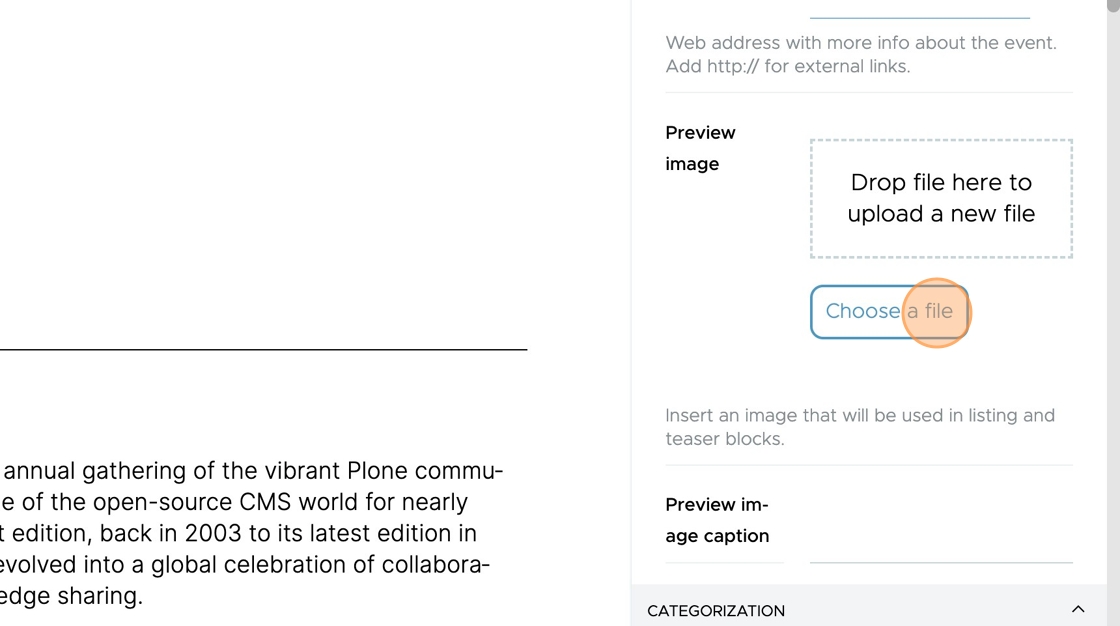
You can set a preview image for the event. Click Choose a file or drop an image file onto the Drop file here target area
Click the Save button.
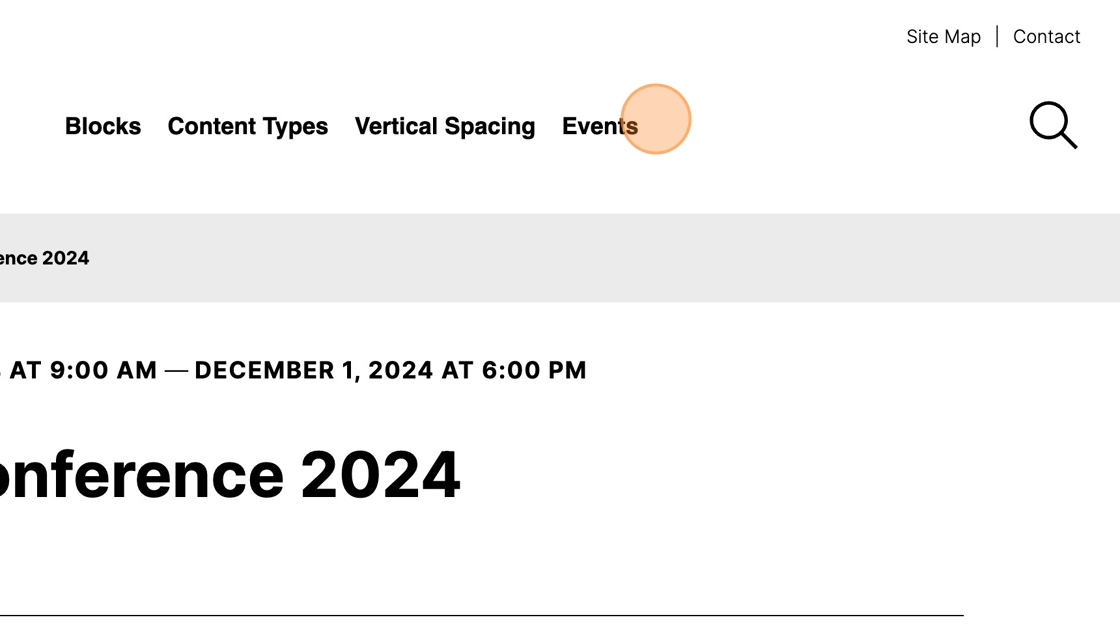
You can see the Events page you created earlier, though it acts as a folder.
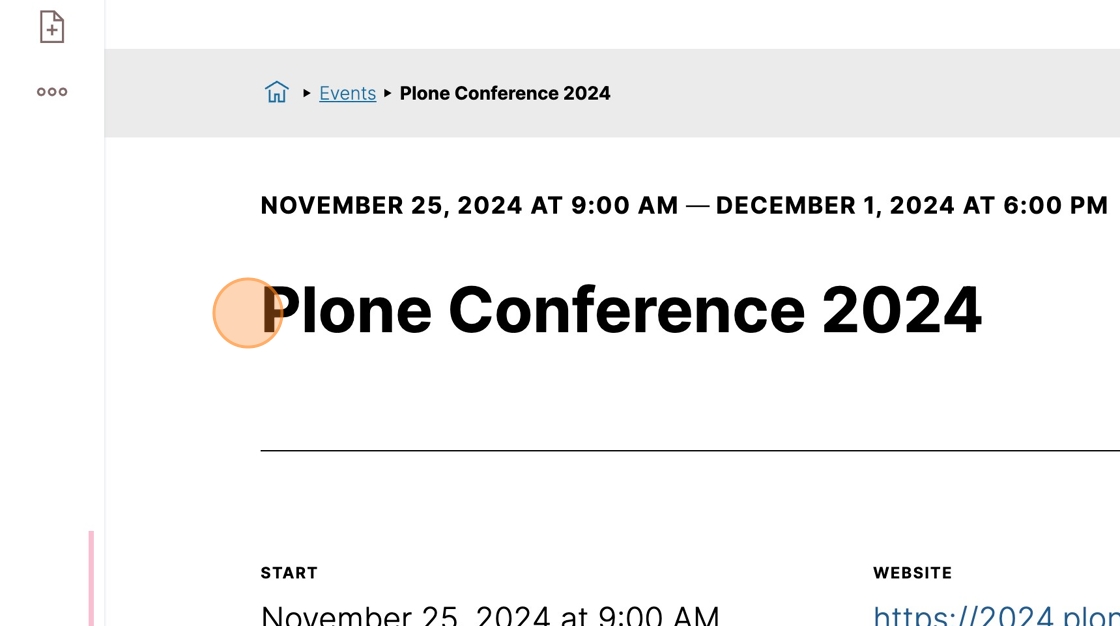
Your new event has been created inside the "Events" folder, as shown by the breadcrumbs above the event dates and title.
