Add a Search block#
A search block allows you to set up a custom search within your site for a specific section.
In this example, we'll create a page containing a search block.
Click the Add button
 to add a search block.
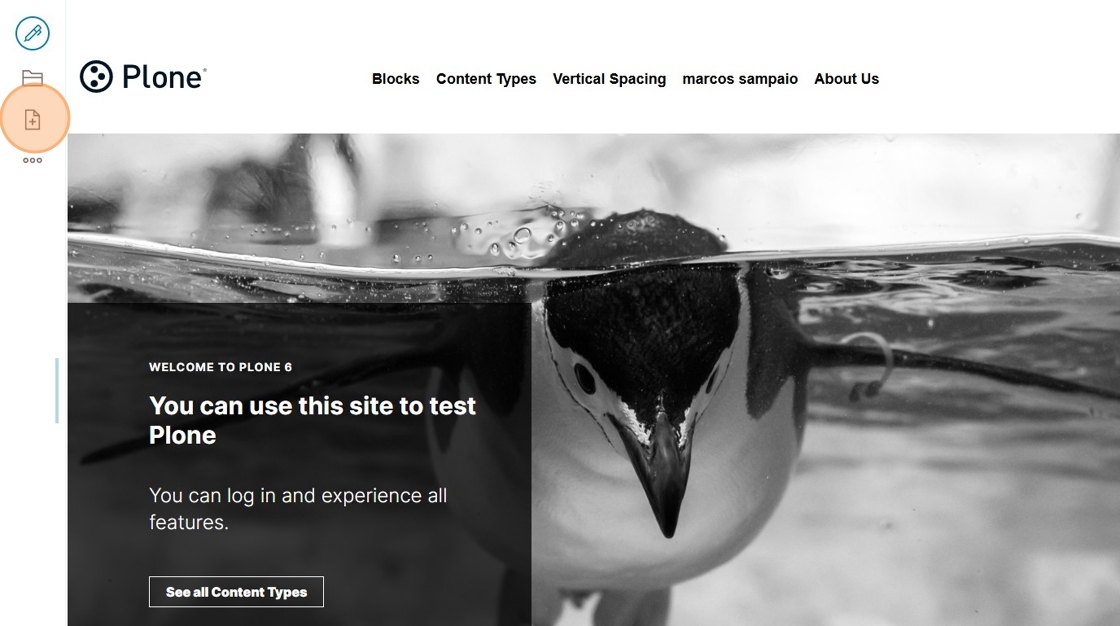
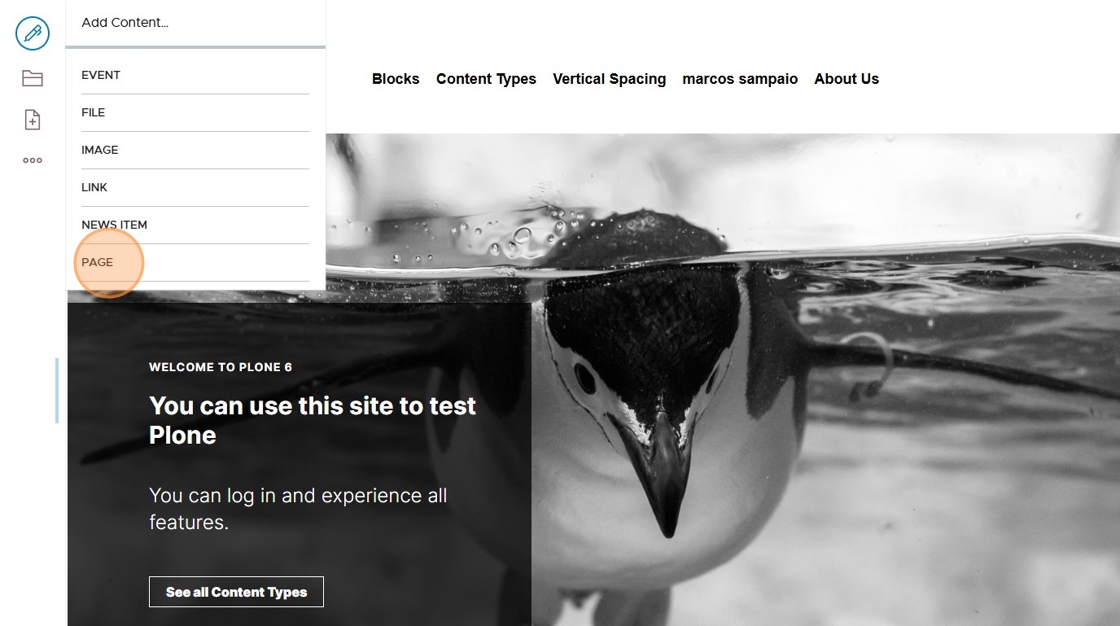
Click the
Addbutton to add a search block.Click Page
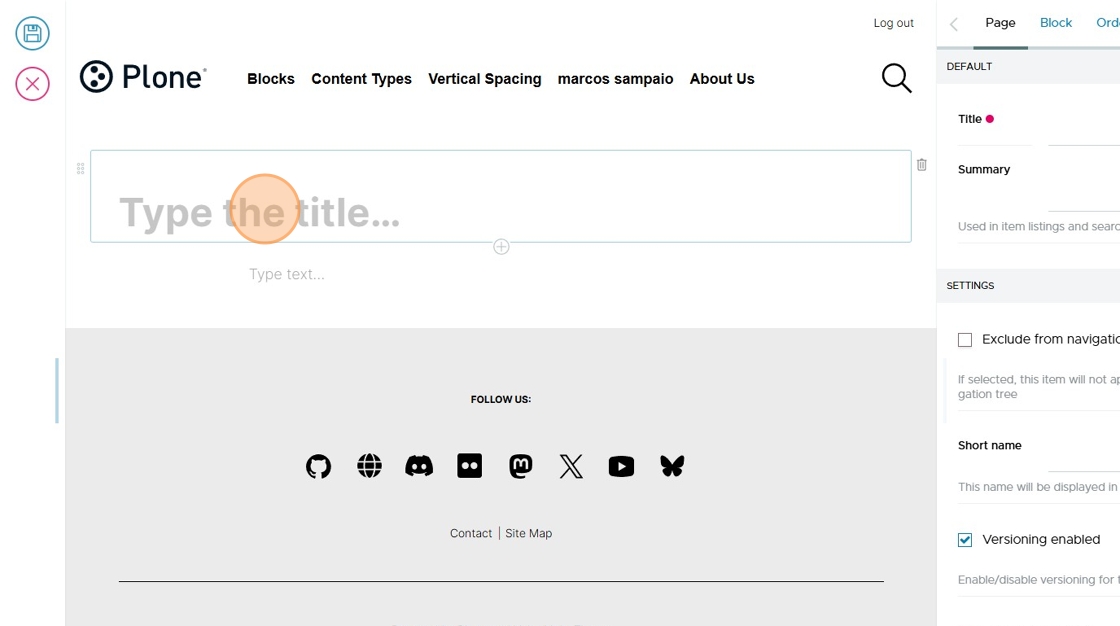
Click "Type the title...".
Type "My page" as the title.
Click the on the Add block button
 to add a search block.
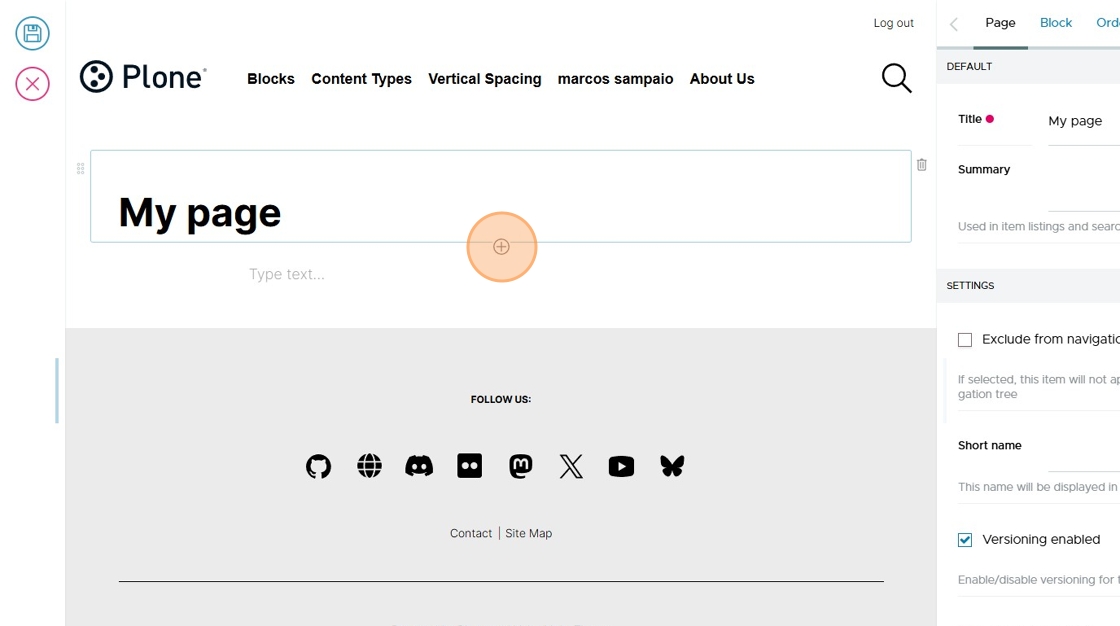
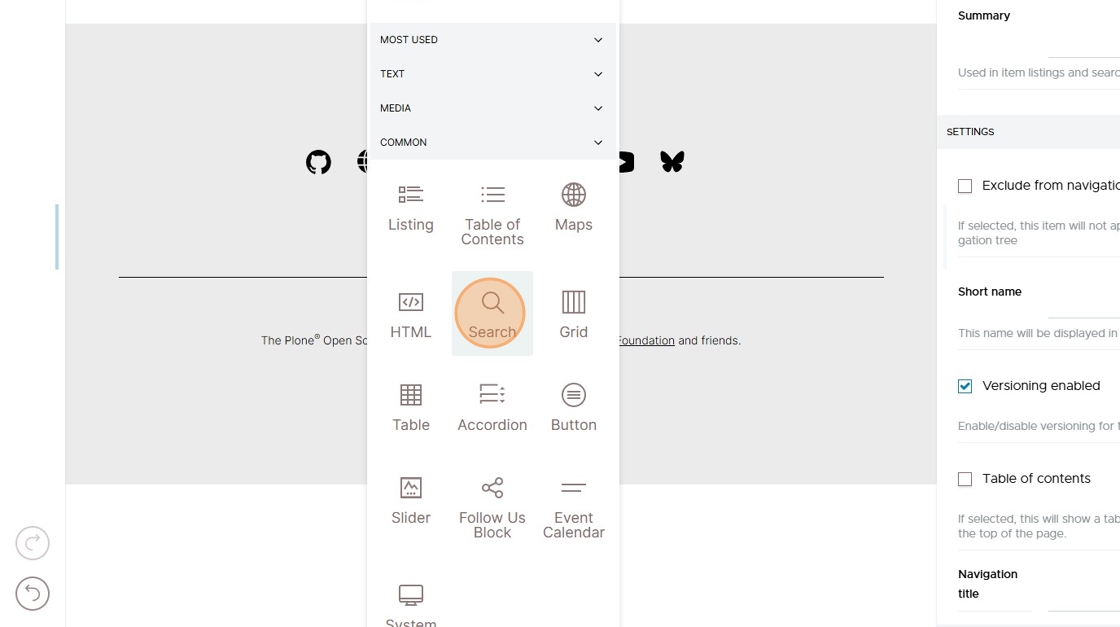
Click the on the Add block button
to add a search block.Add a search block.
Click the Headline field to set the display name of the search block.
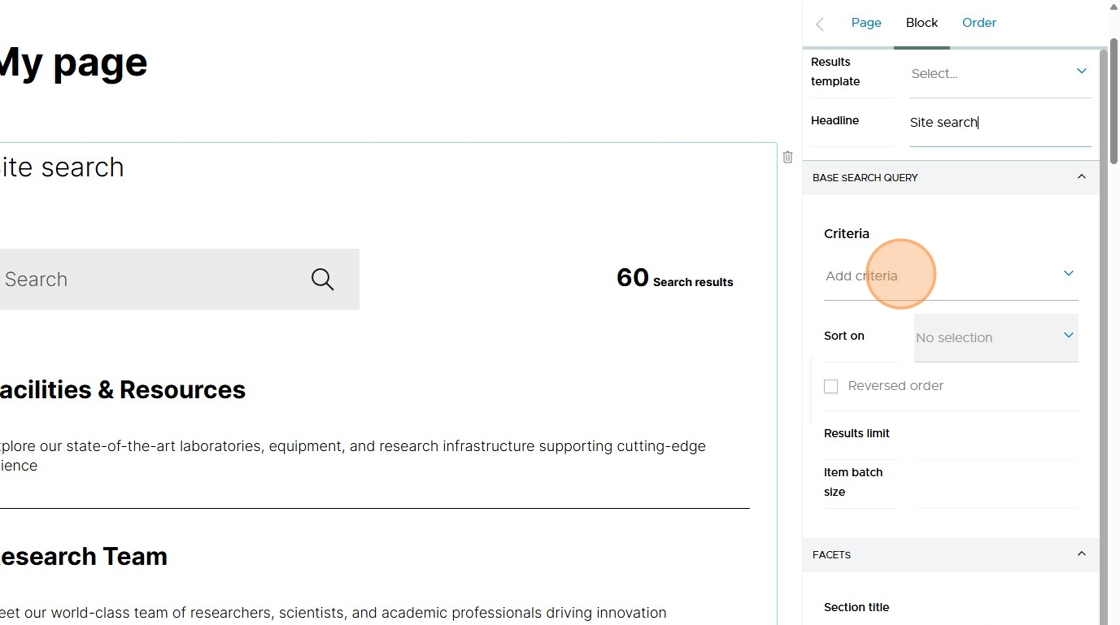
Type "Site search" as the block headline.
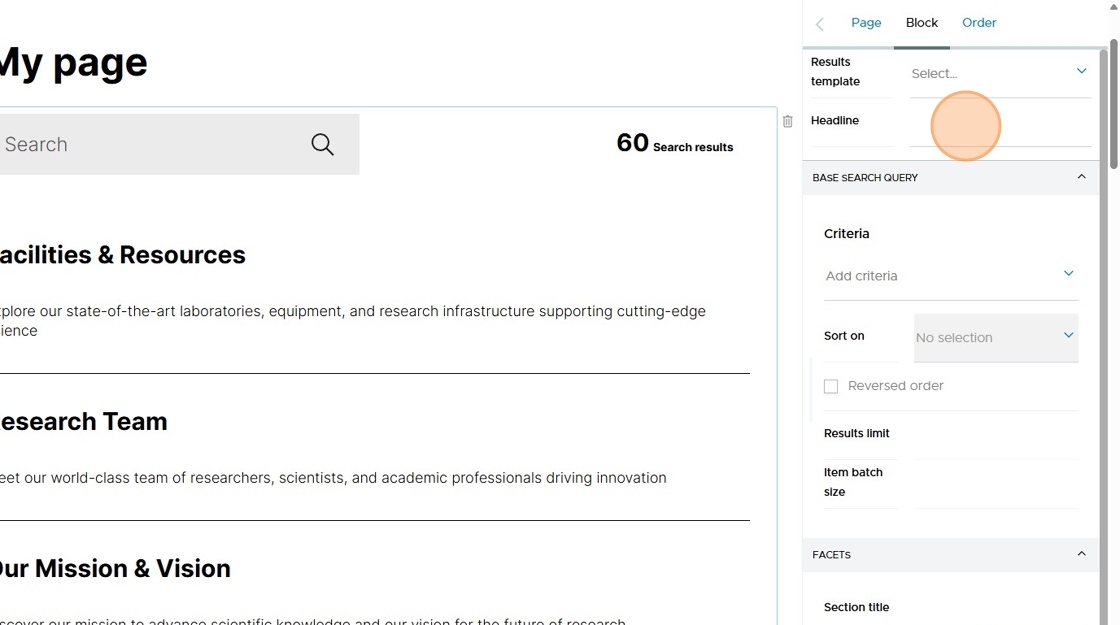
Click Add criteria.
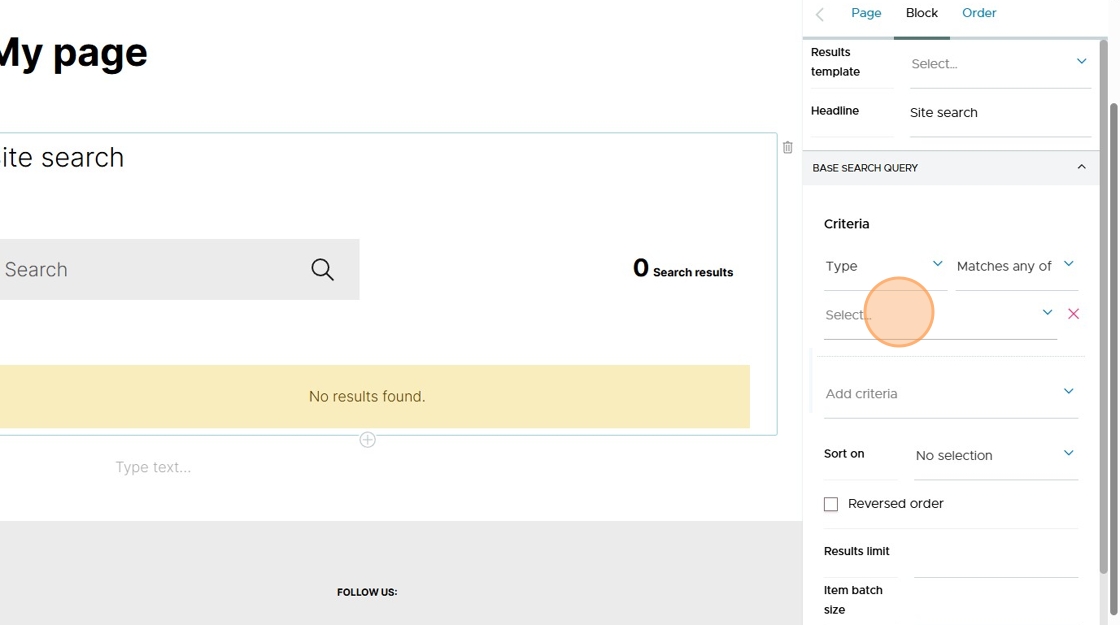
Click Type to specify the content type of items we want to search for.
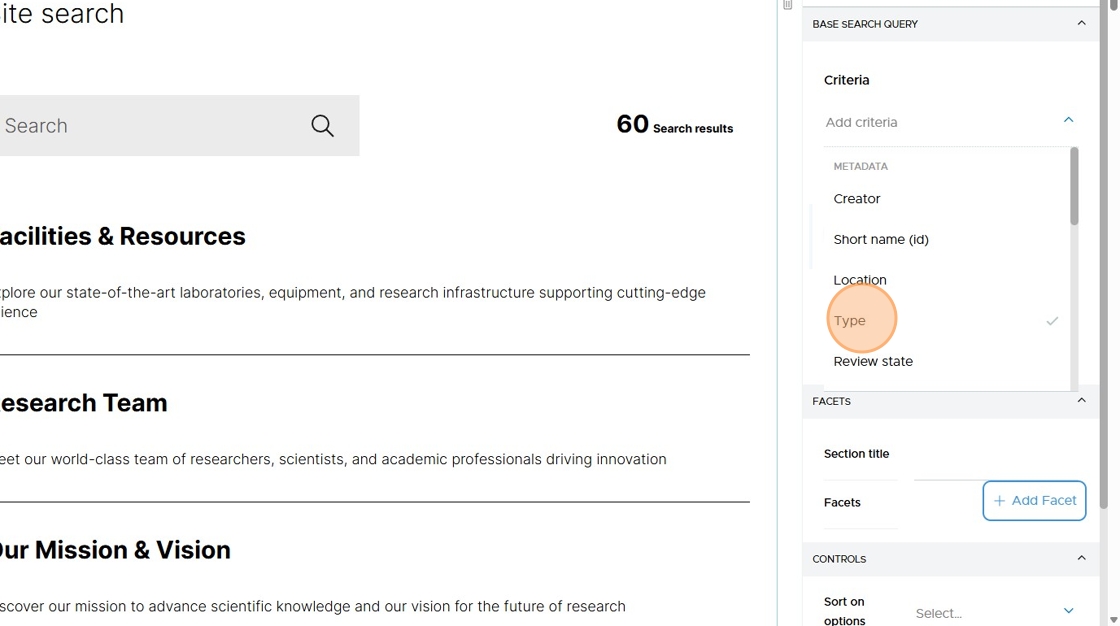
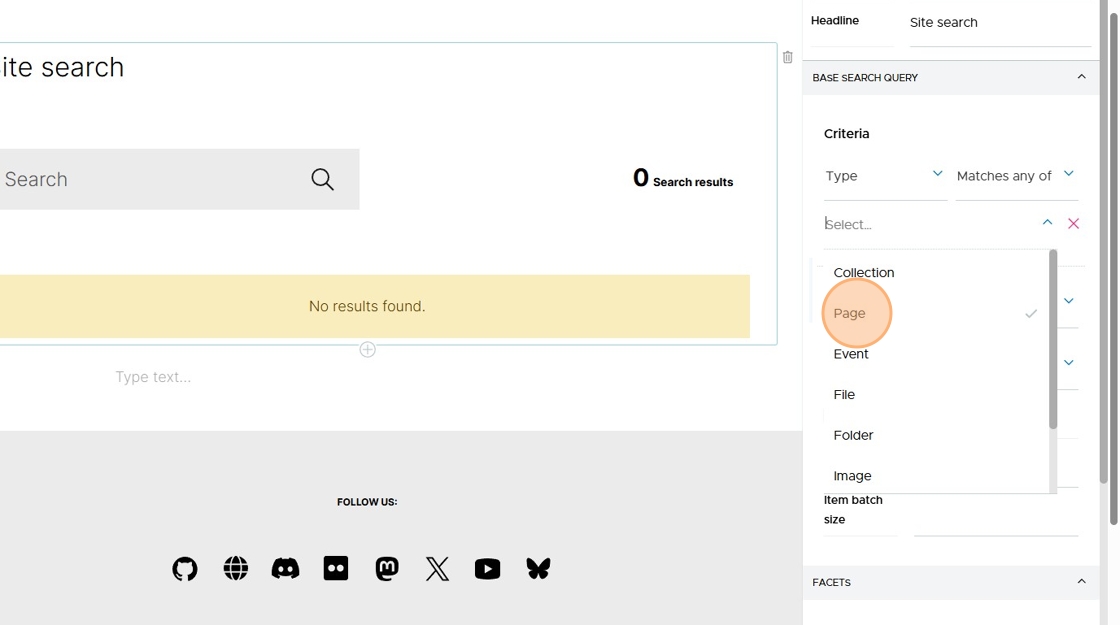
Click Select to display the content types to choose from.
Click Page.
Click Sort on to set the sort order.
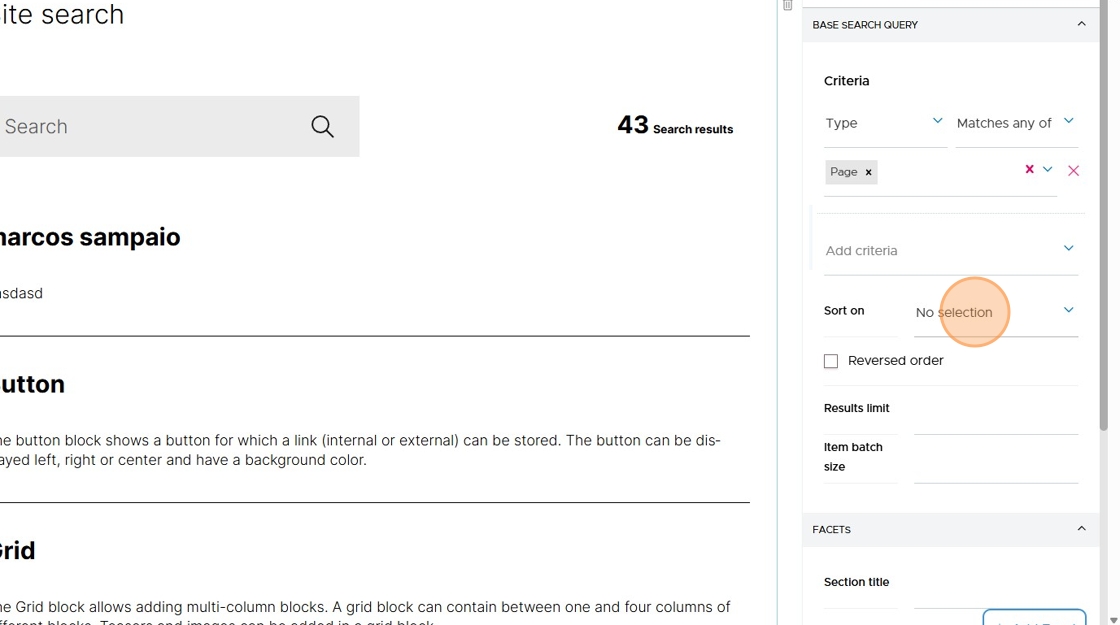
Click Modification date to sort by.
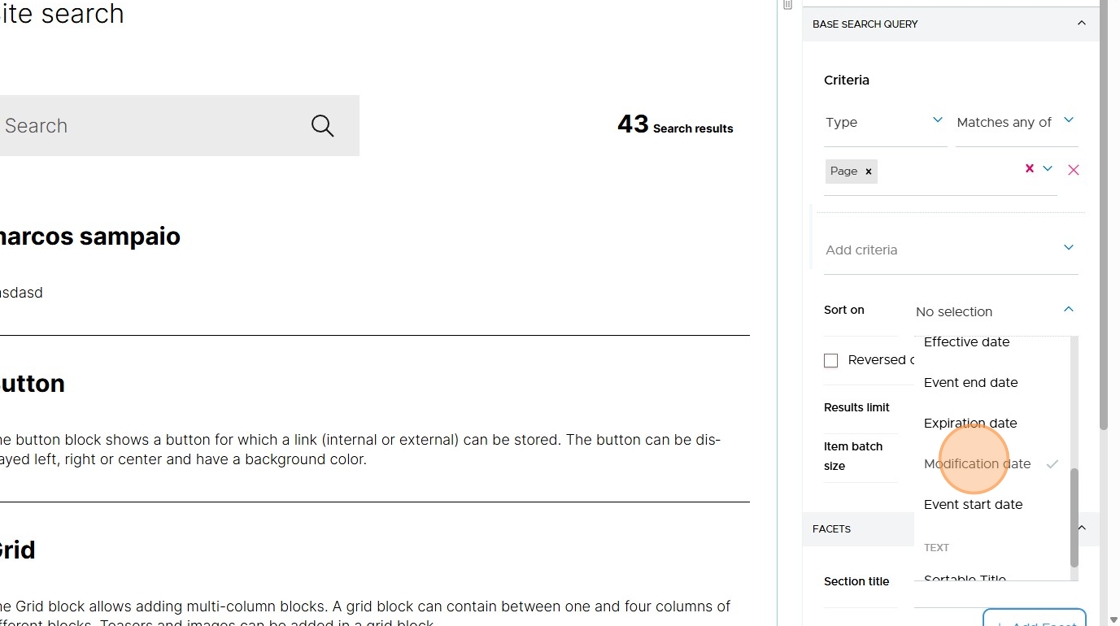
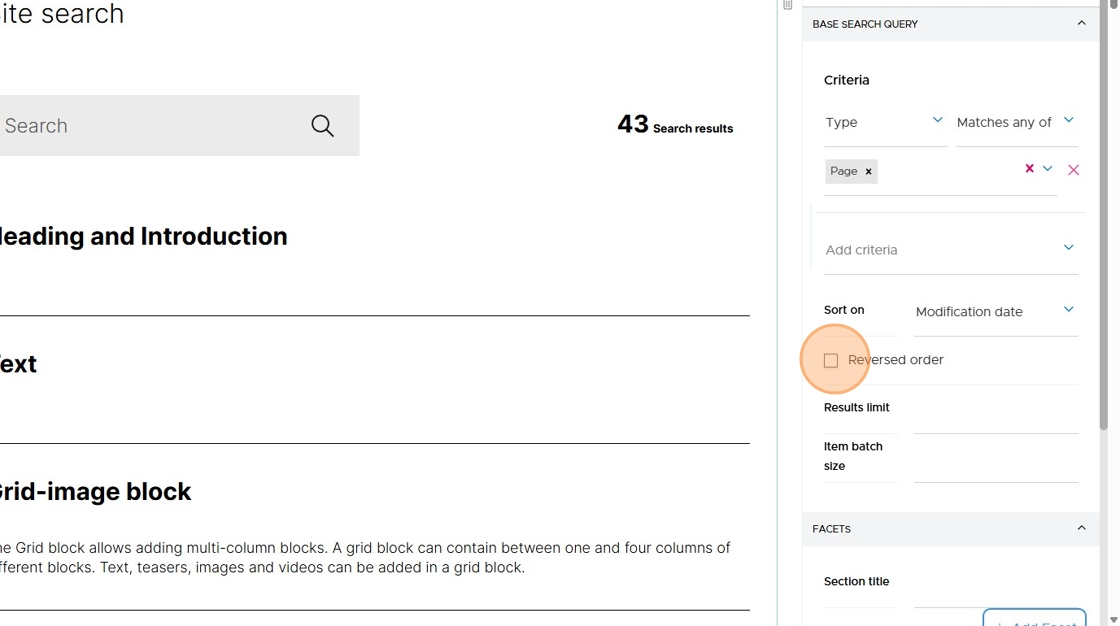
Click Reversed order to display the most recently modified items at the top of the listing block.
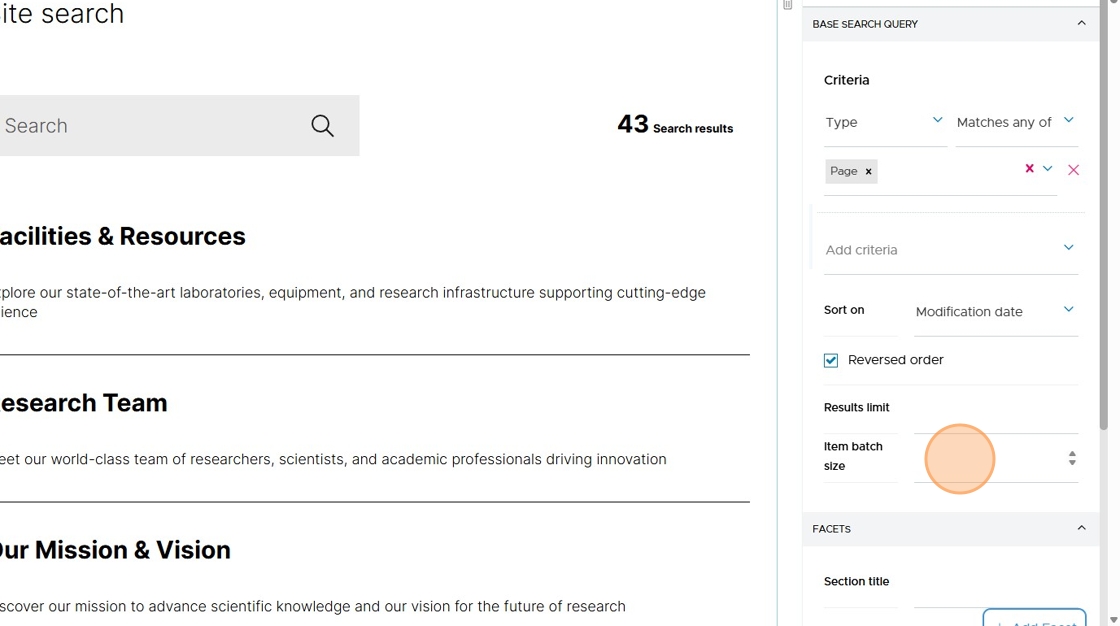
Click the Item batch size field to set how many items should be shown per batch.
If there are more than this number of items to show, the block will show "Next page" and "Previous Page" buttons at the bottom of the block.
In this example, we do not set the Results limit, which is the maximum number of items to display.
Type 10 as the batch size.
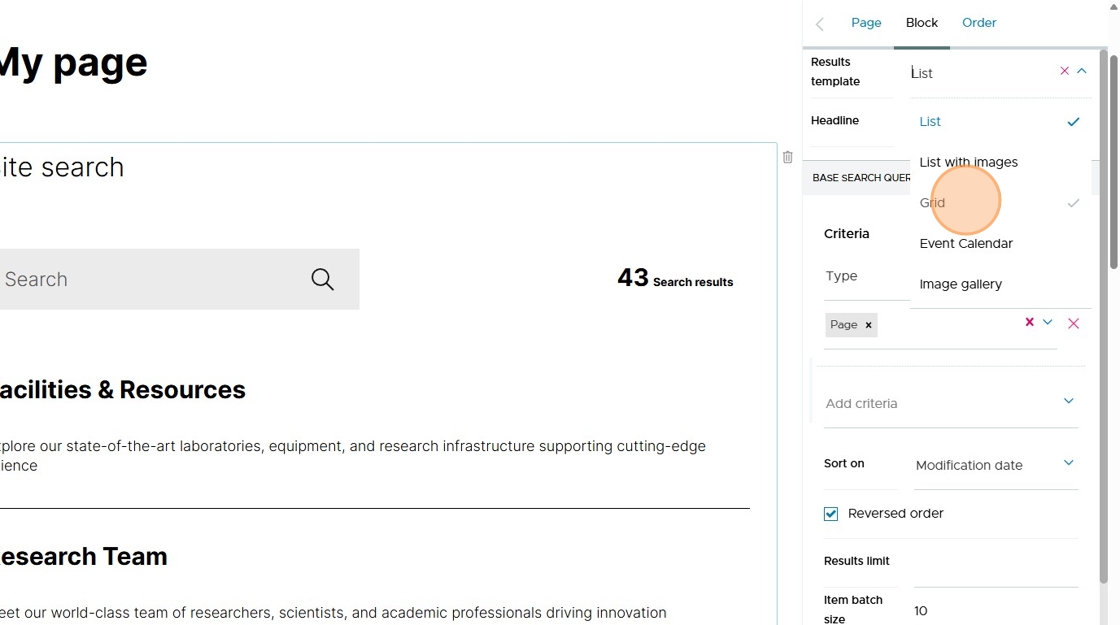
Click on the Results template select menu to you choose how to display the listed items.
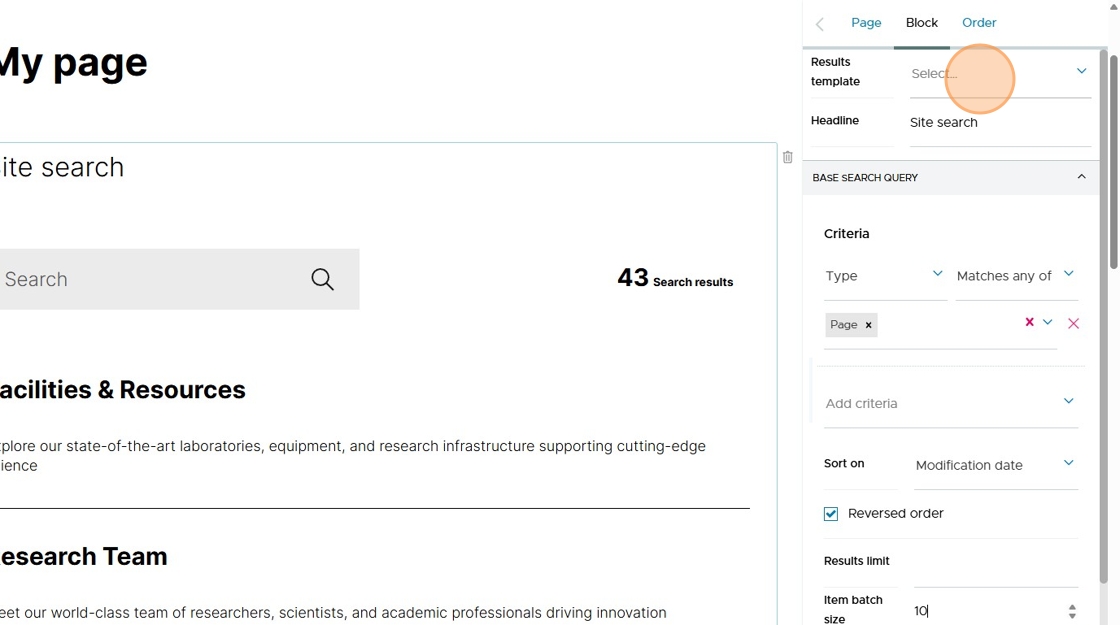
Click on Grid to select the grid results template.
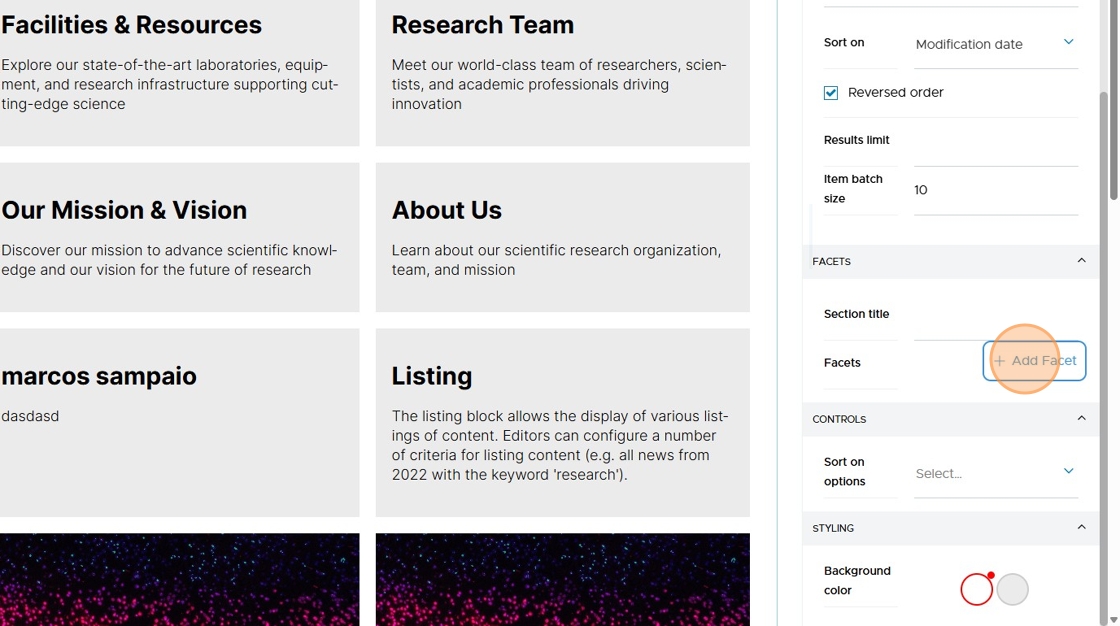
Facets are filters you can add to your search block to help a user refine their search.
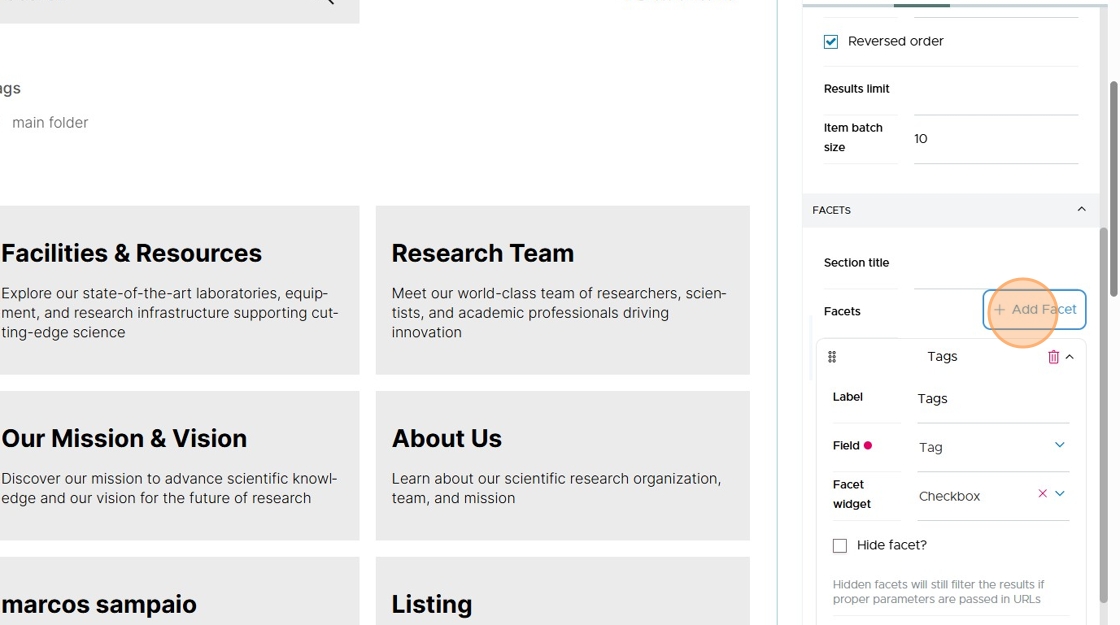
Click on Add Facet to add a facet.
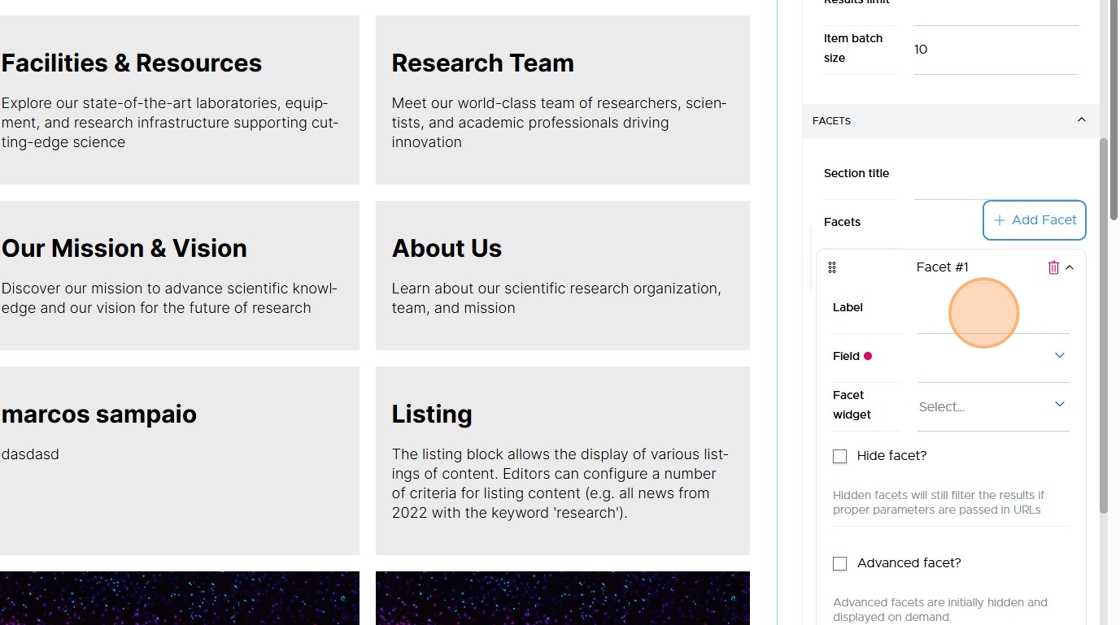
A search block can contain multiple facets for the user to filter their search.
Click the Label field to add a label to each facet.
Type "Tags" as you'll be adding a facet to filter by tag.
Click on Field to see the options available.

Click on Tag.

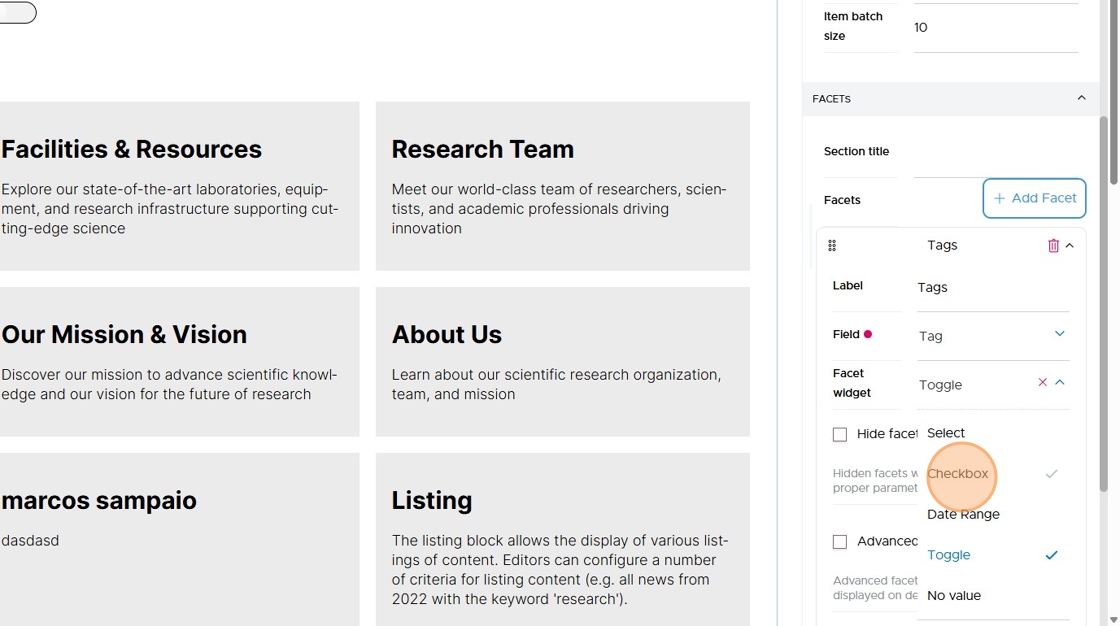
Click on Facet widget to pick which type of widget you want to use for this facet.
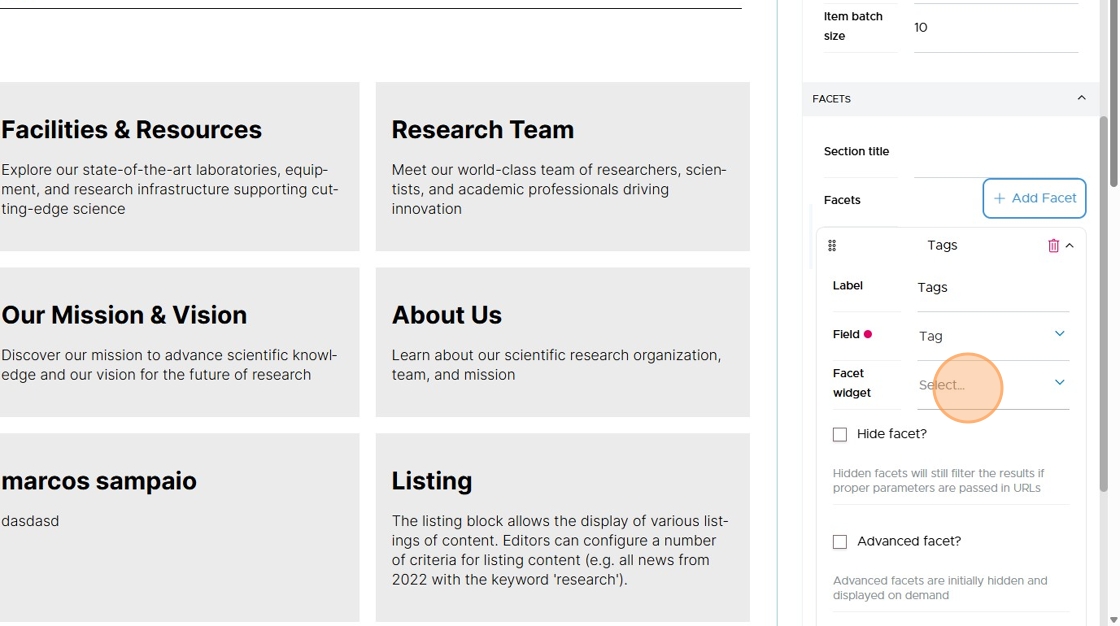
Select Checkbox to display a list of available Tags as checkboxes.
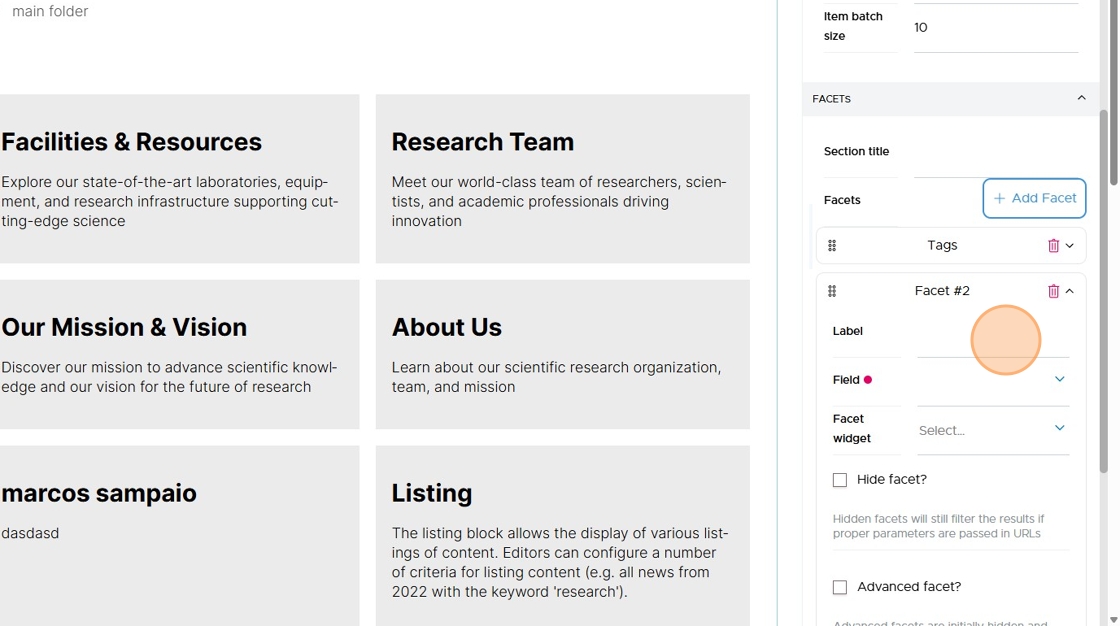
Click on Add Facet to add another facet.
Click the Label field to add a label to each facet.
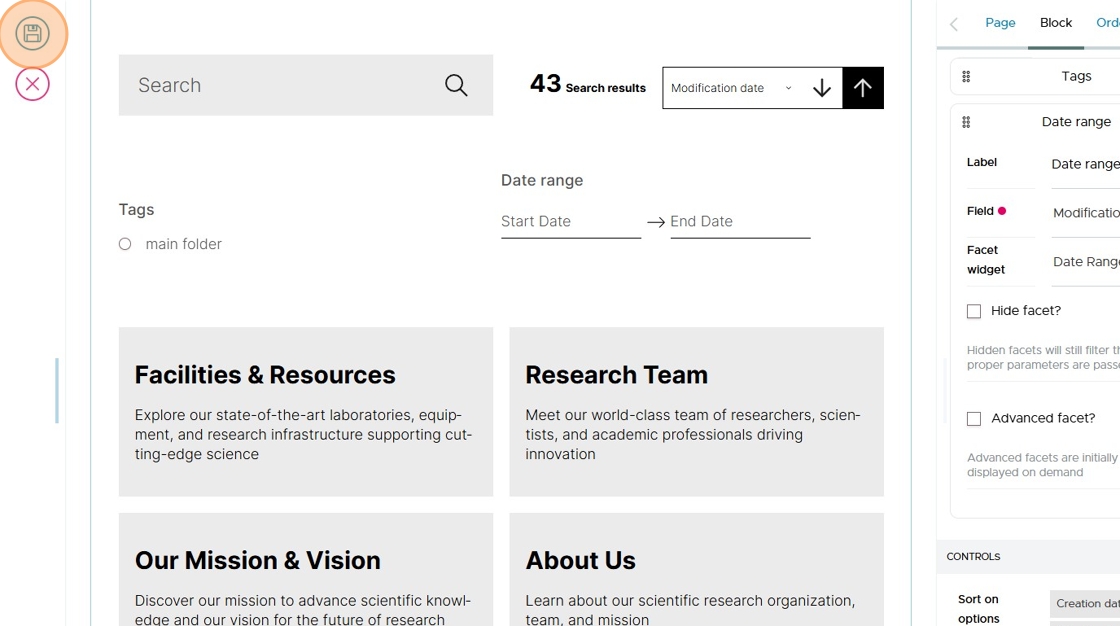
Type "Date range" as you'll be adding a facet to filter by tag.
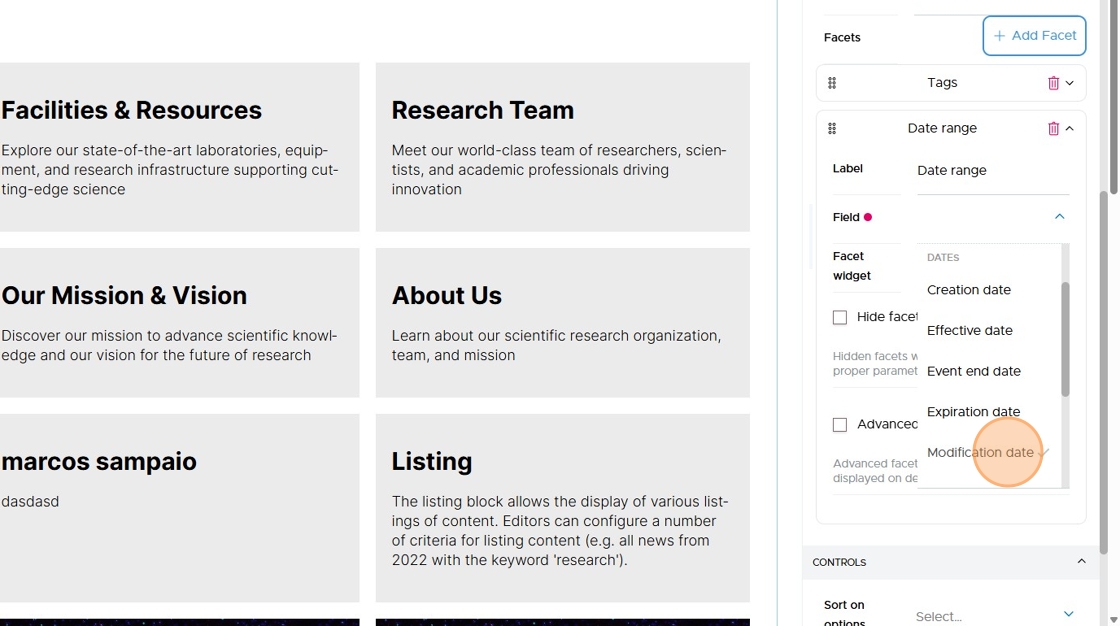
Click on Field to see the options available.
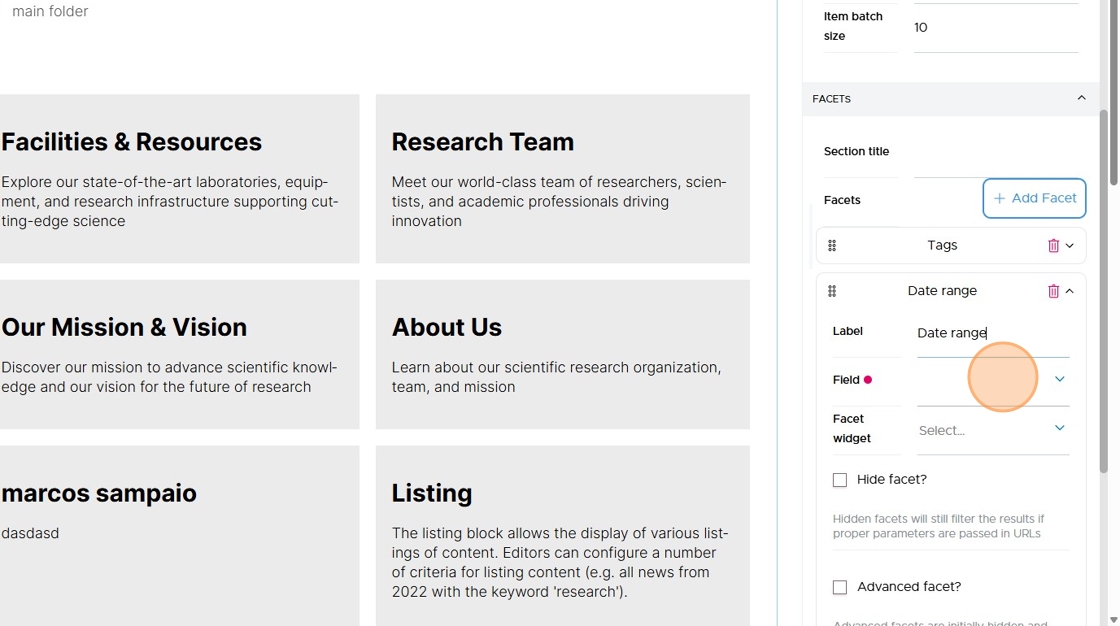
Click Modification date.
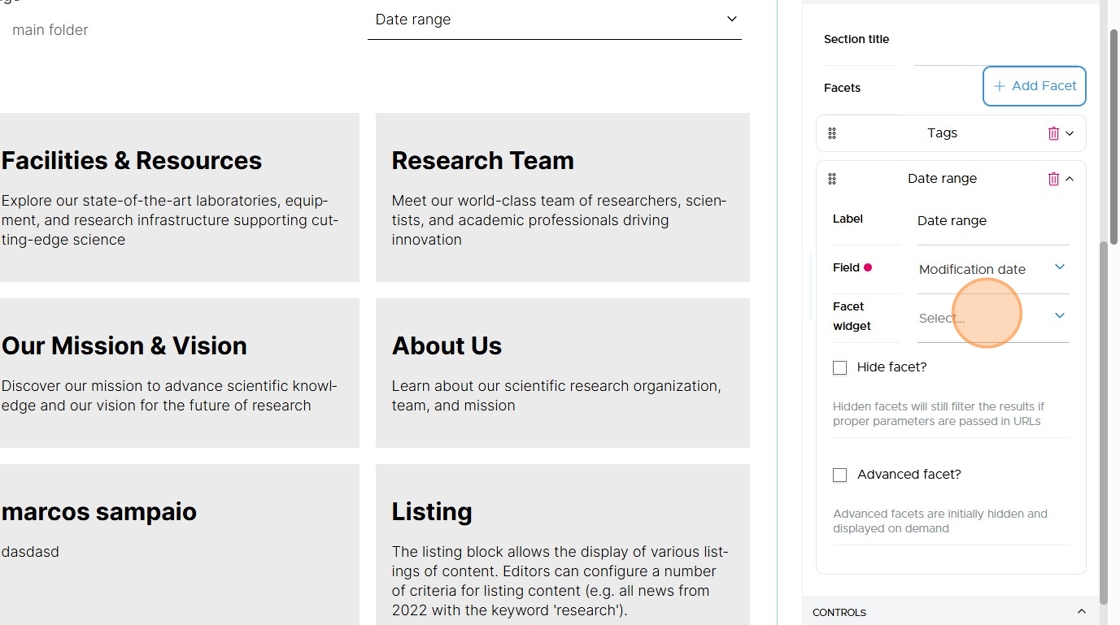
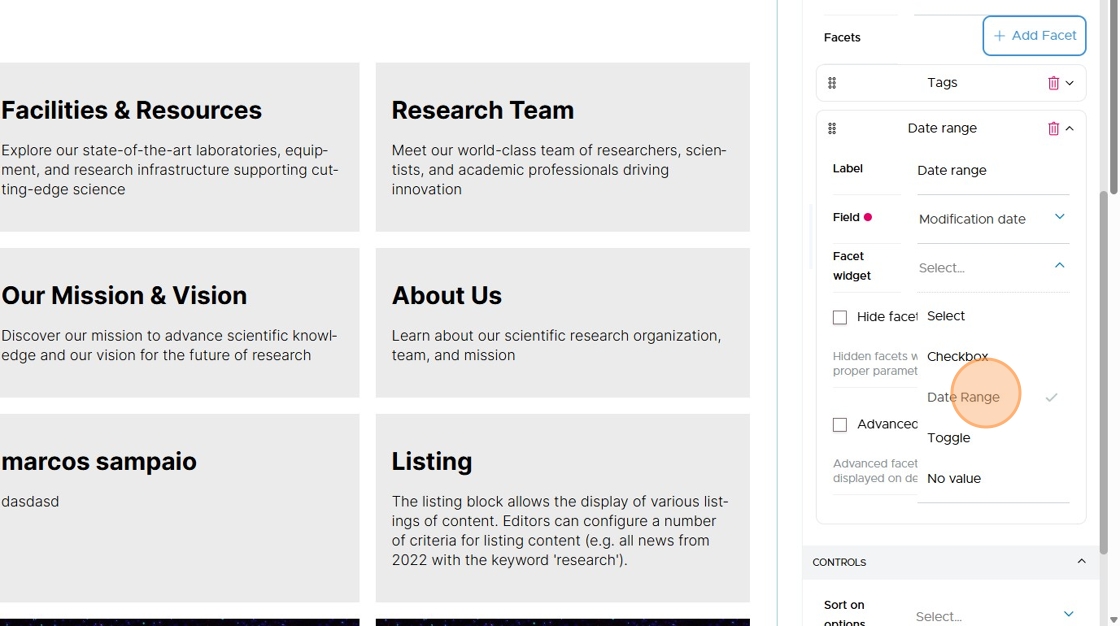
Click on Facet widget to pick which type of widget you want to use for this facet.
Select Date Range to display date picker widgets for a modification date range.
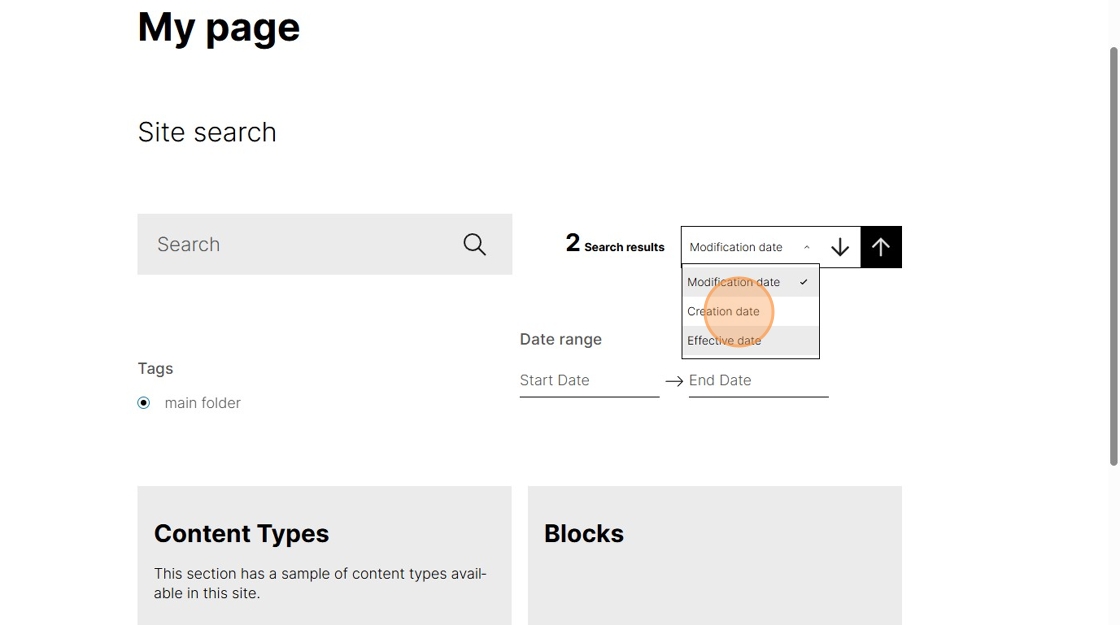
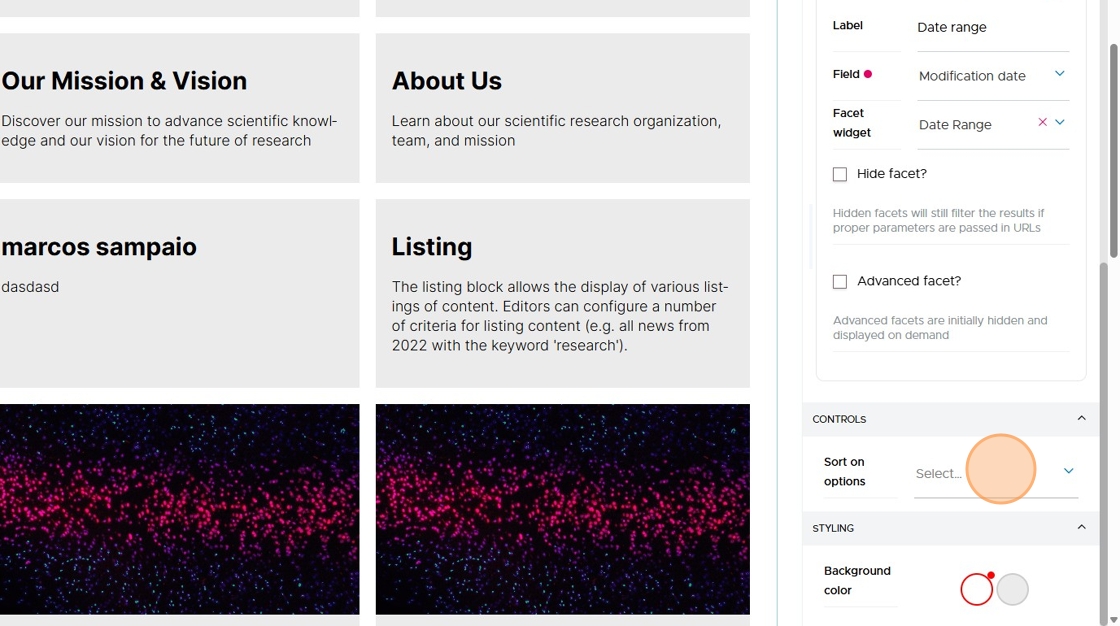
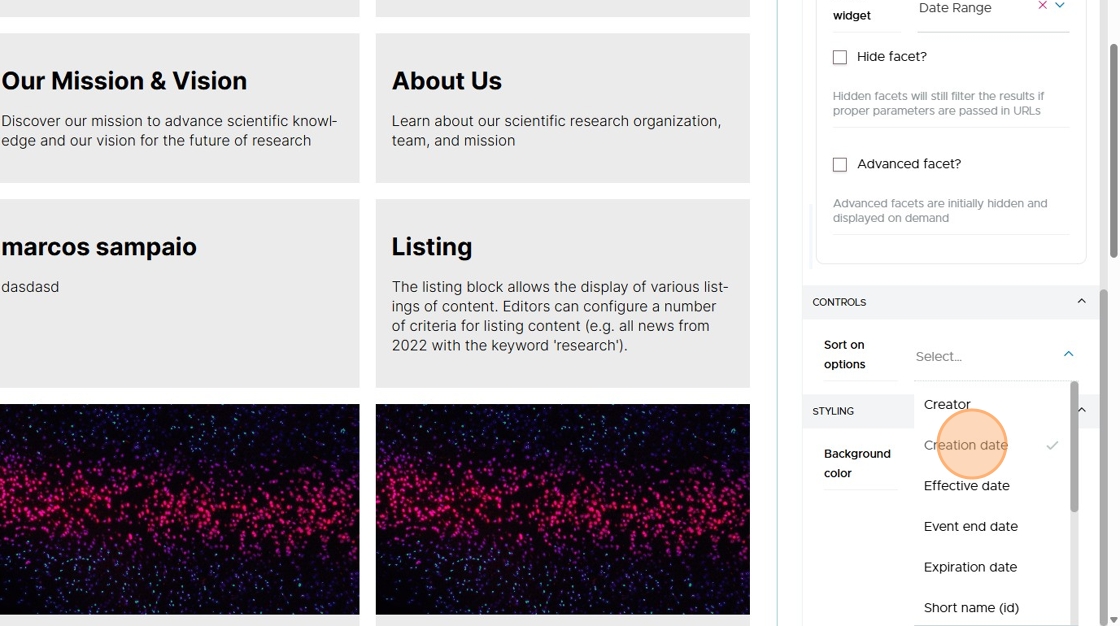
Click on Sort on options.
This adds a widget with options for the user to sort their search.
Click "Creation date" and "Effective date" to add them to the list of options to sort by.
Click the Save button to save your page.
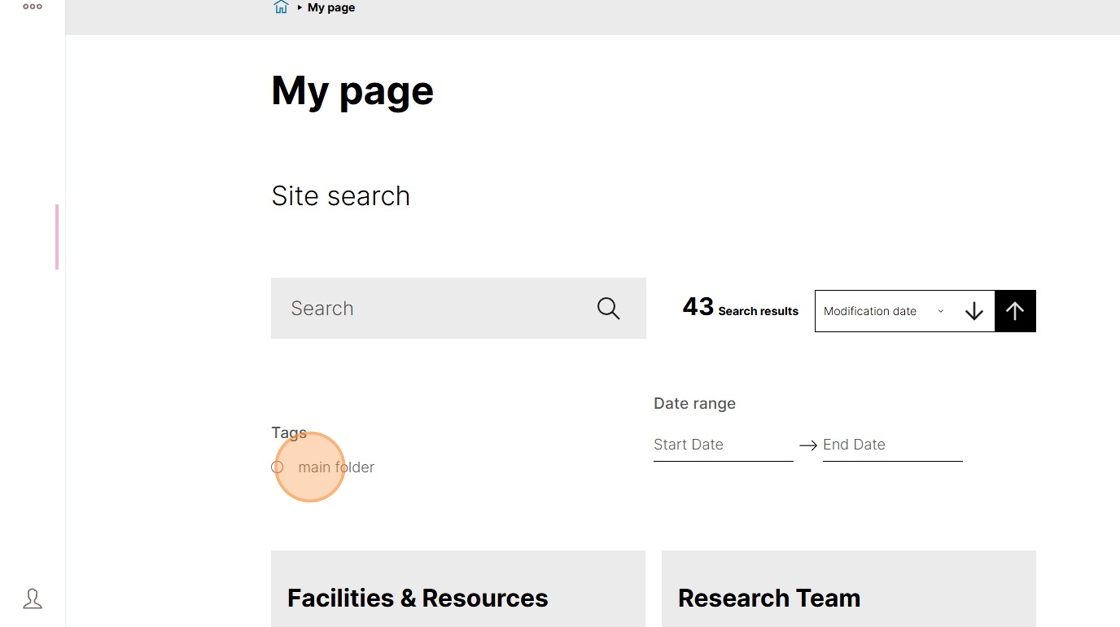
The Search field will allow the user to search with a text search.
The facets will narrow that search down.
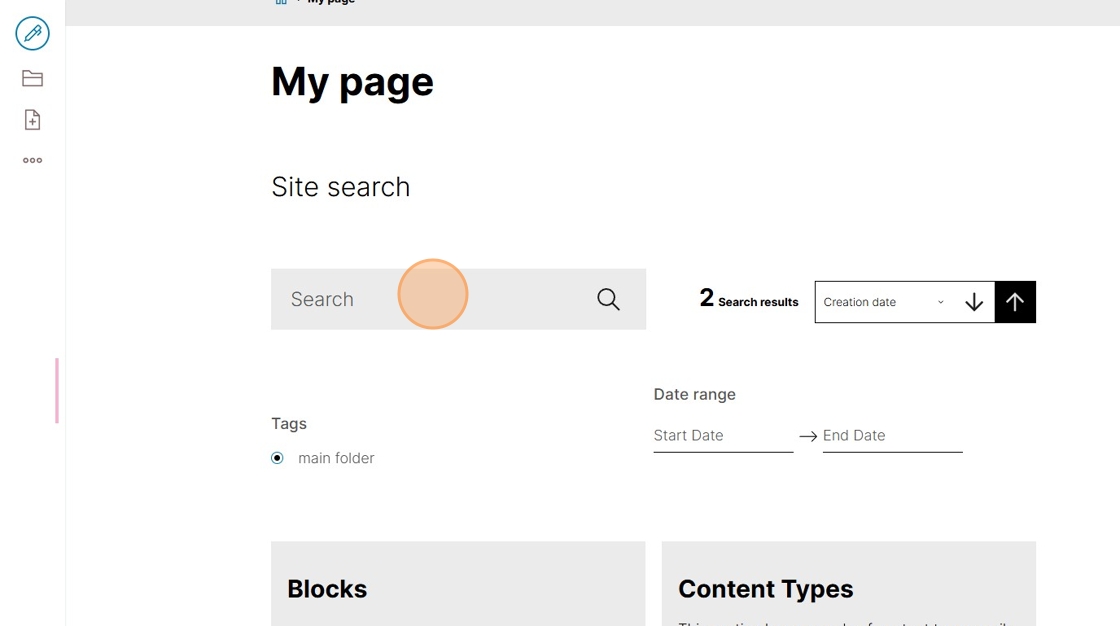
The Tags facet will allow the user to select items that are tagged and filter according to that tag.
The Date range facet will allow the user to narrow down their search inside of a specific date range.
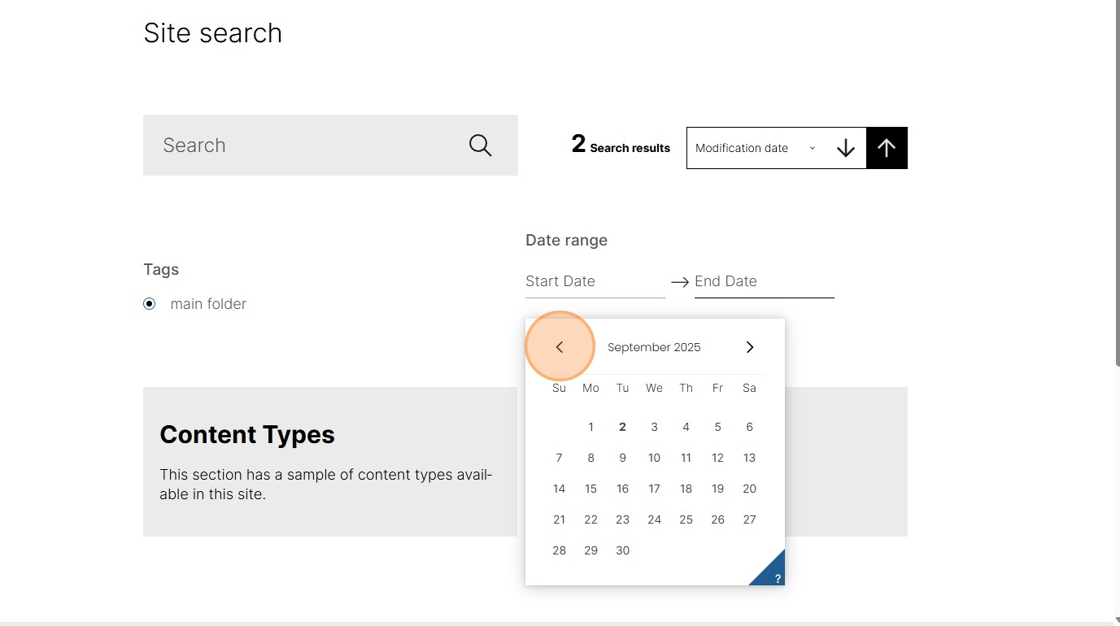
If there are no results in the date range selected, they can clear the range by clicking the Clear button
 .
.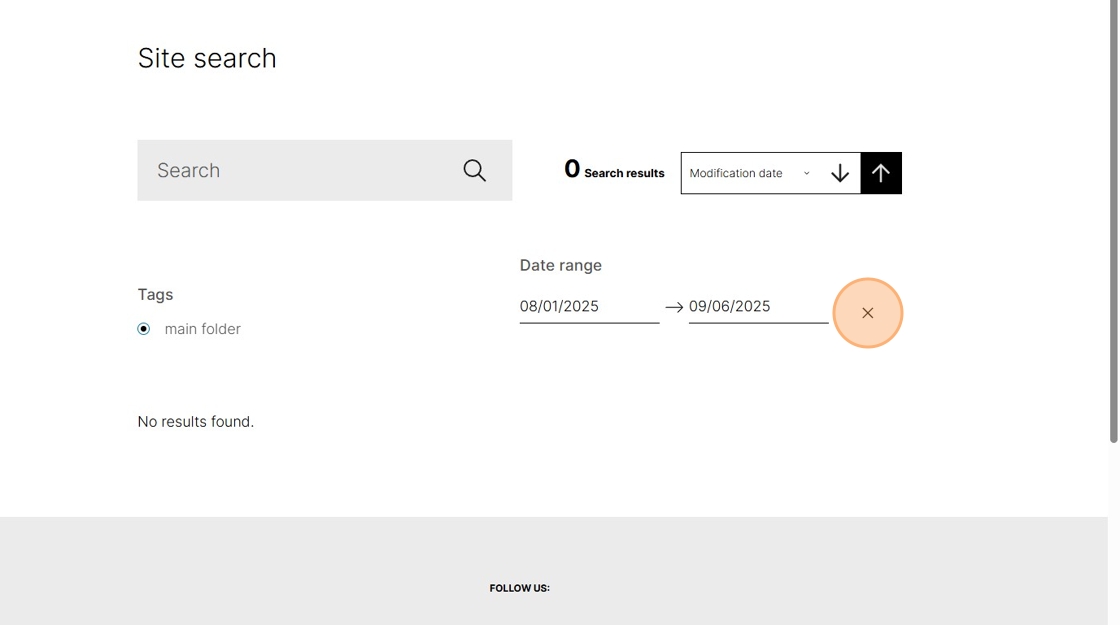
If there are no results in the date range selected, they can clear the range by clicking the Clear button
.Click on the sorting drop-down to sort the search according to a selected date type.