Continuous Integration#
During this training we have seen how to test different parts of Plone and we have reviewed different testing techniques.
In this final chapter, we are going to see how to configure add-ons for continuous integration (CI).
Continuous integration is the practice of merging in small code changes frequently, rather than merging in a large change at the end of a development cycle.
Each merge should be checked to avoid problems and regression errors.
With version control platforms, this means that, for every code push, all tests should be run and need to pass before a feature is merged.
Bitbucket and GitLab provide internal CI tools. GitHub doesn't provide a CI tool, but Travis CI can be enabled for a GitHub repository.
Each system has its own configuration syntax, but they work in the same way:
They need to be enabled for a specific repository.
When an event is triggered on that repository (usually a commit), a
buildstarts.A build is a group of
jobs(there could be one or more jobs that run in parallel) that finishes when all its jobs are finished.A
jobis an automated process that clones a repository into a virtual environment and then carries out a series of actions, such as compiling code and running tests. A job fails if the return code of the script phase is non-zero.A build fails if one or more jobs fails.
Configuring builds to run parallel jobs is useful when our package needs to maintain compatibility with several Plone or Python versions. Manually testing each change for each version of Plone or Python would be painful and time consuming.
If we look closer at *.cfg files created by plonecli, we can see that they are built in a way that it's possible to run buildouts for:
Plone 4.3
Plone 5.0
Plone 5.1
Plone 5.2
Configuration files for CI created by plonecli are built to use the correct buildout for each Plone version.
Travis CI#
Because collective and plone repositories are on GitHub, the most commonly used CI service for collective add-ons is Travis CI.
Let's see how to enable our testing package on Travis.
First, we need to create a repository on GitHub. We don't need to push code to it yet.
Then we need a Travis CI account: go to https://www.travis-ci.com/ and signup with your GitHub credentials.
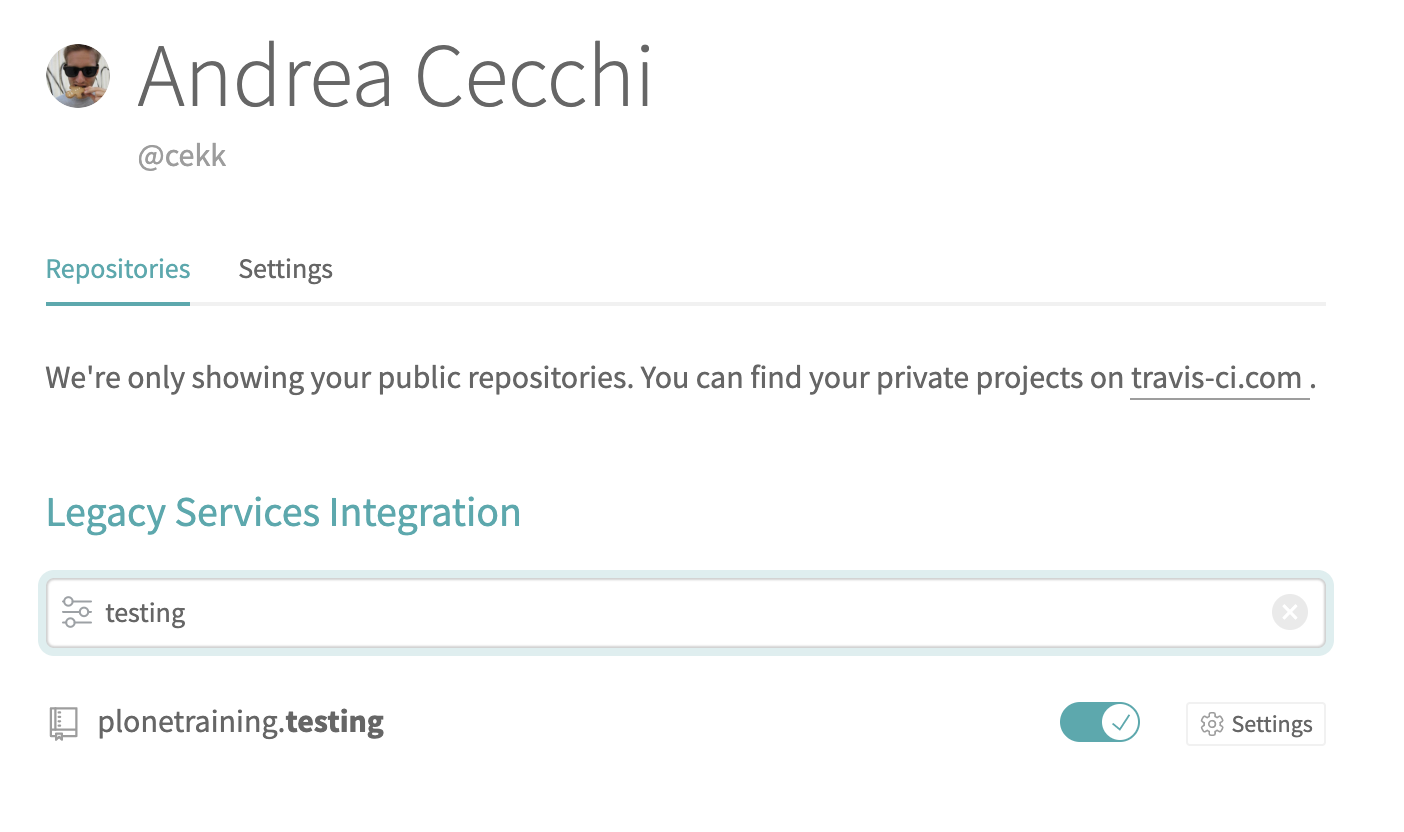
If we go to the settings control panel, we can see a list of organizations and repositories for which we can enable Travis. We could also see our newly created repository and we can enable it.
Note
The repository list is periodically synced. If you don't see new repos, click the refresh button.
By default, Travis CI will run tests automatically for each push to the repository, including pull requests, and can also be manually triggered (but only for the master branch).
For this reason, to trigger the first test run, we make our first commit to the repository:
git remote add origin git@github.com:your-username/plonetraining.testing.git
git push -u origin master
This action will trigger Travis CI hooks, and you can see something begin to run:
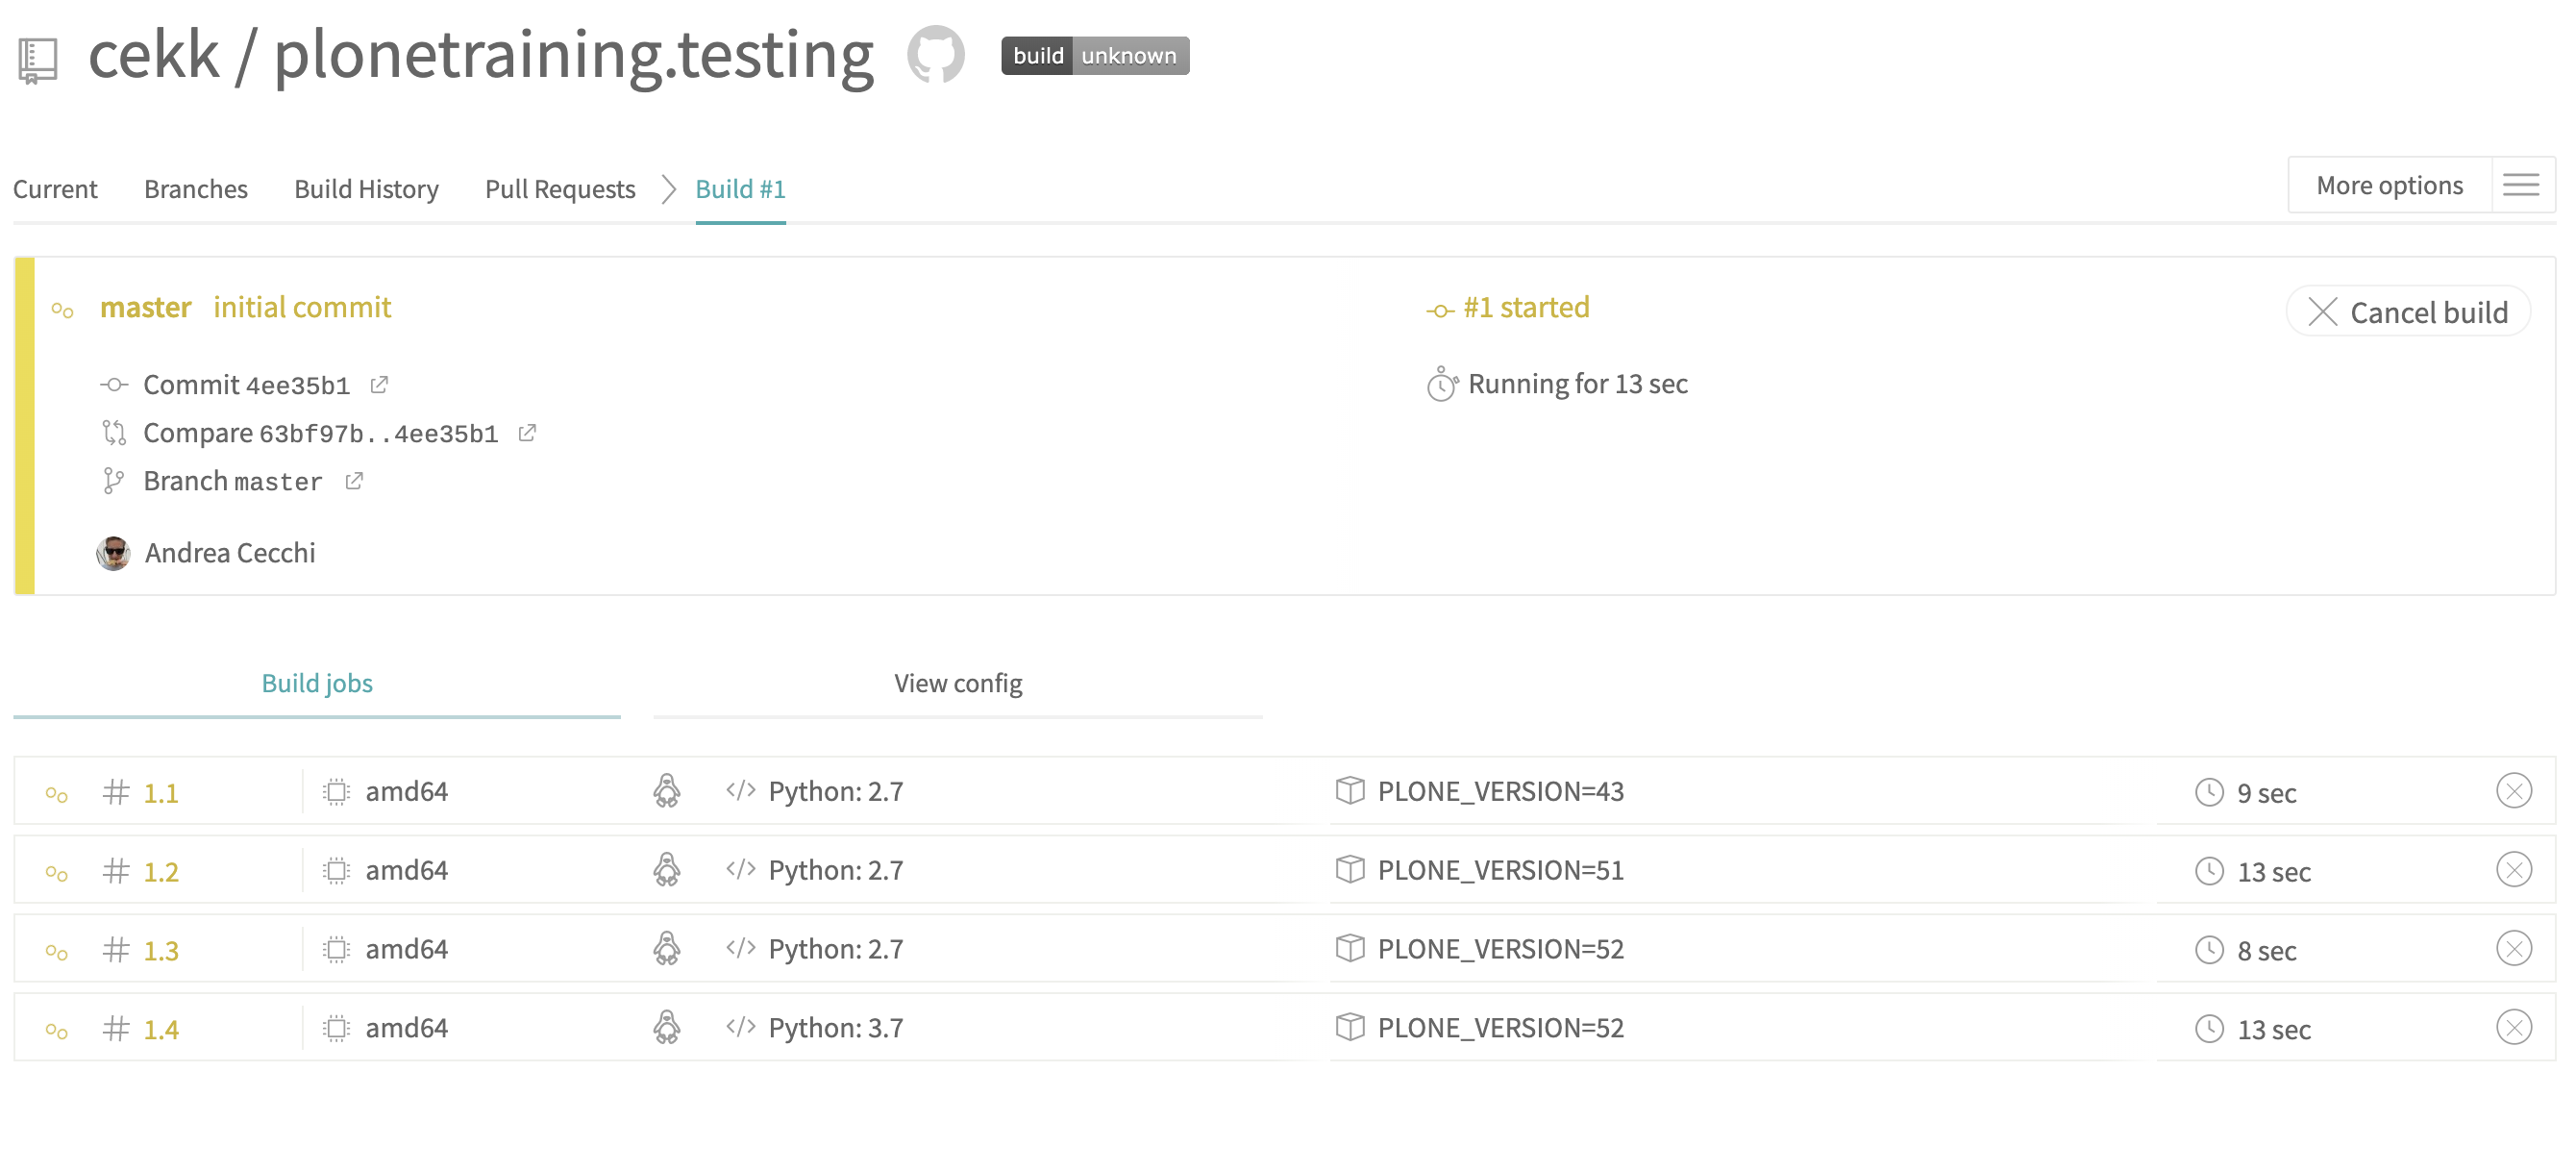
In this screenshot we can see that a new build has started with 4 parallel jobs. That's because the Travis CI configuration file was set to run tests for 4 different Plone versions.
While we wait the tests to be completed, let's see how to configure Travis CI.
Note
The very first time that a test runs on Travis CI, it could take more time because it hasn't cached anything yet.
Travis CI integration works only if there is file in the repository named .travis.yml.
This file contains all the configuration needed by Travis CI to run our tests:
dist: bionic
language: python
sudo: false
cache:
  pip: true
  directories:
    - eggs
Here we define some system information. For each triggered test, Travis CI instantiates a virtual machine and we can setup several options, such as:
the specific Linux distribution to use
whether we need to keep some folders cached (to speed up future tests)
the main language used in tests: in this case, Travis CI enables additional tools such as virtualenv
python:
  - "2.7"
matrix:
  include:
    - python: "2.7"
      env: PLONE_VERSION=43
    - python: "2.7"
      env: PLONE_VERSION=51
    - python: "2.7"
      env: PLONE_VERSION=52
    - python: "3.7"
      env: PLONE_VERSION=52
Here we are selecting default Python (and virtualenv) version for our tests.
If we need to test our add-on only for one specific Plone version (and a specific Python version as side effect), we only need to specify the Python version in the python section.
Otherwise, we can define a build matrix. Travis CI will start multiple parallel jobs (one per matrix entry) using defined variables.
In our case we want to test 4 different Plone versions.
before_install:
  - sudo apt-get install -y firefox-geckodriver
  - virtualenv -p `which python` .
  - bin/pip install -r requirements.txt -c constraints_plone$PLONE_VERSION.txt
  - cp test_plone$PLONE_VERSION.cfg buildout.cfg

install:
  - bin/buildout -N -t 3 code-analysis:return-status-codes=True annotate
  - bin/buildout -N -t 3 code-analysis:return-status-codes=True

before_script:
  - "export DISPLAY=:99.0"
  - Xvfb :99 -screen 0 1024x768x24 > /dev/null 2>&1 &
  - sleep 3
  - firefox -v
before_install, install and before_script are sequential steps called phases in which we can define actions to execute at a specified step.
before_install is usually used to install some system libraries or set up something before the actual installation.
ìnstall is the phase in which we install everything needed to run the tests (including running the buildout).
before_script is the phase immediately before running test scripts and could be useful for tweaking some system setups (such as enabling the X virtual frame buffer (Xvfb) to run Robot tests).
Note
We are using an environment variable set in the build matrix ($PLONE_VERSION) to run the correct Plone version.
script:
  # Run code-analysis, except on Python 3.6, which mysteriously fails to find zc.buildout.
  - python --version 2> /dev/stdout | grep 3.6 || bin/code-analysis
  - bin/test --all
script is the phase in which we actually run the tests.
By tests we mean not only the integration, functional, or robot tests that we previously wrote but also
anything that can evaluate the quality of our add-on and can fail.
In our case, we are running two tests:
bin/code-analysis: a script that checks if all Python code in our repository follows some coding style guides (see later in this chapter).bin/test --all: the same script that we run in our local tests (this is the same as runningplonecli test --all).
after_success:
  - bin/createcoverage --output-dir=parts/test/coverage
  - bin/pip install coverage
  - bin/python -m coverage.pickle2json
  - bin/pip install -q coveralls
  - bin/coveralls
If all tests run successfully, we can also define some actions to perform after that, such as creating a coverage report.
Note
See Travis CI documentation to see all the things that we can do after a job's success or failure.
Note
If a command in the before_install, install, or before_script phase returned a non-zero exit code, the job stops immediately and the result is set to
errored.If a command in the script phase returned a non-zero exit code, the job continues to run until it completes and result is set to
failed.Otherwise, the result is set to
passed
Going back to our builds (they should have finished), if you ignored code-analysis reports on commits in your local repository (as we do), you will probably have seen that all your tests failed.
Clicking on a single job, we can see its console log, and we should see an error like this:

This means that the code-analysis test failed, and so that job has been marked as failed.
code-analysis is a buildout-generated script that provides static code analysis using different tools such as flake8, JSHint, and CSS Lint.
code-analysis is generated by plone.recipe.codeanalysis:
[code-analysis]
recipe = plone.recipe.codeanalysis[recommended]
directory = ${buildout:directory}/src/plonetraining
return-status-codes = False
To check all the code in our repository, we need to run this command:
bin/code-travis_error_code_analysis
plone.recipe.codeanalysis also creates a git pre-commit hook that runs the above command on every commit.
The output is a list of things that need to be fixed, indicating the file name and line for each reported item.
Exercise#
Try to fix all code-analysis errors and commit your changes to have all green jobs on Travis CI
GitLab#
We are not going to cover GitLab configuration in this training, but plonecli can create a GitLab configuration file.
GitLab (and BitBucket) have their own internal CI machinery, so if you have a project on GitLab, you only need to enable its CI/CD feature and provide a .gitlab-ci.yml configuration file.
This file has a syntax similar to that of Travis CI. You can find details in the online GitLab documentation.
tox#
tox is a command line tool that is a part of a larger vision: standardize testing in Python.
It is a generic virtualenv management and test command line tool you can use for:
checking that your package installs correctly using different Python versions and interpreters
running your tests in each of the environments, configuring your test tool of choice
acting as a frontend to continuous integration servers, greatly reducing boilerplate and merging CI and shell-based testing.
Basically, tox does what a CI service does (running parallel test jobs), but locally.
To use tox, you have to install it:
pip install tox
After that, you need a tox.ini configuration file to configure everything you need to execute tests:
[tox]
envlist =
    {py27,py37}-lint,
    py{27}-Plone{43,51},
    py{27,37}-Plone{52},
    build_instance,
#    docs,
#    coverage-report,

skip_missing_interpreters = True

[testenv]
skip_install = true

extras =
    develop
    test

commands =
    {envbindir}/buildout -c {toxinidir}/{env:version_file} buildout:directory={envdir} buildout:develop={toxinidir} bootstrap
    {envbindir}/buildout -c {toxinidir}/{env:version_file} buildout:directory={envdir} buildout:develop={toxinidir} annotate
    {envbindir}/buildout -c {toxinidir}/{env:version_file} buildout:directory={envdir} buildout:develop={toxinidir} install test robot code-analysis
    coverage run {envbindir}/test -v1 --auto-color {posargs}
    # coverage run {envbindir}/test -v --all -t robot {posargs}
    {envbindir}/code-analysis

setenv =
    COVERAGE_FILE=.coverage.{envname}
    version_file=test_plone51.cfg
    Plone43: version_file=test_plone43.cfg
    Plone50: version_file=test_plone50.cfg
    Plone51: version_file=test_plone51.cfg
    Plone52: version_file=test_plone52.cfg

deps =
    -rrequirements.txt
    Plone43: -cconstraints_plone43.txt
    Plone50: -cconstraints_plone50.txt
    Plone51: -cconstraints_plone51.txt
    Plone52: -cconstraints_plone52.txt
    coverage

[testenv:coverage-report]
skip_install = true
usedevelop = True
basepython = python2.7

deps =
    coverage
    -cconstraints_plone51.txt

setenv =
    COVERAGE_FILE=.coverage

commands =
    coverage erase
    coverage combine
    coverage html
    coverage xml
    coverage report


[lint]
skip_install = true

deps =
    isort
    flake8
    # helper to generate HTML reports:
    flake8-html
    # Useful flake8 plugins that are Python and Plone specific:
    flake8-coding
    flake8-debugger
    flake8-deprecated
    flake8-print
    #flake8-pytest
    flake8-todo
    flake8-isort
    mccabe
    # Potential flake8 plugins that should be used:  # TBD
    #flake8-blind-except
    #flake8-commas
    #flake8-docstrings
    #flake8-mypy
    #flake8-pep3101
    #flake8-plone-hasattr
    #flake8-string-format
    #flake8_strict
    #flake8-quotes
    #flake8-polyfill

commands =
    mkdir -p {toxinidir}/reports/flake8
    - flake8 --format=html --htmldir={toxinidir}/reports/flake8 --doctests src setup.py
    flake8 --doctests src tests setup.py
    isort --check-only --recursive {toxinidir}/src

whitelist_externals =
    mkdir

[testenv:isort-apply]
skip_install = true

deps =
    isort

commands =
    isort --apply --recursive {toxinidir}/src

[testenv:py27-lint]
basepython = python2.7
skip_install = true
deps = {[lint]deps}
commands = {[lint]commands}
whitelist_externals = {[lint]whitelist_externals}

[testenv:py35-lint]
basepython = python3.5
skip_install = true
deps = {[lint]deps}
commands = {[lint]commands}
whitelist_externals = {[lint]whitelist_externals}

[testenv:py36-lint]
basepython = python3.6
skip_install = true
deps = {[lint]deps}
commands = {[lint]commands}
whitelist_externals = {[lint]whitelist_externals}

[testenv:py37-lint]
basepython = python3.7
skip_install = true
deps = {[lint]deps}
commands = {[lint]commands}
whitelist_externals = {[lint]whitelist_externals}

[testenv:docs]
skip_install = true

deps =
    Sphinx

commands =
    sphinx-build -b html -d _build/docs/doctrees docs _build/docs/html

[testenv:update_translation]
skip_install = true

deps =
    i18ndude

commands =
    i18ndude find-untranslated
    i18ndude rebuild-pot
    i18ndude merge
    i18ndude sync
    i18ndude list

[testenv:release]
skip_install = true

deps =
    zest.releaser[recommended]

commands =
    fullrelease --no-input -v

[testenv:build_instance]
basepython = python2.7
skip_install = true

commands =
    {envbindir}/buildout -c {toxinidir}/{env:version_file} buildout:directory={toxinidir} bootstrap
    {envbindir}/buildout -c {toxinidir}/{env:version_file} buildout:directory={toxinidir} annotate
    {envbindir}/buildout -c {toxinidir}/{env:version_file} buildout:directory={toxinidir}
The most important part is envlist where we define a matrix of all versions of Plone and Python that we want to test.
We can also provide a bash-like list of options like py{27,37}-Plone{52} if we want to run Plone 5.2 with Python 2.7 and Python 3.7.
Other parts of this configuration file are used to define setups and commands that tox will read and execute for each environment in the matrix.
You can run tox with this command:
tox
tox will read the envlist matrix and execute commands for each one.
For each matrix element, tox will create a separate environment using virtualenv, install dependencies and run commands.
Only if all environments ran successfully will tox return exit code 0 (success). In this case you’ll also see the message congratulations :).
Exercise#
Try to install and run tox locally.
Note
You can list available environments with:
tox -l
and then run only one environment with:
tox -e py37-Plone52